• If you are new to GiantScaleNews.com, please register, introduce yourself, and make yourself at home.

    We're 1st in Giant Scale RC because we've got the best membership on the internet! Take a look around and don't forget to register to get all of the benefits of GSN membership!

    Welcome!

3D 75cc 106" HyperLITE Slick 540 by Fibertech N More

Fibertech

70cc twin V2
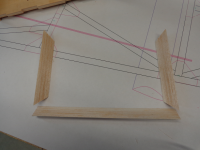
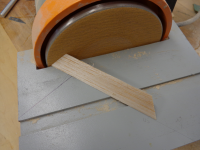
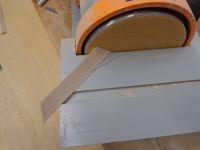
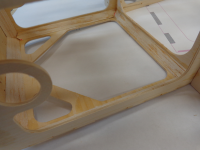
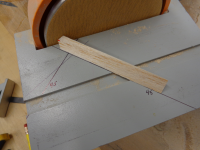
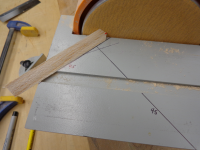
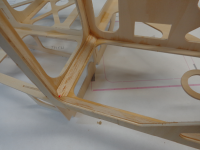
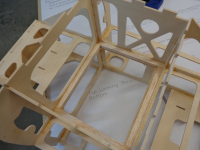
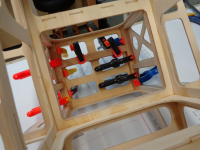
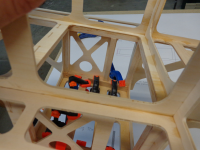
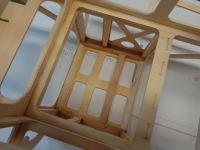
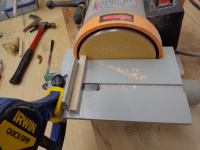
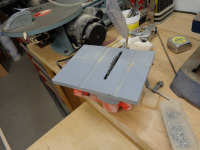
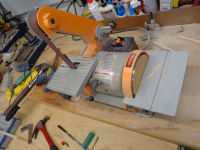
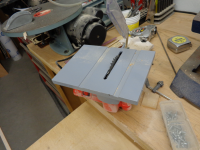
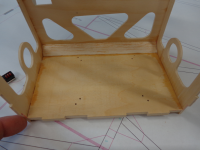
I was able to get some more done over the weekend. Now that I have all the parts joined for a test fit on the motor box it was time to start on gluing. I didn’t glue the top plate or the landing gear plate in at first to allow an easier access to fitting the balsa tri stock. Two of my machine friends are the little belt sander and the small table saw. Both are just cheap machines purchased from Harbor Freight but work great for this type of work. I started with the ½” tri-stock and fit it to the bottom corner. Same time I cut one for the top. I glued in the one for the bottom only. Then marked the length of the verticals for the two side corners and cut 45deg angles on both. I then glued the top in place and then the tri-stock. Once the front was done I moved onto the tri-stock for the top section.
Fuse 5 sander.png Fuse 5 saw.png EB19.png EB20.png EB21.png EB22.png EB23.png EB24.png EB25.png EB26.png EB27.png
 

Fibertech

70cc twin V2
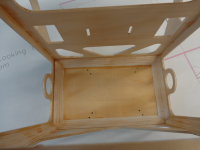
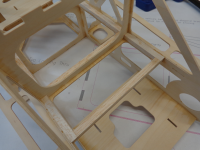
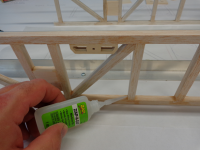
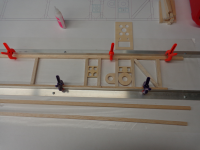
Next step was on the landing gear area. I use 3/8” balsa Sq stock for the bracing on the underside of the mid plate as in pic1 and pic2. Then I glued in the landing gear plate. I used oak rails for gear plate support and more 3/8” balsa sq-stock for the verticals. All the balsa is glued in with Zap thin CA. I also soak balsa once glued in place with the thin CA. This makes for a very strong support with almost no added weight rather than use heaver density balsa.

EB28.png EB29.png EB30.png EB31.png EB32.png
 

Bipenut

70cc twin V2
That is looking good Rick, the landing gear area is looking strong. I do like the idea of marking a line at 45 degrees on your sander, I will have to do that on mine.
 

Fibertech

70cc twin V2
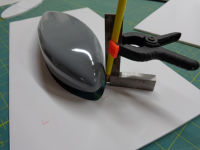
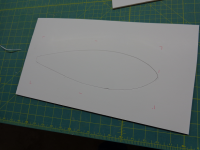
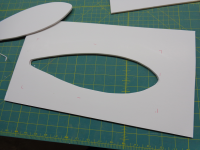
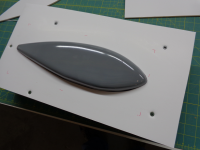
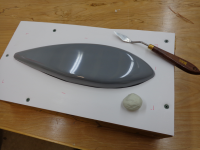
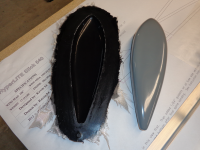
Spent some trim last night working on new W/P plug. Not going into a lot of detail but thought I would show a few of the steps. Using my make shift line drawer I traced around the pant plug and then used a x- knife to cut the foam. This gets me fairly close with a little fine tuning. After making a wood frame I then push the plug into the foam board that should be a tight fit. The f1/4” foam I get from Hobby Lobby. Then comes the fun part of filling in any gaps with non hardening clay and trim back with a modeling knife. No pics but had enough time to spray down with PVA so when I get home I'll make first half of new mold.


WP 2.png WP 3.png WP 4.png WP 5.png WP 6.png
 

Fibertech

70cc twin V2
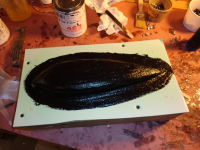
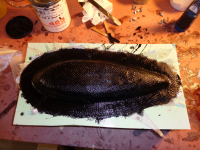
Glassed the first half of the new w/p mold night before and last night removed the plug from it. Turned out ok but will have to do a little polishing to clean out some dirt particles from the PVA as usual. Tonight I’ll make the second half.


WP 7.png WP 8.png WP 9.png
 

Fibertech

70cc twin V2
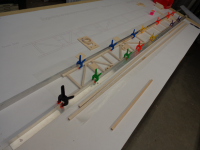
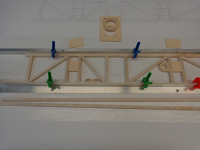
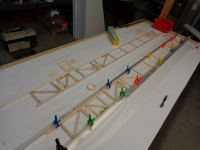
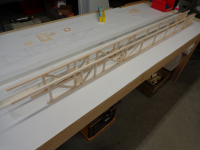
Last few nights have been very busy but managed to squeeze in some build time. I got the aluminum angle fixture set up and laid out the LH side of the fuse. This part actually goes pretty fast. I forgot to take a few pics and will have to do so but first step is to do the scarf joint cuts for the longerons. Positioned these over the prints and clamped in place. Then cut/sanded to fit the verticals. The fastest way to do this is mark one (over size) cut it and then do the same for the rest. Then use the fence on a sander and sand one end of each. Then make a true length mark and sand/fit the other end one at a time. Balsa can vary in dimensions and you want a tight fit so don’t sand all the same length. I do same process for diagonals. . I don’t do any gluing until all parts are in place then I hit all joints with thin CA.
The print has a view for LH and RH side of fuse to build over. I recommend that you do this to save lack of building two of the same fuse sides. However I like to use same fixture set up to build both sides. I just keep the LH finished part on table for reference to make sure I do a LH and a RH side. This will also assure me of both sides being exact same height when done with using same fixture. Just my way of building.
Once the two side were glued and pulled for fixture I went back with medium CA and added to inner joints. Next step will be some spline sanding of both sides.


Fuse 1.png Fuse 2.png Fuse 3.png Fuse 4.png Fuse 5 sander verts.png Fuse 5 saw.png Fuse 6.png Fuse 7.png
 
Top