AKfreak
150cc
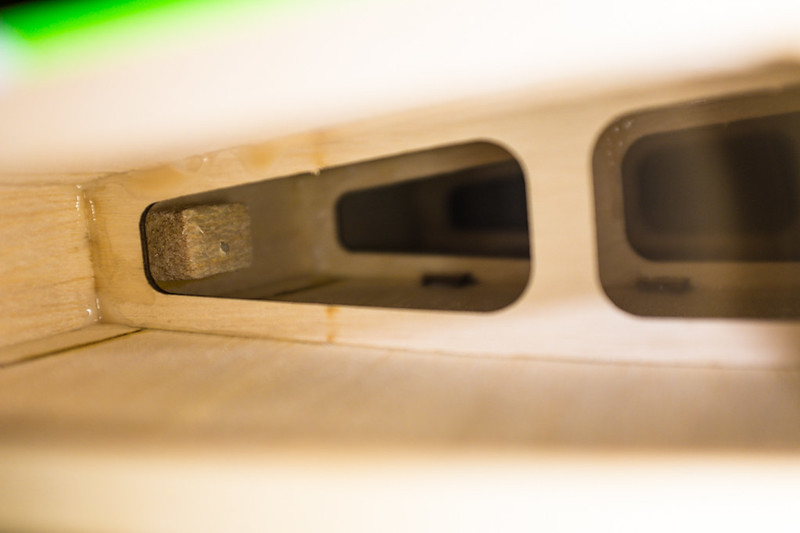
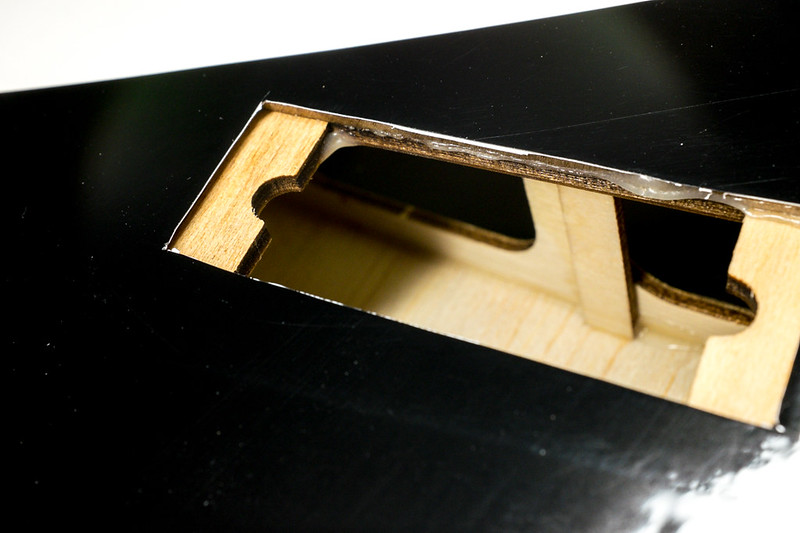
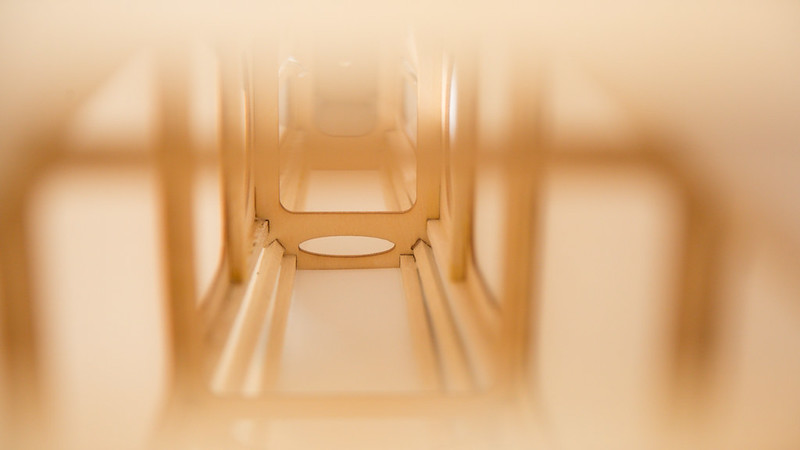
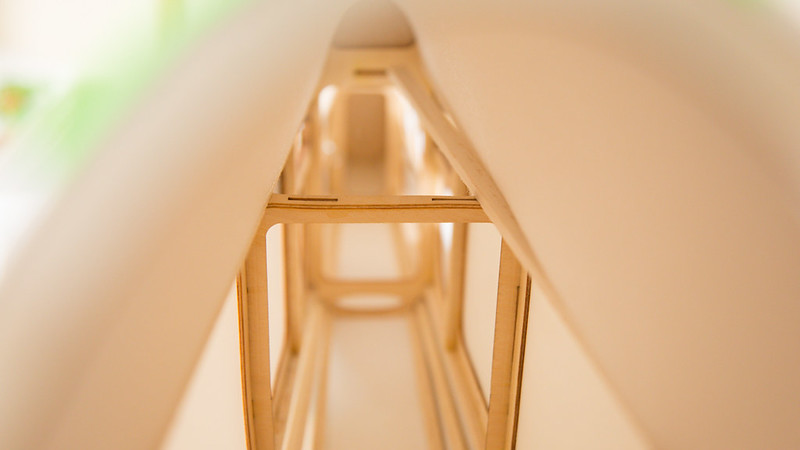
I have fixed the minor damage to the fuse wooden structure
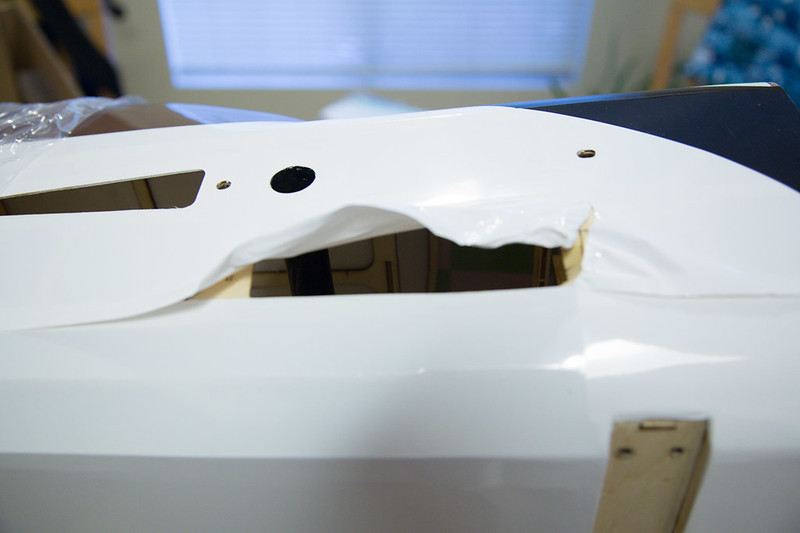
Before
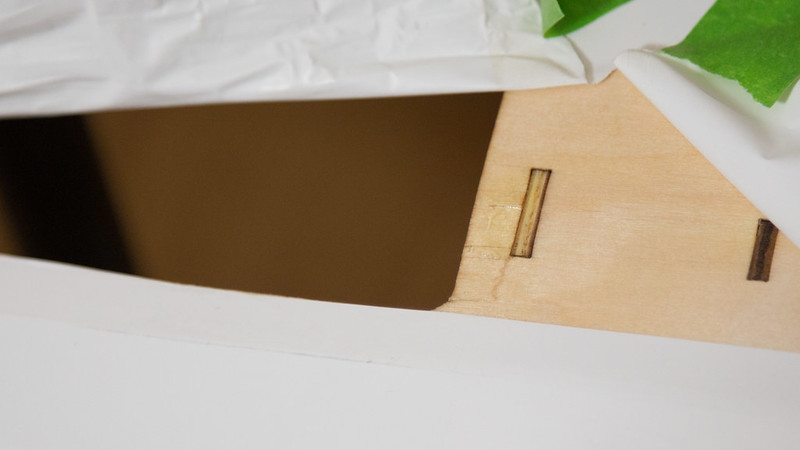
I used a C-clamp to flatten the damaged area, then used thin CA to soak in while it was being held flat. Then I removed the clamp anf used thin CA again to soak in the whole damaged area.

Then I taped it off and sanded to with 120, 220 then 320 until it was nice and smooth.
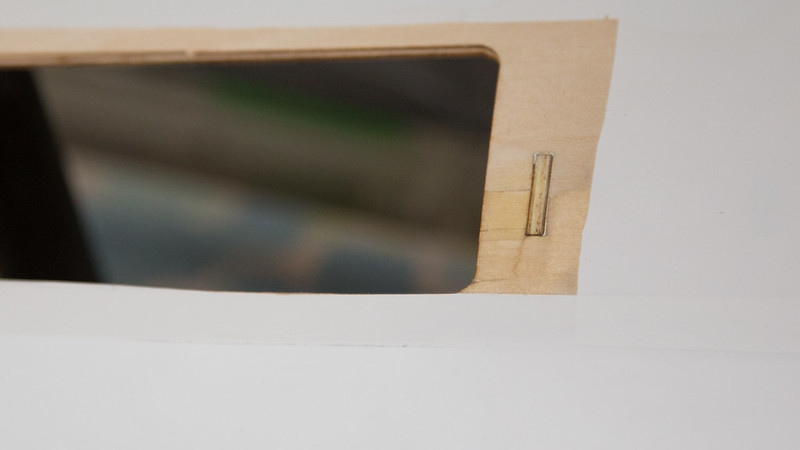
Next I used the iron to flatten the covering in the surrounding area of the tear, then trimmed the damaged covering nice and neat and prepared it for the patch.
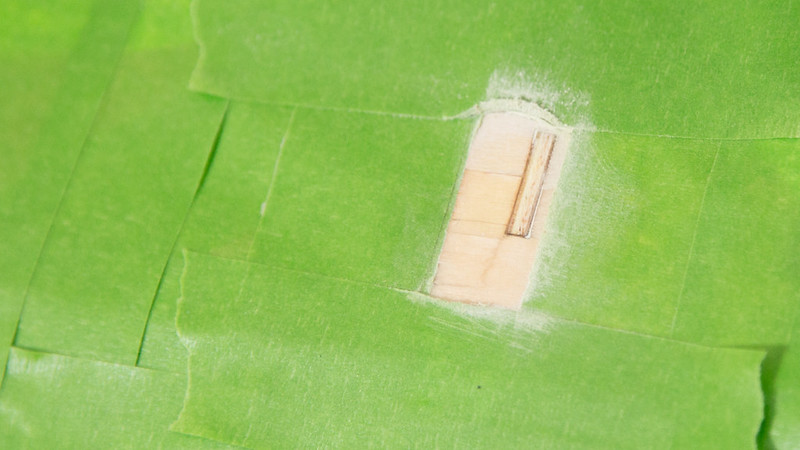
I used a piece of the scrap cover that I removed and ironed it on the repaired area just to see if I could notice if the sheeting was not smooth. To me It looks fine, and I am ready for my covering to arrive.
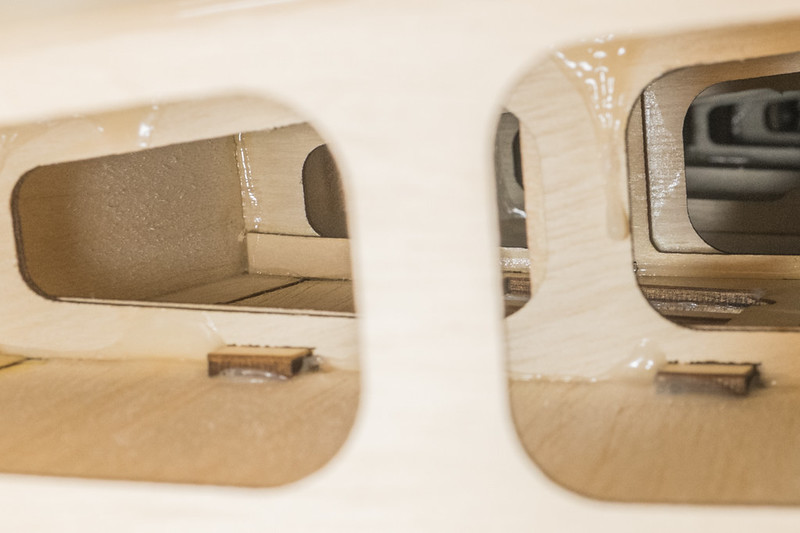
Before
I used a C-clamp to flatten the damaged area, then used thin CA to soak in while it was being held flat. Then I removed the clamp anf used thin CA again to soak in the whole damaged area.
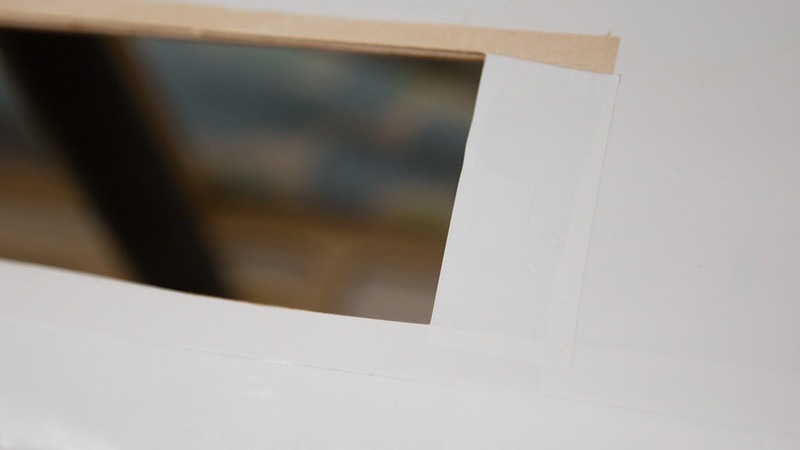
Then I taped it off and sanded to with 120, 220 then 320 until it was nice and smooth.
Next I used the iron to flatten the covering in the surrounding area of the tear, then trimmed the damaged covering nice and neat and prepared it for the patch.
I used a piece of the scrap cover that I removed and ironed it on the repaired area just to see if I could notice if the sheeting was not smooth. To me It looks fine, and I am ready for my covering to arrive.
")