You are using an out of date browser. It may not display this or other websites correctly.
You should upgrade or use an alternative browser.
You should upgrade or use an alternative browser.
Extreme Flight 91" Extra EXP Build Log
- Thread starter Bipenut53
- Start date
Bipenut53
150cc
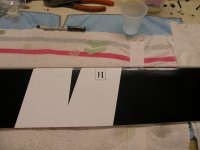
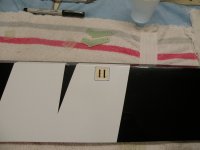
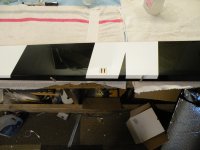
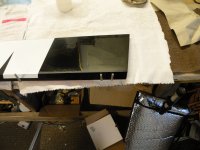
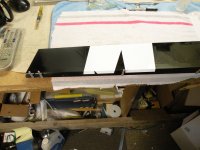
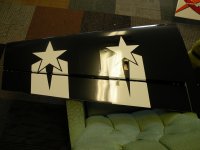
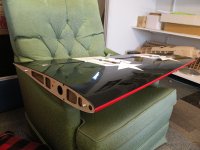
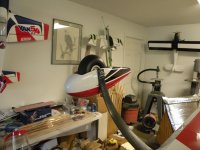
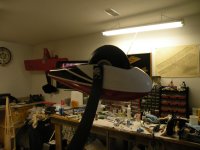
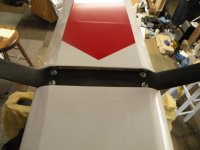
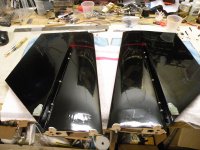
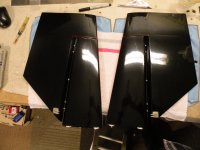
Thanks SnowDog, Yes I really like that scheme, I bought the same scheme on my EF 60" Extra so I will have a big and little brother of this same scheme. I got the stabs hinged and control horn installed, getting ready to install the servos and linkage after I get the hinges glued into the aileron in preparation to glue to the wing.


Bipenut53
150cc
Lol yes I thought you may remember. Just a note, this is my first venture down the HV servo path, I have to say that I am impressed!!! I have the wings and stabs all set with the initial throws and wow are they impressive! The Savox 1270 is very fast, and center very well. I have the system set up for 11 ms frame rate and for each click on trim or sub trim, the servo does the expected click. I was hoping for something like this but wasnt holding my breath.
I went over all the glue joints I could reach with thin CA in the fuse. Next is to setup the rudder and fuel proof the fuse and landing gear plate before I call it a night. I will post pictures soon...
I went over all the glue joints I could reach with thin CA in the fuse. Next is to setup the rudder and fuel proof the fuse and landing gear plate before I call it a night. I will post pictures soon...
Last edited by a moderator:
Bipenut53
150cc
Ok so I decided that I am going to open up the canister tunnel for venting air through the cowl so I can keep the cowl without the large openings for venting. I will be putting baffles in the cowl to direct airflow past the fins then the air will flow through the tunnel and exit the bottom of the aircraft. This kit does come with a cover you can use that will have vent holes cut through the covering and allow more than the 3 to 1 airflow ratio. After I opened up the tunnel I re-coated the firewall with fuel proofing and also fuel proofed the landing gear block. Note: don't forget to iron the covering down around the edges of the firewall and landing gear block so when you fuel proof these areas with epoxy mixed with denatured alcohol that the epoxy will also hold the edges of the covering down as well.
I then got the control horns set for the rudder. If you are going with a pull pull rudder system like I am, instead of putting the servo in the tail, then you fit the control horns as you did all the other surfaces with one note, the control horns on both sides of the rudder share the same slots so if you leave the control horns the original length you will not be able to seat the horns fully on both sides. I sanded about 1/16" from the bottom of all 4 control horns and then they will seat properly......
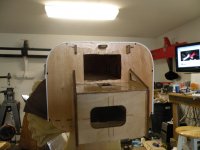
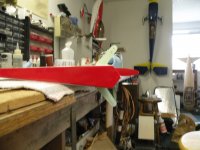
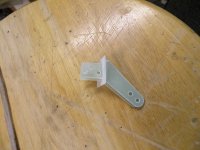
I then got the control horns set for the rudder. If you are going with a pull pull rudder system like I am, instead of putting the servo in the tail, then you fit the control horns as you did all the other surfaces with one note, the control horns on both sides of the rudder share the same slots so if you leave the control horns the original length you will not be able to seat the horns fully on both sides. I sanded about 1/16" from the bottom of all 4 control horns and then they will seat properly......


Bipenut53
150cc
So now lets talk about the tail wheel. I chose to install the rudder before tail wheel assembly and the instructions want you to install the tail wheel first. I am glad I did it this way because it makes the rudder a straight forward install and you mainly pay attention to the hinges and the epoxy and clean up after.
The tail wheel assembly comes with a set of instructions and pictures and thats all ok but it is easy to get the order mixed up. Here is the way I did it. First I put the insert into the carbon fiber and pay attention to the way it goes on. The 6 mm lock nut goes down towards the wheel and gets tightened all the way and not allowed to spin. Then the tail wheel wire gets a collar put on it, then through the insert on the carbon fiber piece then the tiller arm assembly. It is best to assemble it all while off the airframe because you can get the correct spacing for the collar on the bottom of the tail wire, clear as mud? So when the spacing is correct then remove the collar and make a small flat spot where the set screw made a mark. Then you can put the collar back on, I use red lock tight on the set screws on the whole assembly. Now it is time to install the carbon fiber piece on the airframe, I lock tighted all three bolts there. Then you can slide the tail wheel wire through the insert and install the tiller wire onto the tail wheel wire but dont tighten it down, it will be removed again. With the tiller wire on you can get an idea where the eyelet in the rudder should go. Mark that spot, I used a 13/64" drill bit and drilled a hole there and the eyelet has a good fit that way. Slide the eyelet into the hole and you notice that it will be too high. Press down on the eyelet to make small indents where the eyelet widens out. Then remove the eyelet and use a sharp #11 xacto knife and cut out a little wood on each side trial fitting as you go until you get the right height and then I used 5 minute epoxy and glued into place. Wait till the epoxy cures and install the tiller wire through the eyelet first then on to the tail wheel wire. Flat spot all places where the set screws make marks and lock tight in place for final assembly. I hope this wasnt too wordy for everyone..... here are pictures of the final set up.....
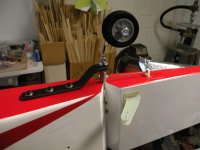
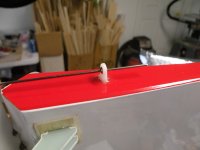
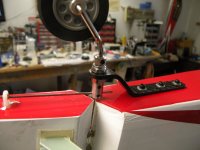
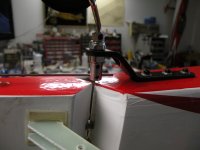
The tail wheel assembly comes with a set of instructions and pictures and thats all ok but it is easy to get the order mixed up. Here is the way I did it. First I put the insert into the carbon fiber and pay attention to the way it goes on. The 6 mm lock nut goes down towards the wheel and gets tightened all the way and not allowed to spin. Then the tail wheel wire gets a collar put on it, then through the insert on the carbon fiber piece then the tiller arm assembly. It is best to assemble it all while off the airframe because you can get the correct spacing for the collar on the bottom of the tail wire, clear as mud? So when the spacing is correct then remove the collar and make a small flat spot where the set screw made a mark. Then you can put the collar back on, I use red lock tight on the set screws on the whole assembly. Now it is time to install the carbon fiber piece on the airframe, I lock tighted all three bolts there. Then you can slide the tail wheel wire through the insert and install the tiller wire onto the tail wheel wire but dont tighten it down, it will be removed again. With the tiller wire on you can get an idea where the eyelet in the rudder should go. Mark that spot, I used a 13/64" drill bit and drilled a hole there and the eyelet has a good fit that way. Slide the eyelet into the hole and you notice that it will be too high. Press down on the eyelet to make small indents where the eyelet widens out. Then remove the eyelet and use a sharp #11 xacto knife and cut out a little wood on each side trial fitting as you go until you get the right height and then I used 5 minute epoxy and glued into place. Wait till the epoxy cures and install the tiller wire through the eyelet first then on to the tail wheel wire. Flat spot all places where the set screws make marks and lock tight in place for final assembly. I hope this wasnt too wordy for everyone..... here are pictures of the final set up.....


