pawnshopmike
Staff member
Looking good bro! 
Looking good bro!
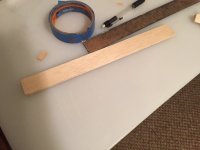
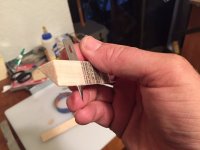
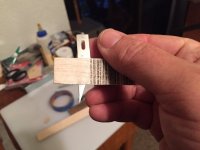
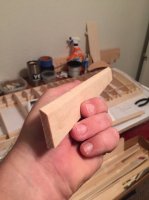
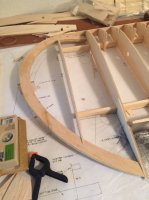
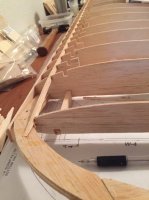
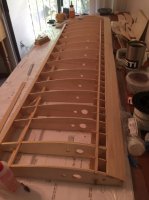
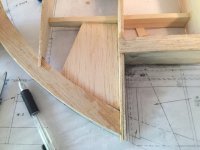
Great tip!The next step was to glue on the first part of the leading edge. I didn't have enough material, so I had to buy another piece of 2" x 1/4" balsa. In order to make the 45 degree angle at the top I pushed an Xacto blade through a triangle piece of balsa and used it as a guide. It worked pretty well.