You are using an out of date browser. It may not display this or other websites correctly.
You should upgrade or use an alternative browser.
You should upgrade or use an alternative browser.
3dhs 92" Edge 540
- Thread starter gyro
- Start date
- Status
- Not open for further replies.
gyro
GSN Contributor
Got a little more done today 
After freaking out because I couldn't find the rudder pin, and calling Noll for help, he calmly told me to look on the inside wall of the of the box... that it was taped there.
Doh!!!
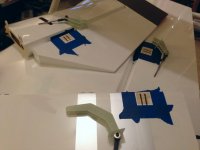
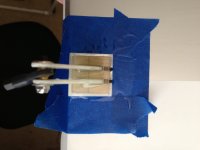
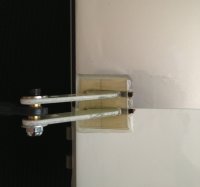
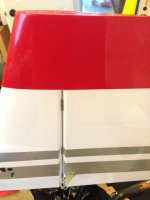
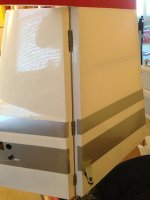
So, I put the rudder hinge in, and it fit in nice and snug. This was not only the only hinge I had to install, but it only took a minute, and it essentially sealed itself. This was the easiest airplane I've EVER had to hinge!
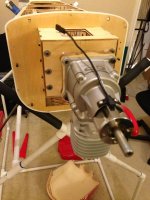
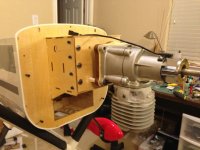
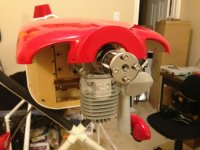
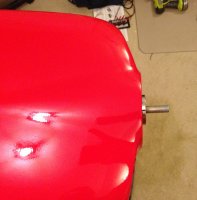
I dry fitted the engine, and I'm pretty happy with the spacing. I also LOVE the two piece cowl, and I'm excited to not have to hack up the bottom of the cowl to get it onto the plane.
After freaking out because I couldn't find the rudder pin, and calling Noll for help, he calmly told me to look on the inside wall of the of the box... that it was taped there.
Doh!!!
So, I put the rudder hinge in, and it fit in nice and snug. This was not only the only hinge I had to install, but it only took a minute, and it essentially sealed itself. This was the easiest airplane I've EVER had to hinge!


I dry fitted the engine, and I'm pretty happy with the spacing. I also LOVE the two piece cowl, and I'm excited to not have to hack up the bottom of the cowl to get it onto the plane.


SnowDog
Moderator
Gary please stop.... My paypal is getting Skerrrred
don't worry Josh, they are out of stock anyway...
gyro
GSN Contributor
don't worry Josh, they are out of stock anyway...
More are already on the water! They won't be out of stock long
Preorder is now open
gyro
GSN Contributor
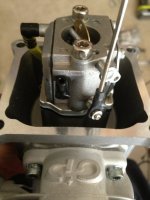
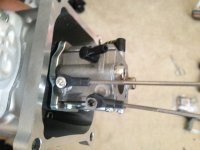
Next up was the engine. It has small arms for the throttle and choke, so the alignment will need to be perfect inside the fuze. Will likely need to use a choke servo, or a bell crank as depicted in the 3dhs manual.
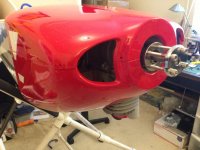
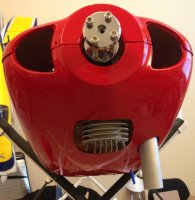
Also, got the main cutouts for the cylinder and exhaust done, and did a test fit on the cowls.
Also, since the motor is mounted, got the fuel plumbing done:
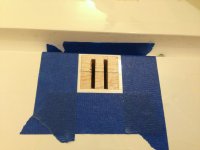
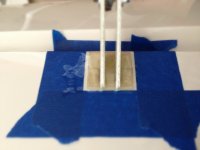
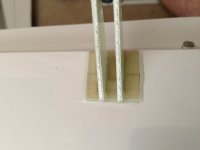
And finally, installed our first bit of bling from Aztech Aeromodels, the SpotOn RC magnetic fuel dot.
I can honestly say this is the easiest fuel dot to open and close that I've ever had. It slides out without much effort, but I'm confident the magnets can hold it in place during flight.
Also, the stopper is the perfect size for quick disconnection from the line.


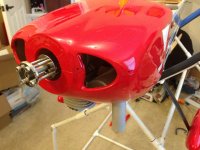
Also, got the main cutouts for the cylinder and exhaust done, and did a test fit on the cowls.


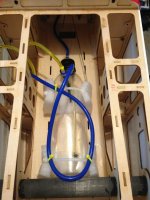
Also, since the motor is mounted, got the fuel plumbing done:

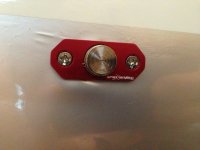
And finally, installed our first bit of bling from Aztech Aeromodels, the SpotOn RC magnetic fuel dot.

I can honestly say this is the easiest fuel dot to open and close that I've ever had. It slides out without much effort, but I'm confident the magnets can hold it in place during flight.
Also, the stopper is the perfect size for quick disconnection from the line.
- Status
- Not open for further replies.

