• If you are new to GiantScaleNews.com, please register, introduce yourself, and make yourself at home.

    We're 1st in Giant Scale RC because we've got the best membership on the internet! Take a look around and don't forget to register to get all of the benefits of GSN membership!

    Welcome!
  • Unless you are a paid advertiser NO more posting advertisement in the individual vendor forums. You may post in the Manufacturer's Announcements section only but only ONCE a month unless your a paid advertiser.

3dhs 103" Extra 330SC

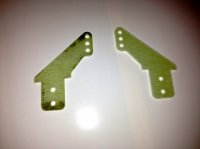
Got one elevator done. I used 1.75" arm at the middle hole on the control horn to get full mechanical throw after I dremeled the bottom hole off the horn to get a little more down elevator and enlarged the opening for servo arm.

Went to do the other/right elevator and the pushrod is USELESS! I can slide any new rod end on/off with no turning! I talked to a friend and he had similar issue with included turnbuckels that would barely thread into a rod end so he changed them out with good ones. The other turnbuckle for the other elevator threaded good and the other turnbuckles included look good though but I'll find out once I try to put a rod end on them.
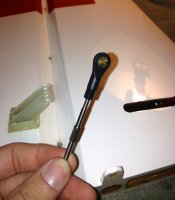
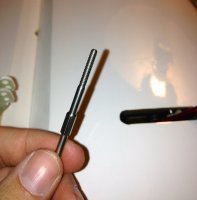
IMG_0399.jpg

IMG_0401.jpg

So bought some hangar 9 links and got the elevators done
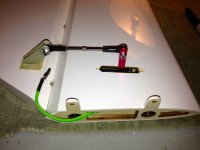
IMG_0404.jpg
 
Last edited by a moderator:
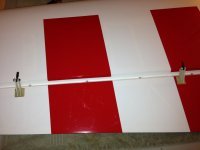
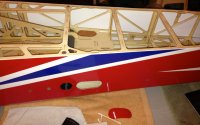
Went ahead and cut the holes on the side of the fuse for the wings. That was easy :)

IMG_0405.jpg

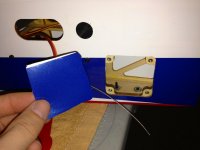
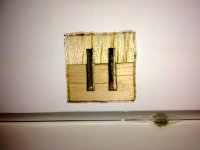
Went back to the tail and cut out the access hole

IMG_0406.jpg

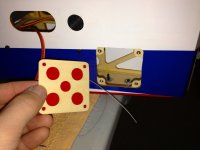
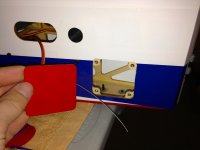
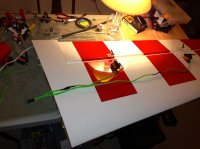
Looked in the box of accessories to find the plate and all I found was this red cover plate

IMG_0407.jpg

IMG_0409.jpg

It should be Blue I would think so looks like I'll have to cover over or recover it blue :mad:

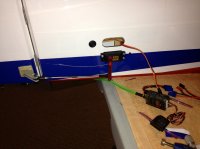
But I got the rudder on and hole cut out for the rudder servo. I'll set that up and build the tail wheel for the next post.
 
Didn't spend a whole lot of time last night but got the rudder servo at 90, mounting holes done, linkage length set, and throw set.

IMG_0415.jpg

Need to make an extension to the rudder servo and try to braid all three wires going down the tube. Would like to finish all the tail section soon and work on the wings this weekend. :)
 
Should not have cut the access hole. I will look in my garage and see if I have a blue one. It will be a long shot though
 
Should not have cut the access hole. I will look in my garage and see if I have a blue one. It will be a long shot though

I can change it to blue since I already have the covering. I wanted to open the access since there was a decent amount of covering scraps in the tail from the factory and I want all 3 servo extensions down the tube in a big braided shield so it should be easier with the access hole.
 
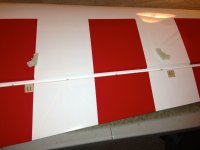
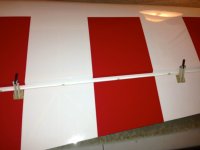
Couple nights ago got the aileron control horns glued in. Wasn't too bad except a couple holes need a little trimming.


This one was the worst
IMG_0426.jpg

IMG_0427.jpg

Left wing done
IMG_0428.jpg

Started the right wing and don't know what this black stuff is on one of the horns

IMG_0430.jpg

Right wing done
IMG_0431.jpg
 
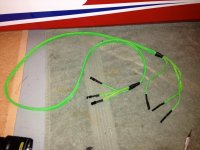
Back to the tail I made a 3rd extension for the rudder. To make a cool looking harness I braided about 6" on both ends.

IMG_0437.jpg

IMG_0438.jpg

Then used larger braiding to cover the center uncovered section. I think it looks pretty cool.
IMG_0439.jpg

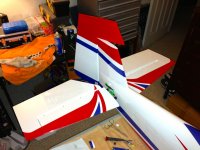
I lubed the tail tubes but they are still tight going in and out so I'll have to sand the inside of the tubes at a late date preferably outside on a warm day but the throws on the tail is all set. 60 degrees up elevator and 55 degrees down. Full mechanical rudder throw too. Only thing left for the tail is the tail wheel and change the access plate to blue covering.

IMG_0440.jpg
 
Last edited by a moderator:
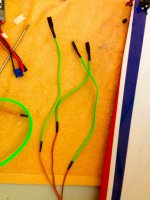
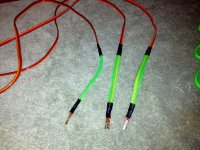
Got the arms on the (4) aileron servos with wire wrap. Made a harness to multiplex plug for one wing but still alot to do to finish the wings. Going to try to work on it as much as possible when I'm home this week because I want the wings done so I can work on mounting the motor, cowl, etc.

IMG_0471.jpg
 
Last edited by a moderator:
Top