• If you are new to GiantScaleNews.com, please register, introduce yourself, and make yourself at home.

    We're 1st in Giant Scale RC because we've got the best membership on the internet! Take a look around and don't forget to register to get all of the benefits of GSN membership!

    Welcome!

Sport JTEC RADIOWAVE 26% Pitts Model 12

stangflyer

I like 'em "BIG"!
Hmmm..... should I have worded it differently?
wink-and-smile-smiley-emoticon.gif


Hey Rob, your age is showing. It's "bust some moves". . . . . . . :spongebob:
Not really David. With comments like that, I am aaah....hiding my age. Hee hee. But rest assured. I won't "bust out any moves in public". It ain't too pretty. LOL

Oh man how did I miss this one??? I love me a good build!! :yesss:
Cuz ya been playing with that Zee-Dee-Zee one 80. Course, I don't blame you a bit. Nice engine. Looking forward to getting one myself.
 

stangflyer

I like 'em "BIG"!
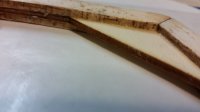
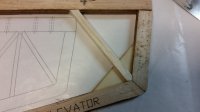
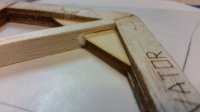
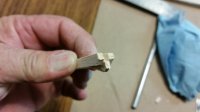
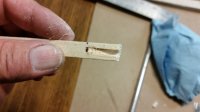
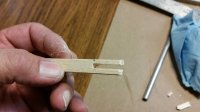
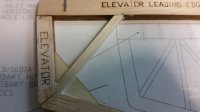
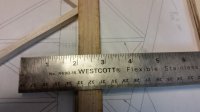
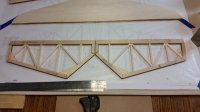
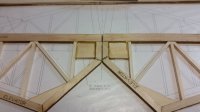
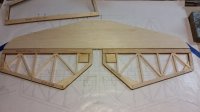
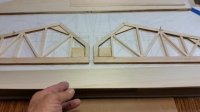
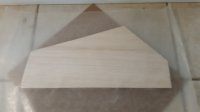
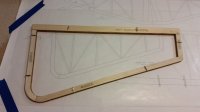
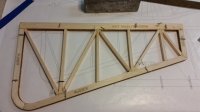
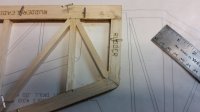
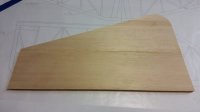
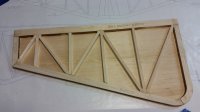
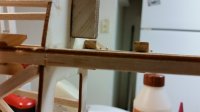
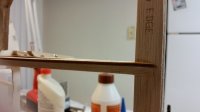
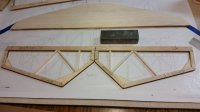
With the sudden appearance of my building materials I was able to get back to "busting a move" on the Pitts today. I already had the stab on the building board so I figured I would just go ahead and get the stringers inserted inside of it. Not too difficult of a task here obviously. Just fit, cut, glue. Done. Right? Well, almost. When I first assembled the initial framework of the stab, I noticed the dowel holes in the trailing edge of all three pieces lined up pretty nicely. However the ones in the leading edge were off by a mile. I attempted many times to get them to align by repositioning the three pieces that make up the framework. Just wasn't happening. So, I assembled it as it was. I figured I could address that issue later on in the construction of the stab. So after getting the stringers inside I looked at the holes, measured out precisely each one so they were matched and re-drilled them all clean through. Once that was done, I was able to get my 5/16" dowel epoxied into all four locations. A side note to be mentioned here is that it is suggested to use 3/8" x 1/4" stringers for the stabs, elevators, fin and rudder. Although it is also mentioned that some have been using 1/4" x 1/4". I chose the previous because I want the strength on the tail to be "STRONG". Also, I had to take care of a certain little four legged critters damage to a couple of pieces of the stab. Remember I mentioned as a little guy when I got him, he must have been hungry and needed some fiber in his diet? Yea, well I think it was more of just being a puppy. LOL. Oh well, not too severe of damage to repair. I simply cut those two pieces out and filled back in with 1/8" x 1/4" balsa stringer. Sanded and no problem. Besides, I planned to sheet the tail surfaces with 1/16" balsa sheeting anyway. So no big deal. So back to the stringers...once they were all installed, I realized the center section of the stab where it will be permanently affixed to the aft part of the fuse would probably need some support since the stab would be sheeted. I filled both sides with 1/8" balsa and sanded both sides of the stab prior to sheeting. That was the difference in the depth from the center section of the stab light ply to the height of the framework. I highly doubt the difference of 1/16" extra thickness from sheeting on the stab where it will be positioned on the fuse is going to make much of a difference in flight characteristics. So once the sheeting was done on both sides of the stab, I did a quick rough sanding of the framework and the sheeted surfaces as well as drill the pilot holes all the way through the dowels in the stab. I checked the trueness of the leading and trailing edges of the stab and was pleased to discover the framework is straight with no warps. For what it is worth, I have been so accustomed to building with thin and medium CA through the years. Using the wood glue for steps like this is all new to me. But I think I like it. Sheeting the stab was so much easier and less of a mess. Heck, even my fingers are not glued together. LOL. Tomorrow I plan to get the elevators, rudder and fin completed with sheeting. Then I can set them aside for a final sanding and get back to working on the fuse.

Quick question for JTEC... Any particular reason why the plans are about half the size of the actual construction? Not a big deal...just was surprised they didn't fit the actual size of the airframe.


20161013_164355.jpg
20161013_164401.jpg
20161013_164408.jpg
20161013_184031.jpg
20161013_184035.jpg
20161013_184047.jpg
20161013_184057.jpg
20161013_204538.jpg
20161013_210416.jpg
 

HRRC Flyer

GSN Sponsor Tier 1
Looking good Rob,

I've been using thick CA on my AMR Stick given most of it is lite ply. With that being said, I'm going to use Titebond wood glue on the sheeting to give me a little extra "wiggle" time.
 

Wacobipe

100cc
There are certain parts of this plane that make zero sense to me. "BUT", after looking at @Wacobipe's thread on the other site....(damned fine and impeccable build I might add), it is clear to me that "HE" has much more ability for such things than I seem to remember..

Nonsense!!! I have built many planes over the years, and I'm always trying something new to improve my builds...but I don't possess some unatainable skills. I'm just anal!

Sorry I haven't been tuned in lately, an insane travel schedule for work and a grandmother in hospice up in Ohio have kept me offline recently....ping me with a message here if you need answers or or I can send you email/phone by PM...happy to help,any way I can...we need more builders in the hobby!!!
 

stangflyer

I like 'em "BIG"!
I'm just anal!
Then I consider myself in good company. I've been told I am too anal about some things. I just feel if you are going to do something, do it with your heart. Really enjoying your Pitts build thread on the other site. Thank you for taking the time and effort to post it.
 

stangflyer

I like 'em "BIG"!
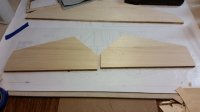
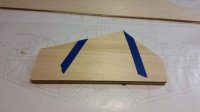
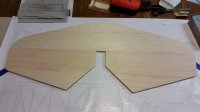
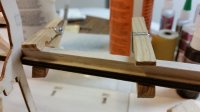
Back to the Pitts today. I started out with getting the elevator stringers in place. Just like the stab, nothing too big here. I did add one stringer to the elevators where it did not show one. I decided to split the stringer so that it would support both sides of the strengther plate. Once all the stringers were in place, I sheeted both sides of the elevators and off to the pressure cooker they went. Not really but kinda sorta. As everyone knows, when balsa is glued together with wood glue, the balsa will have a tendency to "warp" and twist because of the glue being "wet". To insure my stab, elevators, rudder are perfectly straight and not warped, once the sheeting was in place, I set them aside on the concrete floor, separated the parts from each other with wax paper and on goes the weight. About 30 pounds is what I used. Once the elevators were under weight, I got busy on the rudder. Like the elevators, I added another stringer for strength. Not that I feel there is anything wrong with the design Jtec has put together. I am just "ANAL". I am only going to do one side of the rudder for now. I want to design a different rudder control horn system. For the elevators, the 3/8" hard wood plates are fine. But I want to use something like a fiberglass control horn in the rudder. So once I get that design installed, I will finish up the rudder. I did get the elevators rough sanded. I will do the rest when the airframe is done. Which remindes me....AL, Kevin..... Or @Wacobipe, Does the trailing edge of the wings, stabs and fin get a trailing edge cap glued to them? Also, do the ailerons, rudder and elevators get leading edges installed on them. I do not see anything mentioned in the manual. Words are good...but even pictures at this point would have helped.

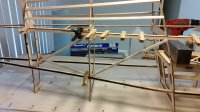
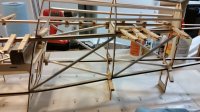
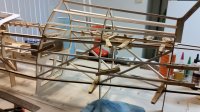
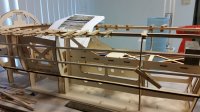
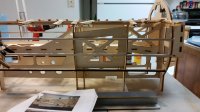
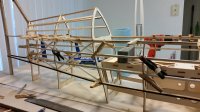
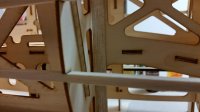
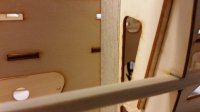
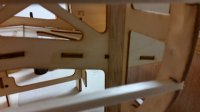
So back to the fuse... I got started on installing the stringers and cross bracing. Not really difficult here either. Simply place and glue. I did however add a couple of features though. I do not like how the aft fuse plates just simply "glue" to the longerons of the fuse. I just don't feel comfortable with the idea of trying to get the glue to adhere to cauterized wood. So I added a little insurance policy to the area where the plates glue to the fuse. I also added, (though probably not necessary) 3/8" tri-stock to the front and rear of F1 as well as F2 and F3. I have not seen in the past where these slight additions really added any measureable weight, but sure added a lot of strength to the fuse. I probably would not have added these if this plane were being built with anything other than the 70 twin "dub". The horsepower is going to be really awesome, but heaver than newer and more modern engines.

Once the cross bracing was done and all the side stringers installed, I decided to call it good for the day. It is raining and cold here this weekend, so probably means no flying for us. Oh but that is ok. Cuz I can certainly build right? Plus, my teenie-tiny 10cc gasser arrived today for the grandson/student trainer. Been a long time since I flew anything that small...I wonder if I still can remember how. LOL.
20161014_093449.jpg 20161014_093520.jpg 20161014_093544.jpg 20161014_093548.jpg 20161014_093706.jpg 20161014_093721.jpg 20161014_094342.jpg 20161014_094347.jpg 20161014_094411.jpg 20161014_094819.jpg 20161014_094837.jpg 20161014_105914.jpg 20161014_120516.jpg 20161014_121129.jpg 20161014_122243.jpg 20161014_130302.jpg 20161014_130314.jpg 20161014_130928.jpg 20161014_133837.jpg 20161014_144855.jpg 20161014_144949.jpg 20161014_151336.jpg 20161014_151342.jpg 20161014_154950.jpg 20161014_164801.jpg 20161014_173826.jpg 20161014_175041.jpg 20161014_175049.jpg 20161014_180305.jpg 20161014_180310.jpg 20161014_181108.jpg 20161014_181114.jpg 20161014_185925.jpg 20161014_190032.jpg 20161014_190049.jpg 20161014_181105.jpg
 
Last edited:
Top