YellowJacketsRC
70cc twin V2
Watching carefully!
Well I got to maiden my Laser this morning and it did not disappoint. Hard to say at this point if I like it more than my 60" Edge but for sure it's not worse. I find it hard to believe but the slow flight on the Laser might be a tad better. Today was one of the rare low wind days here in Texas and elevators had no wing rock what so ever and came down with just a little forward speed.
I started my CG out balancing to the wing tube and found it a little nose heavy but not bad. I moved the pack back 1/4" the next flight and it was better. Another 1/2" on the third flight. I may split the difference the next time out as I only had time for 3 flights before work today.
Rolling circles required more elevator when I started but with the CG move rear it was much better. Entering Crankshafts was not as easy at first but then really nailed it. It flips right on it's own axis. Roll rate is very fast and very axial. Knife Edge was much better after I moved the CG and had no coupling issues. I was flying lower Expo than the manual suggested with my Edge but set this up per the manual. I need to back off the Expo on my next flights.
I am so happy with the plane and visibility is great with nice contrast from the upper and lower surfaces.
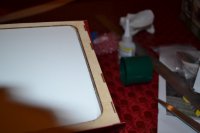
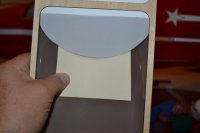
that looks awesome. So I cant remember if you said before what you mounted the bottom of the seat and the dash its self to. is it balsa? are you gonna have a Pilot X? Ive never done a cockpit or even a pilot before.
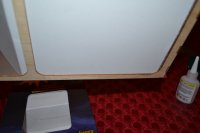
Congrats! That looks nice. Now I wish I had bought the red one!
") Thanks. They both look great, just what you are looking for.
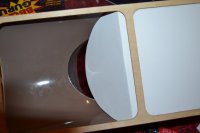
Thanks. They both look great, just what you are looking for.I have a textured dark gray that I used for my motor box on my 87" Extra that looked pretty cool. I want to see how that looks after fully drying. Of course there is always black. Something I also want to prototype tomorrow is to cut another piece of manila and spray down a coat of spray mount adhesive and apply some 2oz fiberglass cloth, then paint that black for the carbon fiber texture look. Who knows this textured gray might be the underneath side finish because you can just barely see it. I won't rush this last piece.What color u paint it?