fencelake
70cc twin V2
Look at Matt's build on the Pitts. He used solartex and sprayed a single stage paint straight on, no primer. A friend is recovering a stearman using the same method and it's looking great.
Sweet! I'll check it out!
Look at Matt's build on the Pitts. He used solartex and sprayed a single stage paint straight on, no primer. A friend is recovering a stearman using the same method and it's looking great.
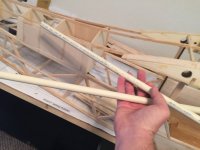
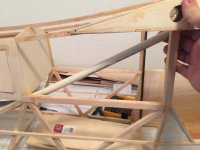
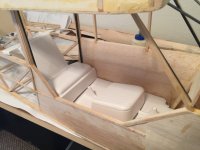
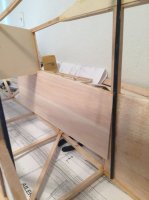
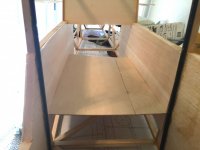
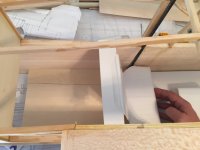
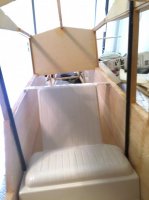
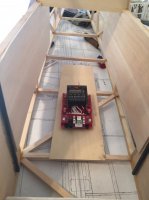
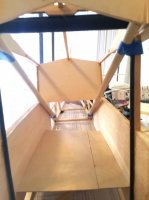
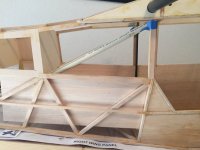
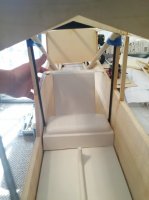
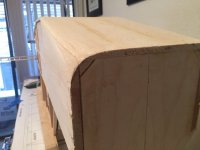
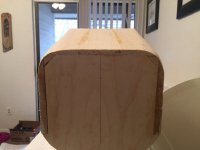
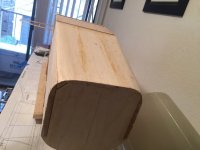
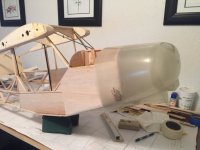
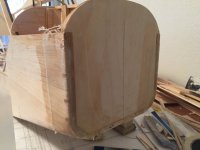
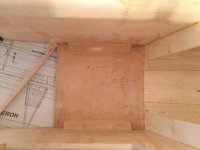
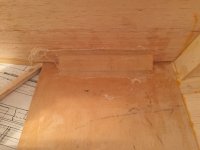
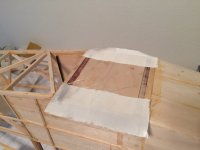
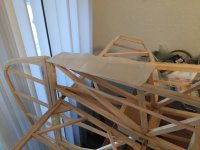
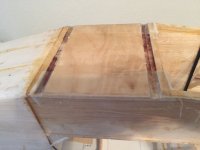
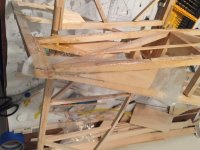
Very nice! Looking good bro.A little update... I haven't worked on this bird in a while but fall is here along with crummy weather... perfect time to finish her up! Major construction is complete. My custom wing tubes fit perfectly and both wings align... I'll just need to secure the outer tubes once I've set the wing dihedral. The holes in the ribs are slightly larger to accommodate this down the road. Now it's on to the detail work, sanding and electronics installation! a few other minor construction items. She's looking like an airplane!!! It takes up my entire living room! I didn't realize how big 1/3 scale was I think. Haha!!View attachment 44528

Do it!Yes looks really good. I was talking to @Bartman on the phone last night about how I have a buddy sending me a couple OS 120 surpass four stroke engines and his first response was that motor has 1/4 scale cub written all over it. Maybe a Balsa USA kit is in my future.
Do it!
Dammit man. There's alway a catch.I'm missing one important part though and that's cash to buy a kit and supplies for it.

Yes looks really good. I was talking to @Bartman on the phone last night about how I have a buddy sending me a couple OS 120 surpass four stroke engines and his first response was that motor has 1/4 scale cub written all over it. Maybe a Balsa USA kit is in my future.