• If you are new to GiantScaleNews.com, please register, introduce yourself, and make yourself at home.

    We're 1st in Giant Scale RC because we've got the best membership on the internet! Take a look around and don't forget to register to get all of the benefits of GSN membership!

    Welcome!

Sport PAU 27% Pitts Challenger Build/Review

Terryscustom

640cc Uber Pimp
this thing has sat too long! this week is the week we get it done and......well, you know the rest :)

Cool, we miss you guys. Choke is a good idea, if it were me I'd put some heat shrink on the pushrods or a sleeve like the throttle cable but like CB said it may be an old school concern, but never a bad idea.
 
Last edited:

Bartman

Defender of the Noob!
Cool, we miss you guys. Choke is a good idea, if it were me I'd put some heat shrink on the pushrods or a sleeve like the throttle cable but like CB said it may be an old school concern, but never a bad idea.

it's from an old build, just thought I'd reuse it but I can redo the same thing with a sleeve of fuel tubing inside the coil, that would be better, just have to get the inside diameter of the coil just right
 

ericb

Team WTFO
GSN Contributor
Bart my guess would be he's thinking of metal to metal making rf noise, probably not as much concern as if it had 72mhz system
Nailed it. I have never had an issue, but some people have. It would be an easy thing to do.
 

Bartman

Defender of the Noob!
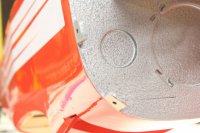
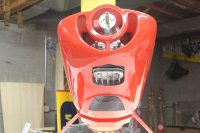
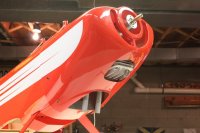
Moving on to the cowl, I still get anxiety when it's time to cut a finished cowl. It all went together pretty well except for a couple of minor details like the lower mounts that needed to be shaped a little to let the cowl roll around the lower corners without bulging. The hardware marked COWL was 6-32 and the blind nuts that are pre-installed by the factory are 4-40 so I used what I had but I'll have to pick up some button head 4-40 x 1/2" to finish it off nicely.
The cowl was pretty tight until the bottom was opened up but all-in-all, minor stuff.

IMG_9048.JPG IMG_9049.JPG IMG_9051.JPG

I might still have to do a little trimming and I've got two Pitts style mufflers but one is much heavier than the other so we'll see how weight-and-balance looks before choosing which one will go with the plane and then if the cowl needs more trimming to make it fit.
 

Bartman

Defender of the Noob!
The wings and tail section are the next big step forward and the sequence is a little odd but there's good reason for it so here it is

1. join wing halves together, top and bottom
2. attach bottom wing to the fuselage, double check alignment, attach fairing assembly
3. with bottom wing attached, check alignment of horizontal stabilizer and glue into place
4. glue vertical stabilizer into place
5. maybe attach elevator halves and rudder by gluing the pin hinges into place
6. top wing positioning and mounting along with mounting of interplane struts

The goal is to make sure the factory mounting points for the lower wing are correct and then use a correctly placed lower wing to get the tail nice and straight followed by proper placement of the top wing and I-struts.

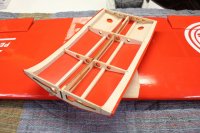
To join the upper and lower wing halves there is a joiner that needs to be epoxied into place. There'a a lot of gluing surface to be coated so I glued each joiner into one wing panel, let it set, and then glued the halves together. At this point I've got the top and bottom wings joined and the lower wing fairing attached and sealed up. I've got to get the tail feathers attached next
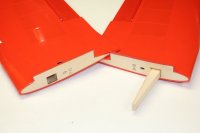
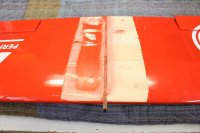
IMG_7501.JPG IMG_9052.JPG IMG_9053.JPG IMG_9054.JPG IMG_9055.JPG

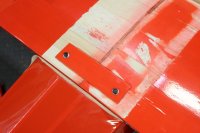
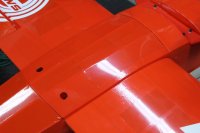
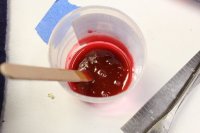
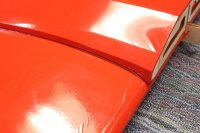
After attaching what I thought was a nicely fitting fairing I found that I had some gaps. Rather than seal it up with a trim strip I wanted to seal it enough to keep out exhaust residue and dust since it's under the plane in the wash of the engine and exhaust. So with a few suggestions from my fellow GSN members I mixed up some epoxy and used ink from a red Bic pen for tint. I also used an empty epoxy bottle as an applicator to force the epoxy into the crack after taping it all off.
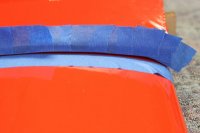
IMG_9056.JPG IMG_9057.JPG IMG_9058.JPG
 

BalsaDust

Moderator
Pretty nifty idea adding ink to it to dye it. I added latex paint to some epoxy once on my lamyak40 profile to fuelproof and paint the engine mount and it worked out well just took a good bit longer for it to dry.
 
Top