• If you are new to GiantScaleNews.com, please register, introduce yourself, and make yourself at home.

    We're 1st in Giant Scale RC because we've got the best membership on the internet! Take a look around and don't forget to register to get all of the benefits of GSN membership!

    Welcome!

Build Log Top Flite P-40E Warhawk Gold Edition kit

rcdude07

70cc twin V2
With this past weekend being Father's Day one would think I was able to complete the rudder and start the wings. But this was not the case. Thursday night we had an 75-80' black walnut tree get uprooted by the winds. So my free time is consumed with cleaning the tree up. So until further notice, the Top Flite P-40 build will be put on hold.

Never fear though, after a loooong day's worth of running a chainsaw on Friday my wife surprised me with a purchase order from Horizon Hobby for the new ultra micro P-40 BNF model. So I'll have a P-40 up and flying sooner than expected. Although I have a major caveat to her giving me this plane, if I tear up our friend's chainsaw I'm borrowing, the plane goes back to HH.
 

rcdude07

70cc twin V2
Shake Ya Tailfeathers

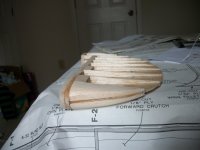
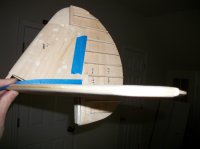
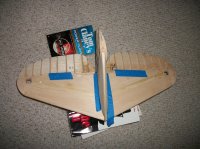
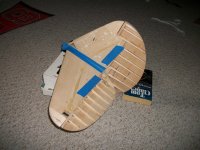
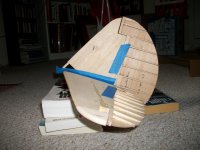
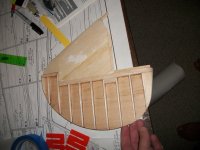
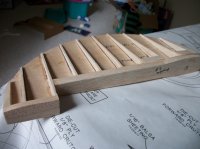
That approximately 50 year old walnut tree is still laying in the yard, about 2/3 of it gone thanks to a friend. However, with the on and off showers/storms we had yesterday, I got back to the P-40. Just shy of 2 hours work and the rudder is shaped. Same method as on the elevators was used: made and traced a template for the ribs, used Dremel tool to cut close, then lots of sanding with 220 grit and 100 grit papers. I'll leave shaping the tip until either the vertical stab is glued in place, or just before.

Next up, the wings. There are several decisions to be made before starting: retract brand, studying and forming the plan to replace the bell crank with individual aileron servos, payload release (looking at the new E-Flite servoless payload release mechanism). And I'm going to read through this entire section in detail first, just to be sure I don't hit any snags.

100_6249.jpg100_6258.jpg100_6257.jpg100_6256.jpg100_6255.jpg100_6254.jpg100_6253.jpg100_6252.jpg100_6251.jpg100_6250.jpg100_6259.jpg
 

SnowDog

Moderator
progress looks good...just don't get confused between the black walnut tree and the P40 when you've got the chainsaw in your hands! ;)

I'll be interested to see pics of the release system.
 

rcdude07

70cc twin V2
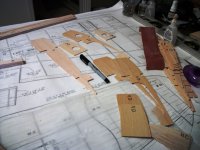
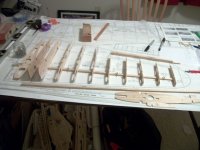
Yesterday I had enough in me to spend an hour on the plane. All I did was pull the wing spars out of the box, then punched out all 26 ribs (13 per wing half). After punching them out I matched them up (1 to 1, 2 to 2, etc...) and lightly sanded the tops, bottoms, and sides to deburr them from the die cut punch.

I spent some time on 4th of July with my dad (experienced builder both scratch and kit builds including two .60 Top Flite warbirds) about the dual aileron servo modification process. I have my plan and will describe the steps once I complete them. He also noted the block for the rudder control horn was not hard balsa like it should have been (I dug through and measured all small pieces at the time). So I will be making a slight modification there to put a 1/8" piece of ply on top of the control horn block. This will ensure there is proper wood for the screws to bite.

In the interest of my marriage, and still being able to participate in the sport, I'm surrendering the DLE 20 route and will be going with a Saito 100. Long story short, wife does not want a gas engine in the house.

I have also decided against a payload drop being this is my first glow warbird. Going to keep it simple.
 

SnowDog

Moderator
LOL on the DLE-20 vs. Saito 100 situation...sometimes these are the compromises we must make to keep a happy balance in the home. ;)
Besides, that Saito 100 makes such a sweet sound; totally deserving of a classic warbird like this one!
 

rcdude07

70cc twin V2
Got 2 hours of work on the plane over the weekend. Nothing fancy so I won't waste disk space with pictures. Just cut the spars to length, shaped one end of the spar doublers per instructions, glued the doublers to the spars, glued the TE AFT and FWD at Aileron pieces together and sanded the glue joints. It's important to read thoroughly as the wing halves are built upside down and some pieces have curvature on the top side, which must be placed towards the building table.
 

rcdude07

70cc twin V2
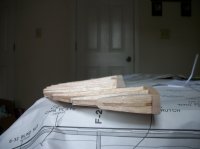
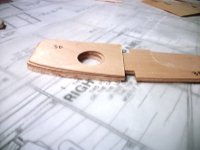
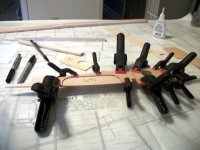
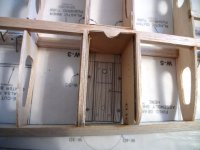
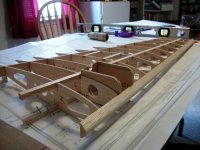
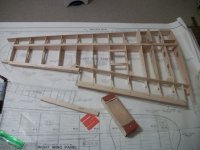
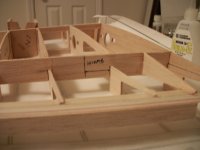
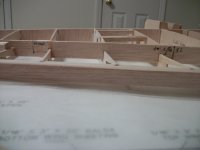
Got 4 hours of work on the plane this weekend. Work involved laminating the 4 layers of wood on wing ribs 3 and 4 that beef up the area for the landing gear, sanding the lamination to be smooth, tapering the wing TE at aileron, then gluing the ribs to the spar, TE at aileron, the TE at flap, the AFT and FWD LG box webs in place, bottom spar, and preshaped LE in place.

100_6281.JPG 100_6282.JPG 100_6283.JPG 100_6284.JPG 100_6285.JPG 100_6286.JPG 100_6287.JPG 100_6288.JPG
 

rcdude07

70cc twin V2
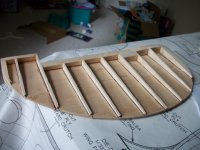
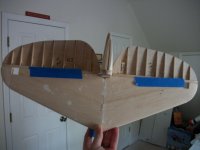
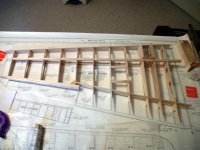
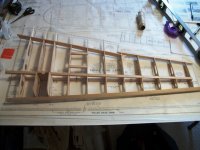
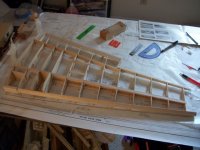
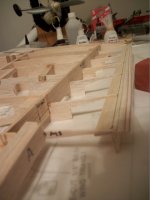
Got 2 hours in on the build Sunday. And I'm happy to report the right wing panel structure is now complete. Yesterday entailed finishing the beveling of the 1/16" thick plywood for the TE and cutting half of the ribs off the TE section and sanding them flat to create the place for the split flaps to close properly. I still need to find the wood for my aileron servo rails, modify the appropriate ribs, glue them in place, and figure out servo wire routing for both flaps and ailerons. But I am fairly certain I need my retracts in to make sure I don't route wires in the way. Next up is building the left wing panel.

100_6352.JPG 100_6353.JPG 100_6354.JPG 100_6355.JPG 100_6356.JPG 100_6357.JPG
 
Top