• If you are new to GiantScaleNews.com, please register, introduce yourself, and make yourself at home.

    We're 1st in Giant Scale RC because we've got the best membership on the internet! Take a look around and don't forget to register to get all of the benefits of GSN membership!

    Welcome!

3D 75cc 106" HyperLITE Slick 540 by Fibertech N More

tylerzx9r

100cc
After Terry showed me the wood glue, I don't think I would attempt putting on a belly pan or turtle deck with poly, it just oozes everywhere. Spats said he threw it away, so I say throw it back in the can. Honestly though, there are a few good uses for it. Anyhow Back to subject..... Didn't mean to take over your thread:sorry:
 

Spats

100cc
Ah the heck with Rick, lets just hijack his thread. Just kidding :too-happy: But here is what I have learned about it. It dries pretty quickly for a non two part glue. I like it for gluing the phenolics because it does expand and fills any gaps. If it does expand where you don't want it and as long as you sand it within an hour of drying it's easy to sand.
 

Fibertech

70cc twin V2
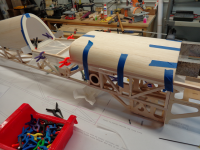
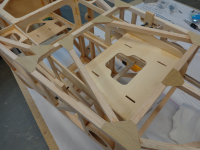
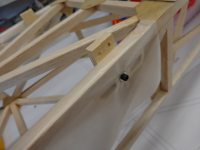
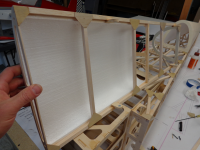
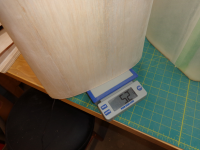
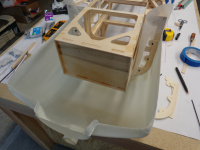
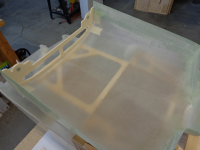
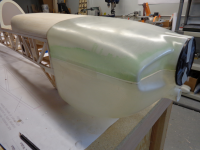
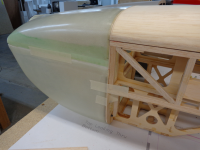
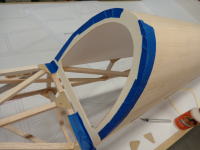
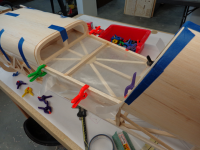
I have been off the grid for bit but back at it again. I wanted to get the hatch built to allow me to work on fit up of cowl. The hatch ply mounting plate was put in place and then I built the hatch frame over the fuse. Once the frame work was done the foam former and foam were glued in place. The front of canopy will be inset to allow a smooth transition. I think I’m going to tint the canopy so once that’s done It will get glued in place and then some fiber glassing for the finish. Looks like abot 5.2oz so far


H1 2-22.png H2 2-22.png H3 2-22.png H4 2-22.png H5 2-22.png H6 2-23.png H7 2-23.png
 

Fibertech

70cc twin V2
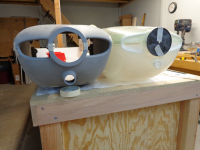
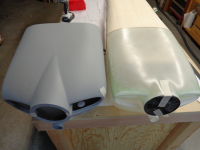
Long story short I did the cowl plug and mold for this plane several years ago. I wasn’t real happy with the inlets or intake. I also didn’t have the fuse at the time to fit the cowl plug to so the shape didn’t match 100% to hatch and belly profile. Once I started on this build I decided that I would make a new mold for this plane. What I want to do is to get it closer to the big brother. Slightly larger inlet and deeper and Intake will also take on a new shape. As in pic 6 I want to get the V shape on the top as you see the bigger one has. I like the looks of that.
Starting with the original cowl I glued the ply mounts in place so I could get the cowl mounted to the fuse. I also want the cowl to fit a 4-1/2” spinner plate so I opened up the front about 1/8”. Big job but nothing I haven’t done in before and I think will be worth the time.
I fastened the upper and power cowl to fuse and glued the two half’s together. Then the fun begins.


C1 2-22.png C2 2-22.png C3 2-23.png C4 2-23.png C5 2-23.png C6 2-23.png C7 2-23.png
 

Fibertech

70cc twin V2
The cowl on Slick will be the one that gets all the mods done and will be used as the plug to make the new mold. The one on the left in primer is cowl for the bigger Slick.
 

Fibertech

70cc twin V2
C1 2-27.png C1 2-25.png C2 2-25.png C3 2-25.png C4 2-25.png C2 2-27.png

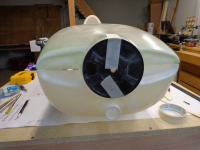
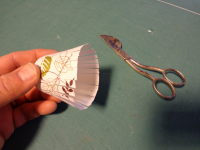
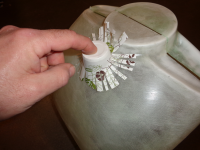
I wanted to make the intake a little bigger and the other night when I was mixing glue in a paper cup I started thinking it was about correct size and shape for what I wanted for the intake. I trimmed of the bottom ring and then cut some strips all around the cup. This allowed it to slide over the existing intake and form the shaped of the cowl. Did some trimming and taped in place to see what it looked like. Not too bad.
 
Top