TH Airframe Servo Replacement
Please take some pics on how to get the rudder servo out.
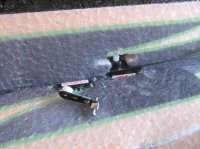
Step #1: Remove the Servo Arm.
Step #2: Remove RX. Mine was hot glued to the EPP truss on the left side.
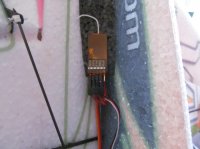
Step #3: Cut EPP truss on the left side. My wires are routed and hot glued secure under the left side truss. In order to get the servo out I needed to break my hot glue joints on the wiring. Be careful when cutting your truss not to cut too deeply or you could cut your servo wires.
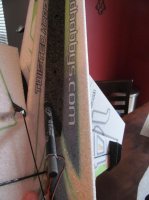
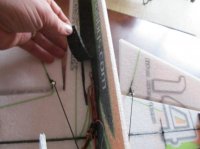
Step #4: Remove wiring to gain access to servo. You can see that I put my hot glue dabs on the servo casing so that if I ever needed to replace a servo I could just pull off the hot glue and not have to worry about pulling away the EPP.
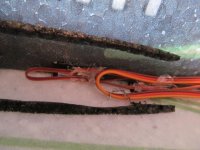
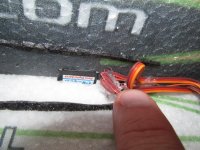
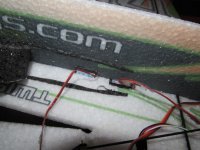
Step #5: Cut servo out at the glue joints. Get right up next to the servo. I used welders glue on the bottom of the servo and on the tabs to mount my servo during my orginal build.
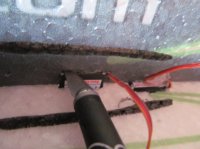
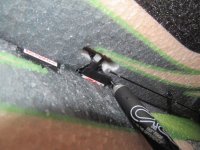
Step #6: Remove the servo. Test it with your finger first to make sure it is moving around, cut an areas that are still bonded to the foam. Once you are sure it is loose pull it out. I used a pair of hemostats to get a good grip.
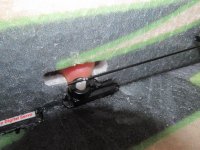
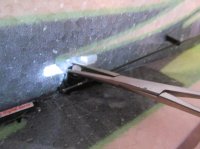
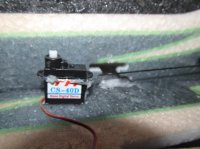
Step #7: Re-Install new servo per the manual, route wires, glue truss with Welders.
Step #8: Go Huckin!
The entire removal process took about 5 minutes. Reinstallation process will probably take a little longer just because I have to reglue everything.