• If you are new to GiantScaleNews.com, please register, introduce yourself, and make yourself at home.

    We're 1st in Giant Scale RC because we've got the best membership on the internet! Take a look around and don't forget to register to get all of the benefits of GSN membership!

    Welcome!

IMAC Carden Pro 124 Build, My Dream Plane

ROLLERMAN

70cc twin V2
Thank you guys,

Worked on the fuselage last night, but I forgot my camera at home, final sanding today and its on to covering. The fuse should go fast. I'm not sure what I will do on it, I do know the turtle deck hatch and top of the cowl will be orange white on the sides and bottom and from there the trimming. Since the wings have curves on them I think the fuse should too. I wish I was good at photo shop.

Hello Dennis, PLEASE DON'T EVER STOP SELLING CARDENS.
 

HRRC Flyer

GSN Sponsor Tier 1
Thanks @ROLLERMAN,

I appreciate your offer, but I need to learn how to do it better. I am going to do it and use what I learn so hopefully I will do a good job on my Carden when I build it.
 

ROLLERMAN

70cc twin V2
You got it, only way to get better is to do it. If you have any questions when you do it look me up, sounds like a road trip for me. :big-grin:
 

ROLLERMAN

70cc twin V2
WOOOOOHOOOOO!!!!! Almost done with covering, rudder is left but, I’m waiting on the SWB control horn for the rudder.


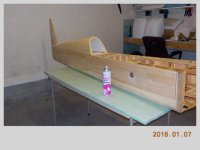
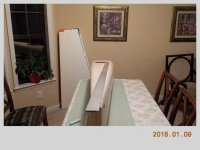
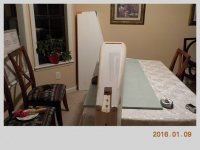
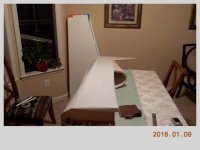
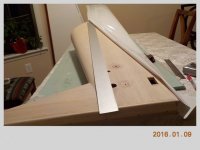
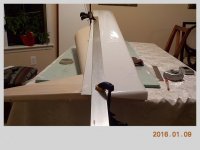
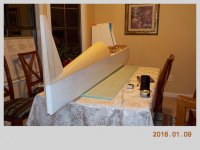
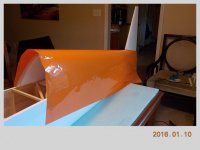
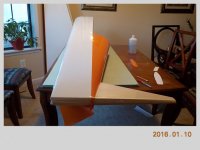
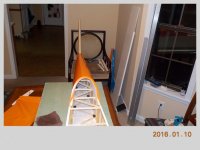
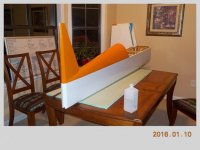
The first two pictures show before and after I sprayed the hairspray on the fuse. I allowed it to dry overnight. I did the final sanding with 400, then blew it off AND vacuumed it.


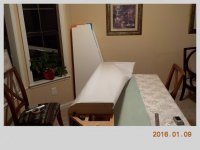
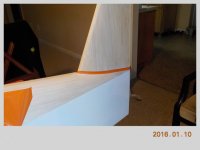
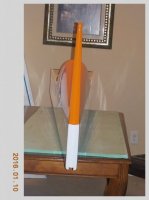
I started from the bottom, then the sides and the last piece was the orange. I made the bottom piece small so that I could bring the sides down underneath the fuse, this way you can’t see the lines on the monokote.


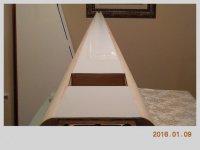
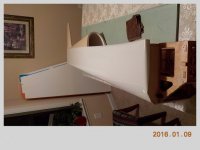
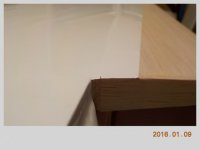
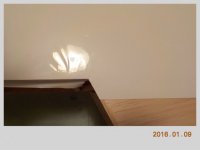
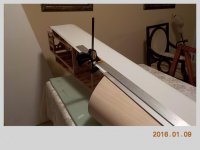
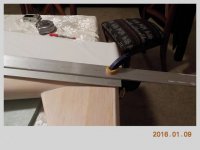
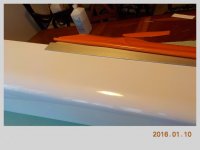
I started with attaching the monokote to the bottom piece and pulling up on it, you can use tape to hold it in place, and this will help you make the marks. I gave myself about 3/16 overlap so that the orange has something to grab on too. As you can see on the pictures I have an aluminum straight edge underneath the monokote, this gives me a great surface to cut the line perfectly straight with a second straight edge on top. I used two clamps to hold it in place. I used this method for the turtle deck as well. Then it was the fin.
 

Attachments

  • DSCN0035.JPG
    DSCN0035.JPG
    57.7 KB · Views: 280
  • DSCN0036.JPG
    DSCN0036.JPG
    61.1 KB · Views: 286
  • DSCN0037.JPG
    DSCN0037.JPG
    71.1 KB · Views: 263
  • DSCN0040.JPG
    DSCN0040.JPG
    63.2 KB · Views: 298
  • DSCN0042.JPG
    DSCN0042.JPG
    63.3 KB · Views: 300
  • DSCN0044.JPG
    DSCN0044.JPG
    69.7 KB · Views: 285
  • DSCN0046.JPG
    DSCN0046.JPG
    51.1 KB · Views: 288
  • DSCN0047.JPG
    DSCN0047.JPG
    68.2 KB · Views: 278
  • DSCN0048.JPG
    DSCN0048.JPG
    61 KB · Views: 311
  • DSCN0049.JPG
    DSCN0049.JPG
    54.6 KB · Views: 280
  • DSCN0051.JPG
    DSCN0051.JPG
    28.4 KB · Views: 243
  • DSCN0052.JPG
    DSCN0052.JPG
    31.5 KB · Views: 274
  • DSCN0053.JPG
    DSCN0053.JPG
    62.5 KB · Views: 247
  • DSCN0055.JPG
    DSCN0055.JPG
    65.2 KB · Views: 258
  • DSCN0056.JPG
    DSCN0056.JPG
    55.1 KB · Views: 264
  • DSCN0057.JPG
    DSCN0057.JPG
    59.2 KB · Views: 261
  • DSCN0060.JPG
    DSCN0060.JPG
    76.1 KB · Views: 294
  • DSCN0061.JPG
    DSCN0061.JPG
    50 KB · Views: 247
  • DSCN0062.JPG
    DSCN0062.JPG
    57.4 KB · Views: 251
  • DSCN0063.JPG
    DSCN0063.JPG
    44.9 KB · Views: 269
  • DSCN0065.JPG
    DSCN0065.JPG
    67.7 KB · Views: 272
  • DSCN0067.JPG
    DSCN0067.JPG
    71.2 KB · Views: 261
  • DSCN0069.JPG
    DSCN0069.JPG
    77.5 KB · Views: 242
  • DSCN0071.JPG
    DSCN0071.JPG
    34.8 KB · Views: 244

Alky6

150cc
Wow! Awesome!! I assume that you had already tacked down the covering on the bottom and partway up the sides (and forward of the turtle deck) before cutting? These are some great tips and tricks! Thanks!
 
Top