• If you are new to GiantScaleNews.com, please register, introduce yourself, and make yourself at home.

    We're 1st in Giant Scale RC because we've got the best membership on the internet! Take a look around and don't forget to register to get all of the benefits of GSN membership!

    Welcome!

Scale 1/3 Scale Harvard with Moki 250

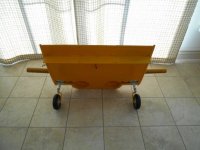
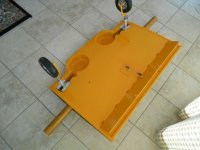
CENTER WING

This section is 35 inches wide by 26 inches deep.

The wheels are "Electric Driven" so there is no worry about air leaks etc. The landing gear (made in Germany for this kit) was modified to electric by Down and Locked.

It has a full center span Landing Brake/Flap that I have mixed to when the outer wing landing flaps are deployed.
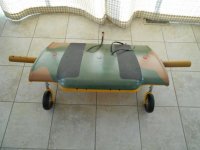
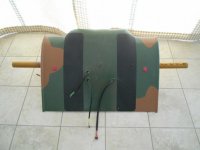
FRONT TOP.JPG BACK TOP.JPG FRONT BOTTOM.JPG BOTTOM BACK.JPG ANGLE VIEW.JPG
 

Bartman

Defender of the Noob!
@Krazy Kanuk

I was going to include your build thread in our monthly update but I saw you're doing an identical build thread at another site. Sorry about that! It's a nice project either way.
 
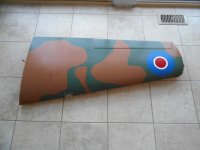
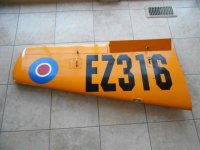
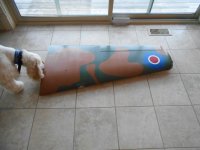
OUTER WING

The outer wings are about 48" long by 26 inches wide at the root. Both wings are very similar but on the opposite wing, on the underside, the numbers face in the opposite direction.

Attached is picture of my chief helper!
TOP WING.JPG BOTTOM WING.JPG SMELLS GOOD.JPG
 

dhal22

GSN Sponsor Tier 1
CENTER WING

This section is 35 inches wide by 26 inches deep.

The wheels are "Electric Driven" so there is no worry about air leaks etc. The landing gear (made in Germany for this kit) was modified to electric by Down and Locked.

It has a full center span Landing Brake/Flap that I have mixed to when the outer wing landing flaps are deployed.
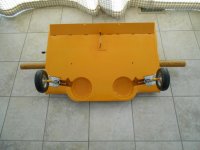
View attachment 49864 View attachment 49865 View attachment 49866 View attachment 49867 View attachment 49868


Love the big center flap.
 

Bartman

Defender of the Noob!
We need more build threads here. I'm not much help at the moment though.
i don't quite get the purpose of putting identical builds and comments at two or three different sites. i just can't feature a build that is being put here along with every other site. more builds would be nice, it's all very motivational, right?
 
i don't quite get the purpose of putting identical builds and comments at two or three different sites. i just can't feature a build that is being put here along with every other site. more builds would be nice, it's all very motivational, right?

Not everyone visits this site, and I would like to get valuable information from all out there that can help me. I certainly learned a lot about my Beautifying the Beast from GiantScaleNews comments.

Would you prefer that I DON"T post here?
 
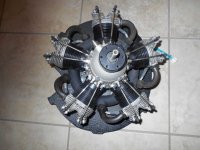
MOTOR MOUNT

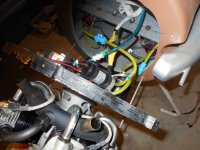
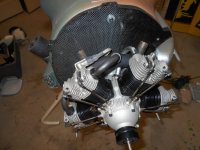
The engine is mounted on a removable firewall. 5 bolts hold the firewall to the fuselage body that has a 1/2 inch plywood ring inside the very front to where the firewall is secured.

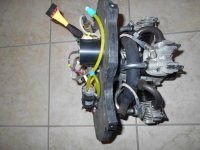
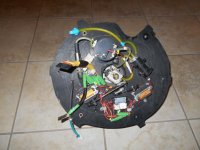
All the controls for the engine are mounted on the backside of the firewall.

The Throttle Servo, the Choke Servo, the Ignition Control, the Ignition Kill module, the Ignition battery regulator and the Ignition On/Off light. A total of 6 electrical leads going to the inside of the fuselage.

On top of that there is the gas line and the smoke line.

To make it easy to remove the engine, I used Thunderbolt TBOLT Multi-Servo Harnesses so I don't have to worry about not attaching the lead from the throttle or whatever to the wrong lead or connecting them reversed.

http://www.thunderboltrc.com/index.p...ndex&cPath=153

I did the same with the gas and smoke lines. I used two quick disconnect with an auto shut off built in them so I can quickly undo them and get the motor off the fuselage.

http://www.thunderboltrc.com/index.p...x&cPath=89_188

FRONT.JPG SIDE VIEW.JPG BACK SIDE.JPG
 
ENGINE INSTALLATION

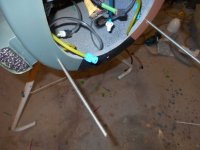
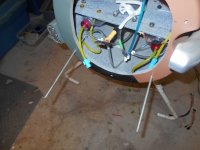
Bolting this heavy engine onto the fuselage is quite difficult with only having two hands especially when you are trying to attach the electrical leads and the fuel lines.

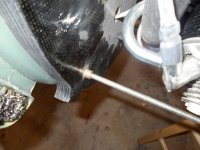
To help me out, I use two long 1/4-20 threaded rods that go into the blind nuts in the front of the fuselage. These act as a guide and a support so I can get the engine in place as I attach the electrical leads and fuel lines.

To help insert the threaded rods into the firewall, I inserted two bronze 1/4 inch ID bushings in the firewall. Before adding these I found that the threads on the long rods were binding and elongating the holes in the firewall. The bushings stopped that problem.

As extra security, I have my stool at the tip of the engine to help support some of it's weight.

Once I have three bolts holding the engine in place, I remove the threaded rods and insert two more bolts.

THEAD INSERT RODS.JPG INSERT GUIDES.JPG BUSHINGS.JPG SLIDING ENGINE IN PLACE.JPG ENGINE IN PLACE.JPG
 
Top