Got some more work done, but before I mention what I did, I need to tell you all a story.
In my office exam rooms, there are 8 of them, I place all my RC airplane model magazines around, so that it can be read or looked at, while the patient waits for me. One of my dear patients, has asked me in the past, if this was my hobby, and I said yes.
In any event, it has been 1 year since I did his hip replacement, and today, he brought me a gift. He explained to me what his hobby is, and he tells me he has been doing this for decades, and he goes to competitions, where they give out 1st, 2nd, and 3rd place trophies.
Here is a glimpse of the gift he gave me:
I took a picture of this with my I-phone, and it is at most 2 inches tall. He tells me it is called a STEAMPUNK. In any event, it is highly detailed and amazing how he has done the whole thing.
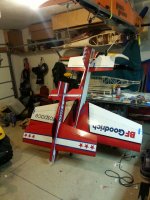
Ok, the rudder is covered, and it is hinged.
I decided to install the motor.
1st thing to do, is to make a connection for both choke levers...
Here, the choke is closed....
and here...
next, I disconnected the springs on the throttle arm, and did not remove the springs. I then had to add this second arm, that will connect to the servo.....
here are my bolts to mount the motor. These are Titanium 6 mm bolts, with titanium washers and titanium lock nuts.
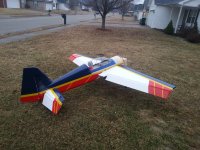
This is it all installed, I also used a Ron Bullard shim on the left side, to increase the right thrust....
This is what I have so far. Tomorrow, I will cover the stabs and elevators, and finish the install of the throttle servo and the CDI.
Today, I began the prep work on the surface of the stabs, and sprayed them down with hair spray. Tomorrow, I will do the final sanding, and then wipe them clean, and then cover them.
")