Dooinit
70cc twin V2
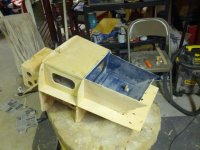
No way!!!!!! Did you document that. Ha. Looks niceIf I can take this:
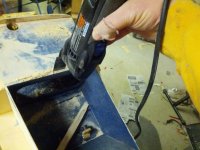
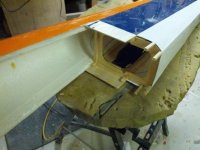
View attachment 6116
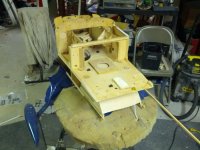
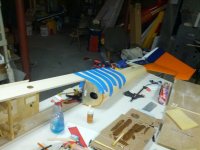
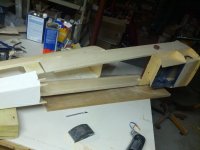
to this:
View attachment 6117
You should have no problems with yours. Good luck.
No way!!!!!! Did you document that. Ha. Looks niceIf I can take this:
View attachment 6116
to this:
View attachment 6117
You should have no problems with yours. Good luck.