Terryscustom
640cc Uber Pimp
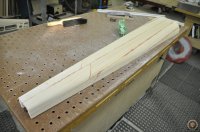
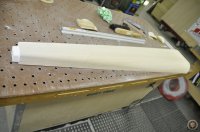
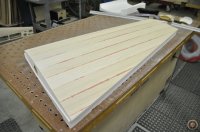
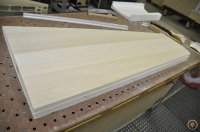
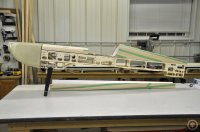
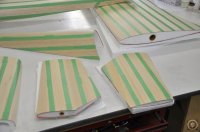
Here are a few vids that I did to better outline the sheeting process and vacuum bagging:
 Hmm.... soooo maybe ya want to just assemble one for me and then I can do the covering???? Yes? I really like the way you do schtuff Terry.