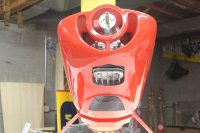
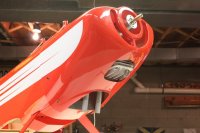
The wings and tail section are the next big step forward and the sequence is a little odd but there's good reason for it so here it is
1. join wing halves together, top and bottom
2. attach bottom wing to the fuselage, double check alignment, attach fairing assembly
3. with bottom wing attached, check alignment of horizontal stabilizer and glue into place
4. glue vertical stabilizer into place
5. maybe attach elevator halves and rudder by gluing the pin hinges into place
6. top wing positioning and mounting along with mounting of interplane struts
The goal is to make sure the factory mounting points for the lower wing are correct and then use a correctly placed lower wing to get the tail nice and straight followed by proper placement of the top wing and I-struts.
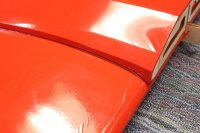
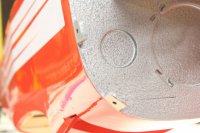
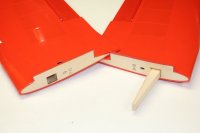
To join the upper and lower wing halves there is a joiner that needs to be epoxied into place. There'a a lot of gluing surface to be coated so I glued each joiner into one wing panel, let it set, and then glued the halves together. At this point I've got the top and bottom wings joined and the lower wing fairing attached and sealed up. I've got to get the tail feathers attached next
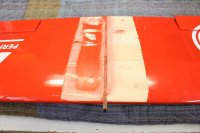
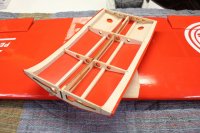
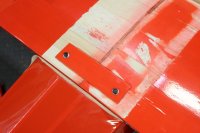
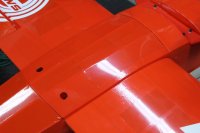
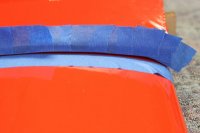
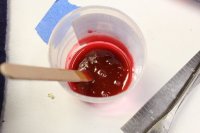
After attaching what I thought was a nicely fitting fairing I found that I had some gaps. Rather than seal it up with a trim strip I wanted to seal it enough to keep out exhaust residue and dust since it's under the plane in the wash of the engine and exhaust. So with a few suggestions from my fellow GSN members I mixed up some epoxy and used ink from a red Bic pen for tint. I also used an empty epoxy bottle as an applicator to force the epoxy into the crack after taping it all off.
