Jwmav528
70cc twin V2
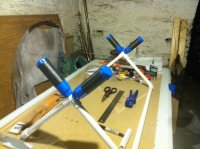
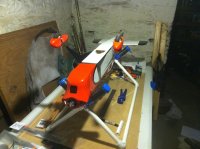
Plane stands are great ways to prevent damage from occurring to our models during storage, transport, or maintenance. In the case of planes like the Vyper Bype, a stand is a necessity because of the battery hatch being on the bottom of the aircraft. The plywood one that comes with the kit is very high quality. Unfortunately, the one that came with mine does not fit with the wings on and since I bought it used, I didn't think it was appropriate to trouble the guys over at 3D Hobby Shop with my problem. I am a big advocate of stands for all planes anyways so here goes. I got the idea for this stand from Vintauri so all credit should go to him.
You will first need to measure how high you will want the nose and the tail of the plane. You will need to take into consideration of how you will use the plane to determine this height. In most cases, you'll just want it to be high enough to have the gear off the ground. Or maybe you'll want to have your stand high enough to carry equipment underneath your plane. When choosing your height, be sure to not make it too high as a high CG on the stand could leave you with a stand that tips in transport. For me, I need to be able to put the plane on the stand upside down for battery changes so I measured it upside down. Here are my measurements. I opted for the nose where it mounts on the stock stand and the tail just in front of the elevator servo. I added an extra half inch to my measurements for a little breathing room.
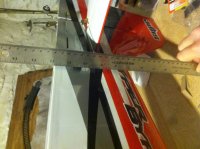
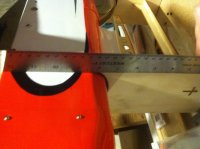
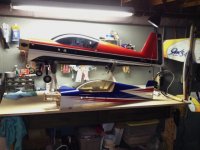
Once you have your measurements, use geometry to determine your lengths that you'll need. If you look at my picture in the beginning of this article, you'll notice that I've made use of triangles with 90 degree angles at the top. I did this for two reasons. 1. The math becomes easy and 2. The wide base lowers the CG of the stand which increases its stability. So onto the math. The right angles allow you to use the height that you determined to determine the length of the bottom diagonal pieces with the pythagorean theorem. Since your height will be equal to half of the width of your base, you can calculate your diagonal pieces by multiplying your desired height by itself then doubling it and taking the square root of your result. It's all doable on a calculator to save brain energy. My measurements came out to just shy of 10 inches so I decided to make my diagonal pieces 10 inches for even height on both the front and the back of the stand.
The last measurement is the distance between the two points on the plane where you want it to sit on the stand. Now that you know these numbers, decide how long you want your cradles to be and now you can go get your materials. So for me, I needed four 10 inch diagonal sections, two 27.5 inch sections, and I choose 5.5 inch sections for my cradle. Add all of this up to determine the length of PVC pipe you will need.
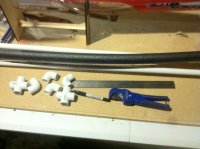
The materials you will need are enough 1/2 inch pvc pipe for all of the sections that you will need, 2 90 degree cross couplers, 4 right angle bend couplers, duct tape, 1/2 inch inner diameter pipe insulation, a pvc cutter, a razor blade, and a ruler. Note about dremel cut off wheels: PVC dust is hazardous. Avoid breathing it. I use a pair of pvc pipe cutters myself. Wear breathing protection if you decide to use a cutting method that will create pvc dust.
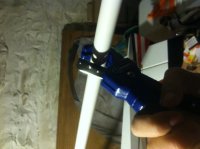
Now your job gets fun. Measure and cut your sections of pvc pipe that you previously measured.
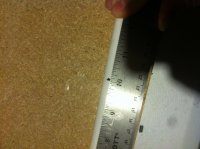
Attach a 90 degree bend to each end of your long sections as shown. You should have two of these. Use your razorblade to remove flashings from the ends of the pvc sections if you have difficulty getting the sections of pipe into the couplers.
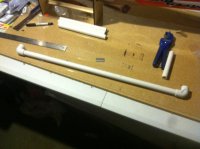
Now attach one of your diagonals into the other end of each of the 90 degree bends.
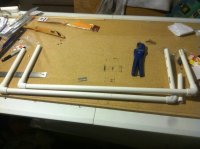
Take one of your assemblies pictured above and attach your 90 degree cross coupler to the ends of your diagonals.
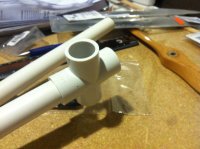
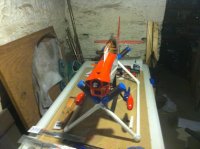
Now take your other assembly and connect it to the adjacent connector in the cross coupler. Finally add your cradle sections into the remaining two connectors. By now you should have something that looks like this.
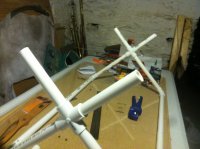
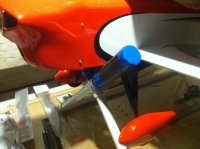
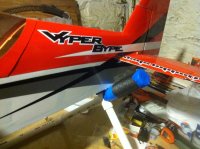
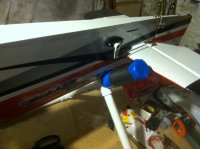
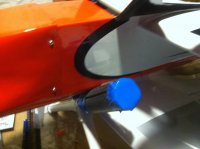
Now cut off a section of pipe insulation and fit it over each of your cradle prongs. Use the duct tape to hold it in place and I used a small patch of tape to cover the end of the prong. Repeat this on the other three.
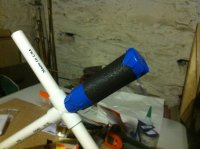

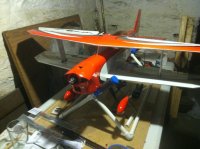
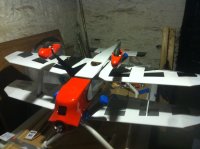
It fits my Byper perfectly and it is very stable! This does not take very much time either. It took me longer to write this article than it did to actually make the stand.
