I did decide after all to get the cabane struts mounted on the Pitts tonight. I don't know why I put it off for so long. It turned out to be a fairly easy task. And actually according to the manual, this step is done "after" the wings are built. I really didn't see the difference of when they were installed so I figured now is a good time. A quick reference to the manual and I was well on my way of getting them set in place to their permanent location. The first step for me was to insure one more time my building table was level and straight. Last thing I wanted was to have the incidence on the wings off. So far, the Pitts has been coming out quite nicely. Other than a minor vertical fin trailing edge post that for what ever odd reason decided to warp on me. But with it straightened, the rest of the fuse has been pretty much on the money. I first measured at the same distance, the back of each stab to insure they were still at the same height.
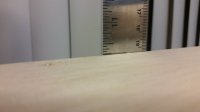
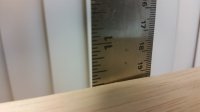
Ok, we're good to go. 10-1/4" for both. Next I dug out my trusty "Robart" incidence meter that I have not used in years. I almost sold it. I really didn't think I would be using it again. Lesson learned..."Don't sell that stuff". It just might prove to be useful someday. LOL. Again, at equal and same locations on each stab I checked my incidence of each stab. Hey, Who is building this thing? They are perfect.
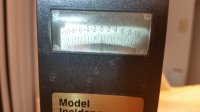
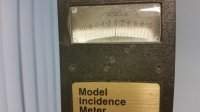
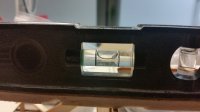
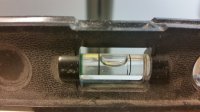
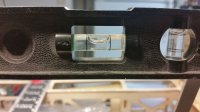
As a side note, each of the four previous photos are "right" stab level, "left" stab level. "Right" stab incidence, "Left stab incidence. Next I used my 6" level to check the fuse on both sides. Left side first, right side second. The bubble in the center told me I was good to go.
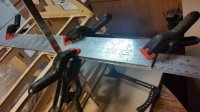
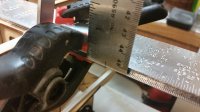
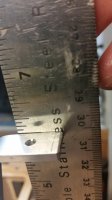
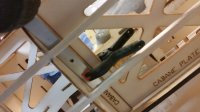
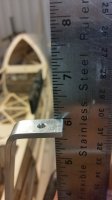
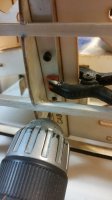
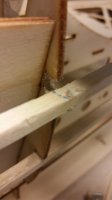
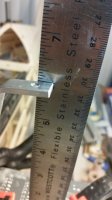
Now I was ready to start setting in the cabane struts. I used my square resting across the top of the fuse to give me a base in which to work from. Next I placed my 18" Stainless Steel Ruler under it leaving 1/8" edge the full length. Clamped into place, I now had a perfectly flat starting point to set the height of the cabanes. The manual calls for 6" from the top of the upper fuse longeron to the top of the cabane bend. I started with the right front cabane first. Laying my other 15" Stainless Steel Ruler on top of the 18"'er, measured up the required 6" and clamped the cabane into position. I figured by laying the cabane doubler between the strut and the cabane plate, I could use the pre-drilled holes in the struts as a guide. Drilling through the strut, then the doubler and finally the cabane plate.
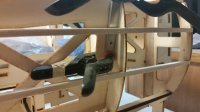
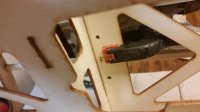
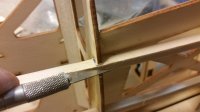
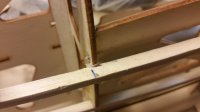
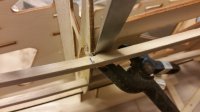
Well that worked out pretty slick. I am not so intimidated now. LOL. I did however run into a bit of a drawback. The clearance of the top fuse stringer sits really close at F3 so it was pretty difficult to get proceed with the right rear cabane as I did the right front. Simple alteration...I used a new hobby blade in my knife and cut the stringer loose at F3 so it could "float" out and away from the former. This way I was able to get the F3 cabane doubler and the strut into the proper location to drill the holes. One other little issue. The second fuse stringer down is just darned near in the same location as the lower cabane strut hole. I had to angle my drill just a tad to get it in the cabane to start the hole. Then "walked" it back up to get a straight in hole. It worked ok. The drill bit just barely started taking a little meat of the stringer away, but this should not be a big deal. Once they are re-glued into position and the fuse is sheeted in that area, it will not make an ounce of difference in strength in that area. I really don't think there is an easier way to do this step. I first thought it would be easier of the stringers were not in place and this step was done earlier in the build. But that really would not work because the stringers have to be in place to do the cross bracing that strengthens the fuse. Once I had all four of the cabanes in placed and all the holes drilled, I used a 6/32 bolt in each of the struts to hold them into position for a final check of alignment and level. One other thing that helped while drilling each of the holes on the struts was once the top hole was drilled, I used the 6/32 bolts that I later used for alignment in the first drilled hole to help keep the strut in place while I drilled the second hole of each strut. Ok, struts in place...check the level of each set of struts on both sides of the fuse. Not too shabby....
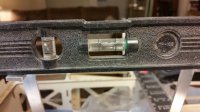
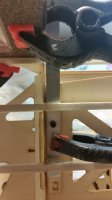
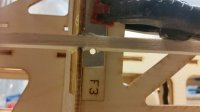
Finally, after all the struts were in place and the struts were checked for level length wise with the fuse, I checked them laterally from left to right side. Cool....looks like I got this step juuuussst right.
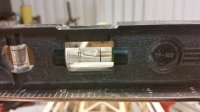
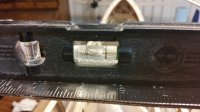
Checking first the front two struts, then the two rear struts. I am quite pleased with the outcome.
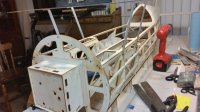
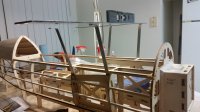
Before I epoxy in the cabane strut doublers and then bolt them in place, I will go back and re-measure each one individually then permanently attach each one.
There is no specifics in the manual of "when" to sheet the fuse and it would seem logical to me to hold off on that step until "after" the wings are built and fitted to the cabanes. So I am going to hold off sheeting the fuse for now. Which in turn would offer ample opportunity and ease of any minor adjustments of the cabanes that may be needed while fitting the top wing to the struts. I am pretty sure the wings will build straight and true. As well as the bolt blocks lining up with the cabanes. But to be safe, I want a little "wiggle" room if necessary. Especially if I need a little re-finning to get the incidence on the top wing right.
So for now I am going to put the fuse off to the side, leaving it on the jig. I will start building the wings next. Once the wings are built and fitted to the fuse...(both top and bottom), I will then go back to the fuse to sheet it. And finally remove it from the jig and put in the bottom stringers.


