• If you are new to GiantScaleNews.com, please register, introduce yourself, and make yourself at home.

    We're 1st in Giant Scale RC because we've got the best membership on the internet! Take a look around and don't forget to register to get all of the benefits of GSN membership!

    Welcome!

IMAC Carden Pro 124 Build, My Dream Plane

thurmma

150cc
I would think you could use some body filler and sand it with 1000 grit to get it smooth, then prime and paint. Just my thoughts.
 

ROLLERMAN

70cc twin V2
LOL!!!! I would need to separate this in to two nights of work or I will end up using straight Patron on the balsa.
Thanks Ty
 

JBenson

50cc
Primo, I used Rut-Oleum Stone textured paint in gray on the Dalton and I have been very happy with both the results and the longevity of it. In order to reduce the amount needed to get a solid cote use a gray primer first and then lay a lite cote of the textured paint down as it is quite a bit heavier than the primer. Below is a link to the stone textured paint at Home Depot.
 
Hello Primo, I had met you at the judging school in Jacksonville this year. Awesome build thread. I was at a contest this weekend, and someone was flying this same airplane, and wow!! Flies very very nice!! Very tempting to me!!
 

ROLLERMAN

70cc twin V2
Hey Orthobird, go ahead and get you one.

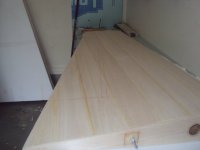
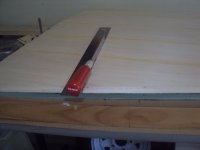
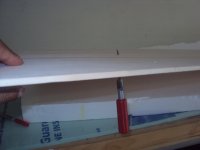
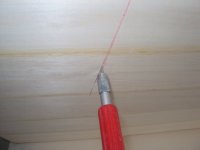
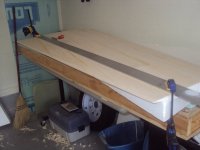
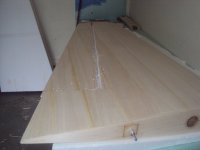
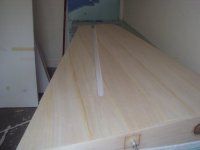
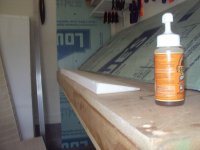
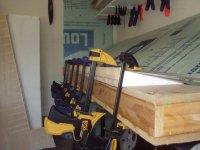
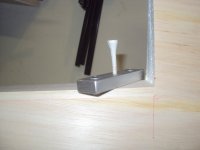
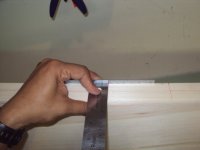
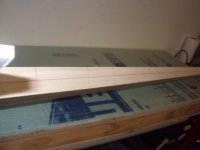
OK, few more steps closer, I took a break from the hatch and worked on cutting the ailerons and everything else that comes with that like gluing on the LE, TE and locating the hinges. Unlike the rudder and elevators I decided to locate and drill the hinge locations after trimming the 3/8th balsa LE, TE strips. If you guys remember on the elevators I drilled both the LE and TE together giving me a perfect centering and because they are obviously shorter the aileron LE, TE I felt I could keep them center on the stabs and elevators, which it was the case. To find the center on the on the wings TE and aileron LE I made a tool which help me keep the drill straight and perfectly on center.
 

Attachments

  • DSC09277.JPG
    DSC09277.JPG
    39.2 KB · Views: 261
  • DSC09279.JPG
    DSC09279.JPG
    42 KB · Views: 271
  • DSC09280.JPG
    DSC09280.JPG
    39.2 KB · Views: 245
  • DSC09282.JPG
    DSC09282.JPG
    40.9 KB · Views: 292
  • DSC09283.JPG
    DSC09283.JPG
    57.7 KB · Views: 242
  • DSC09284.JPG
    DSC09284.JPG
    41.8 KB · Views: 260
  • DSC09292.JPG
    DSC09292.JPG
    40.9 KB · Views: 272
  • DSC09295.JPG
    DSC09295.JPG
    50 KB · Views: 269
  • DSC09296.JPG
    DSC09296.JPG
    57.6 KB · Views: 257
  • DSC09298.JPG
    DSC09298.JPG
    75 KB · Views: 250
  • DSC09303.JPG
    DSC09303.JPG
    52.6 KB · Views: 258
  • DSC09307.JPG
    DSC09307.JPG
    44.2 KB · Views: 282
  • DSC09308.JPG
    DSC09308.JPG
    42.2 KB · Views: 257

Alky6

150cc
Love the drill jig! Need to make one myself, thanks for the great idea. What did you use for the pins on the ends to engage with the outside of the LE and TE?
 

ROLLERMAN

70cc twin V2
I used rivets, another way would be to tap the hole with a 1/4 20 or 1/4 28 and after put some shrink tubing on the threads to keep from marking the balsa. If you make something post it here.
 

Alky6

150cc
Will do. If I go the route of cap screws, will probably machine off the threads where it protrudes. Good ideas!
Thanks!
 
Top