GSNadmin
Staff member
When you need a durable and tough surface on your model airplane parts, nothing comes cloth the fiberglass cloth and resin. The provide a smooth sub surface for primer and painted finishes and once you’ve done it couple of times, it becomes very easy to do. Here’s some Tips how I do it for the sub-wing of my 1/3-scale Fokker Triplane.
Supplies and Material

You’ll need, Pacer’s 2-part Z-Poxy Finishing Resin (www.franktiano.com), denatured alcohol, mixing cups and stir sticks, paper towels, and fiberglass cloth. For all my “glassing” jobs, I use 3/4oz. (per sq. yard) standard weave cloth. I get it from a company called Thayarcraft. I use their Type 106 cloth (.73oz) and it is very reasonably priced. The cloth is very fine and forms readily around curved shapes. Extremely easy to apply.

You’ll also need 220, 320 and 150 grit sand paper, and when it comes time for priming, some quick-drying automotive Spot and Glazing putty will make quick work of the little pin holes that will show up.
For current pricing, check with Thayercraft Inc., 710 W. Green Dr., High Point, NC, 27260; (800) 218-1375; www.thayercraft@cs.com
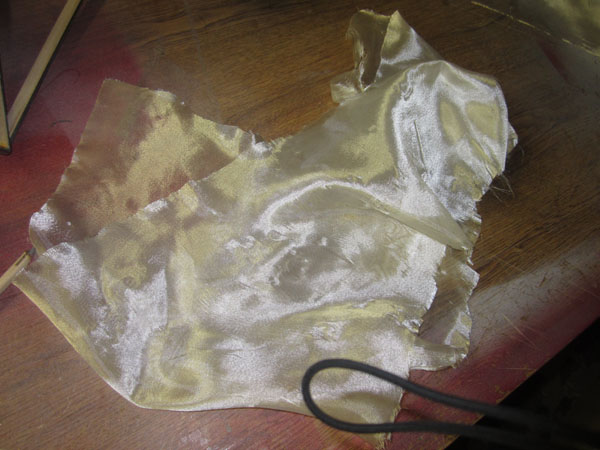
Start by cutting the cloth to size. It comes on a roll core and you simply lay it on a clean cutting surface and use a new, sharp hobby knife to make a clean cut with minimal snags.


Model Airplane News - The #1 resource for RC plane and helicopter enthusiasts featuring news, videos, product releases and tech tips.
Continue reading...
Supplies and Material
You’ll need, Pacer’s 2-part Z-Poxy Finishing Resin (www.franktiano.com), denatured alcohol, mixing cups and stir sticks, paper towels, and fiberglass cloth. For all my “glassing” jobs, I use 3/4oz. (per sq. yard) standard weave cloth. I get it from a company called Thayarcraft. I use their Type 106 cloth (.73oz) and it is very reasonably priced. The cloth is very fine and forms readily around curved shapes. Extremely easy to apply.
You’ll also need 220, 320 and 150 grit sand paper, and when it comes time for priming, some quick-drying automotive Spot and Glazing putty will make quick work of the little pin holes that will show up.
For current pricing, check with Thayercraft Inc., 710 W. Green Dr., High Point, NC, 27260; (800) 218-1375; www.thayercraft@cs.com
Start by cutting the cloth to size. It comes on a roll core and you simply lay it on a clean cutting surface and use a new, sharp hobby knife to make a clean cut with minimal snags.
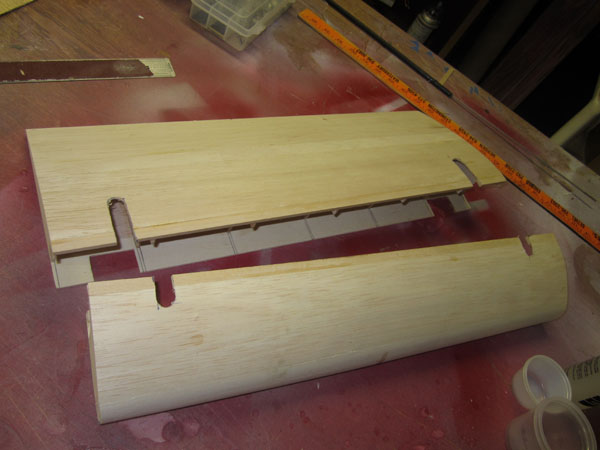
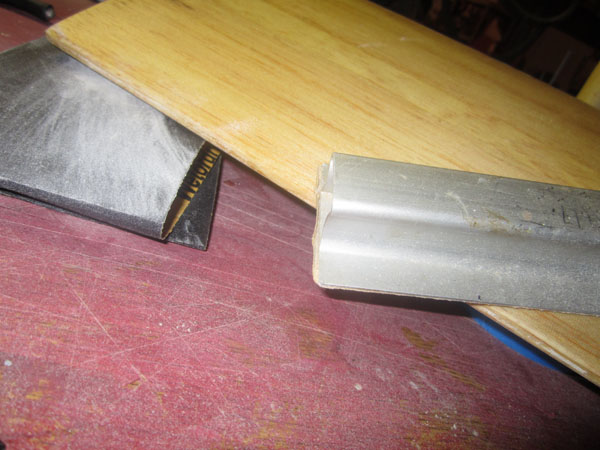
Above are the two halves of the Sub-Wing Structure. I have sanded it smooth and added filler to any dings and large seams. A quick wipe with a tack cloth makes it ready for the Fiberglass cloth.
I use throw-away mixing cups. A scrap of balsa makes a handy stirring stick. Just use a clean cup and plenty of paper towels.

Mix equal parts of PartA, PartB, and denatured Alcohol.
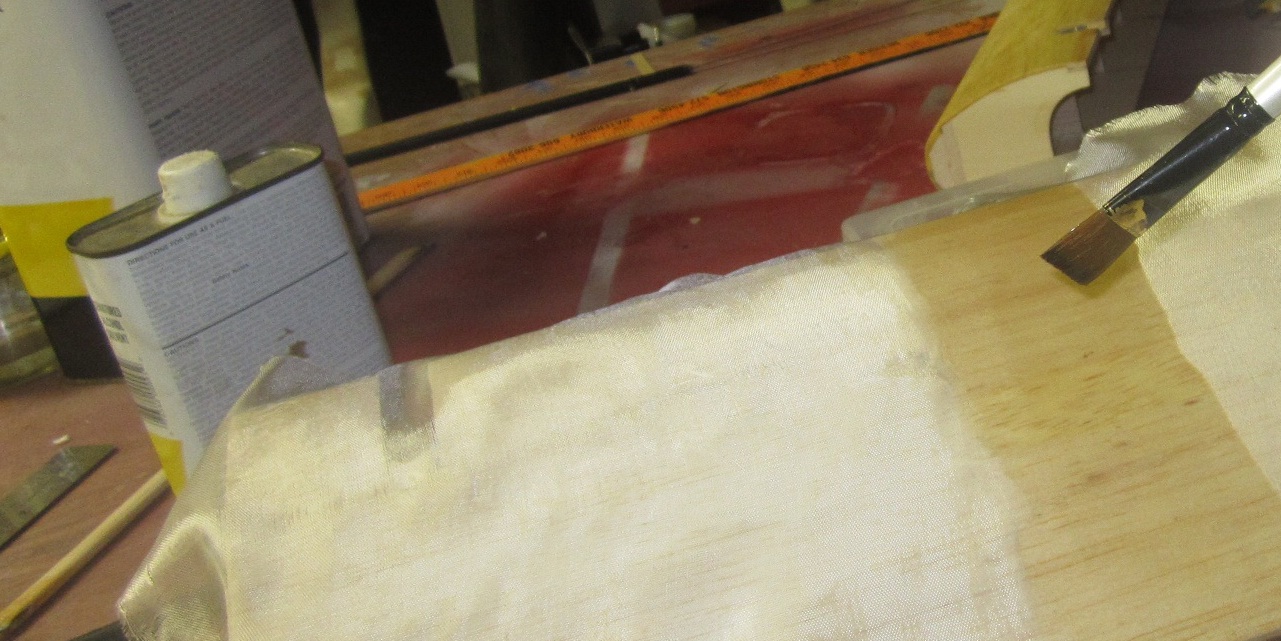
Drape the cloth over the part and apply a thin strip of resin down the center. This helps hold it in place while adding more resin.
Apply a second strip of resin 90 degrees to the first. This starts spreading the cloth out for a smooth finish.
Now add two diagonal strips of resin so you have a Union Jack pattern shown above. This smooths out wrinkles and loose patches.
When you get to the edges add more resin to form a bead along the sharp corner radius’. This seals the wood. Now set the part aside on top of some blocks to lift it off the workbench and let the resin cure overnight. When cured, you can trim away the cloth and resin from the edges by rubbing it with 220 grit sandpaper. You can then cover theother side of the Sub-Wing with another piece of fiberglass cloth. Set aside and let dry overnight.
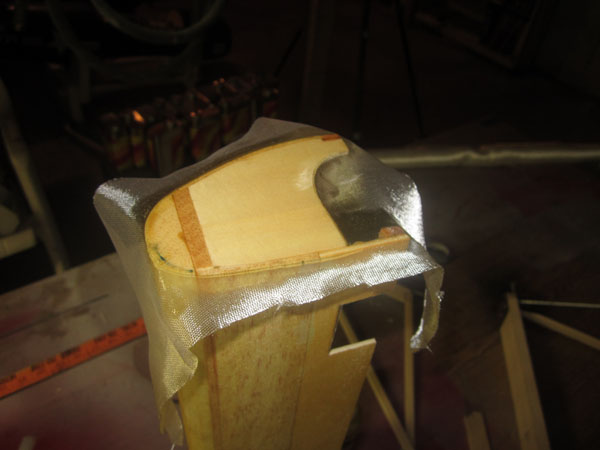
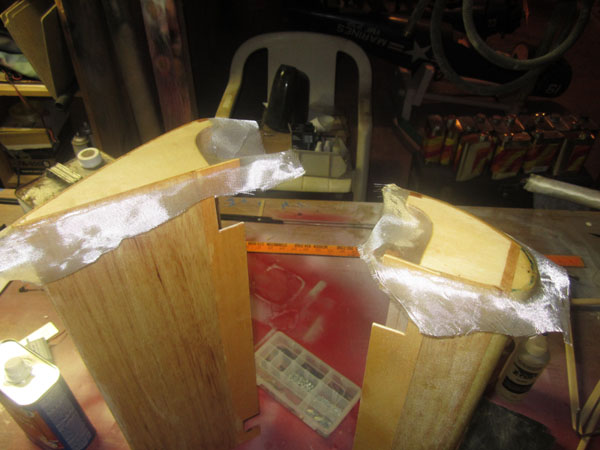
After the second large side is trimmed, apply smaller seperate pieces to the left and right ends in the same way. Allow to cure and trim away the waste cloth with 220 grit sandpaper.
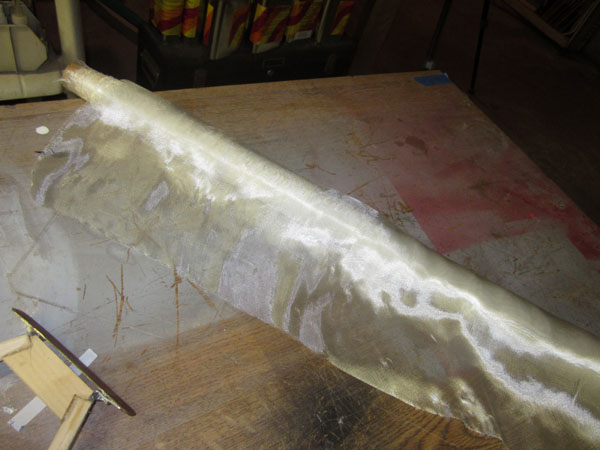
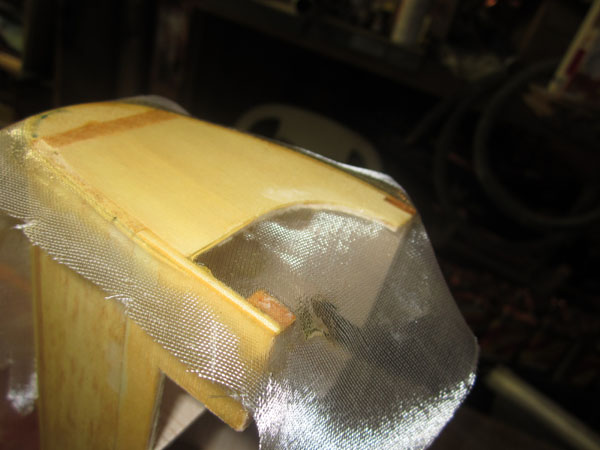
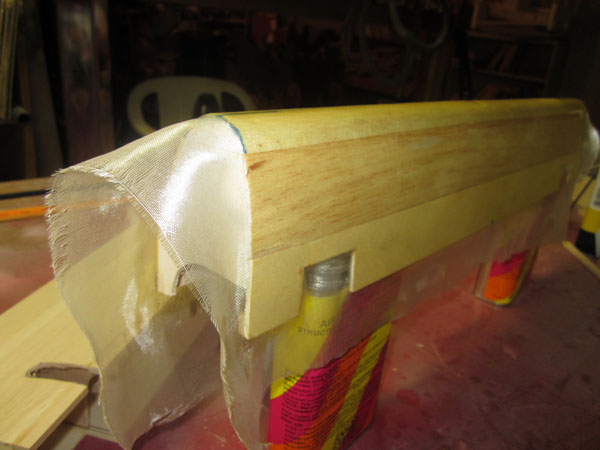
The front part of the Sub-Wing is covered with a single piece of cloth draped over both the top and bottom surfaces. Apply resin along the leading edge and then onto them top and bottom surfaces.
Allow the extra cloth to drape off the part until the resin has cured. Then use some 220 grit sandpaper to trim away the waste material.
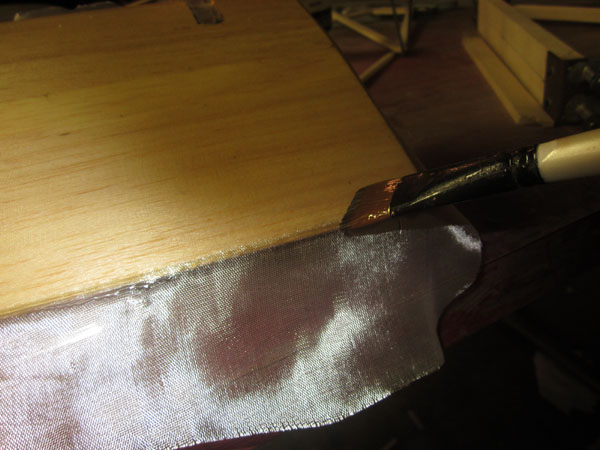
Sand through the cloth and resin along the sharp edges and it will cut through the cloth so the waste part drops free. Don’t use a sharp knife as you will always cut into the wood.
Sand at a sharp angle to the edge and the resin filled fiberglass cloth will fall away without much wood being exposed. Sandpaper is the tool to use.
As with the main part of the Sub-Wing, the front piece ends are covered with seperate pieces of cloth. Use the same techniques as shown above.
Mix small batches and if you have any left over, go on and use it to cover other parts. You can also use the resin to fuel proof engine and fuel tank compartments. No sence in throwing away perfectly good mixed resin. Maximize your usage buy thinking ahead and preparing the parts of your model needing finishing.
When sanding the resin beads along the sharp edges, use a metal sanding bar for a smooth straight, edge. Apply some more resin if there are any exposed wood areas along the sharp edges.
Once all the parts are covered and the resin has cured and the cloth has been trimmed, skuff the surfaces with 220 grit sandpaper and apply a second layer of thinned Finishing Resin and allow to cure overnight. Another sanding with 320 grit sandpaper, and you’re done.
That’s it! Stay tuned as we will soon be priming and painting parts of the Fokker Triplane!
Shop Tip: As I mentioned before with my covering tips, use a chemical blocking hand cream like “Invisible Gloves” while using any solvent and finishing resins. Afterwards you can clean up with mild soap and water.
Model Airplane News - The #1 resource for RC plane and helicopter enthusiasts featuring news, videos, product releases and tech tips.
Continue reading...
")