GSNadmin
Staff member
At some point in your model-building career, you will be faced with a problem. You will have an area of your model that requires a sheet of balsa wider than the material you have on hand. If you are like me, this usually happens when you are starting to make significant progress and when the local hobby shop is closed for the evening! Let’s say additionally you need a sheet of balsa that is 10 inches wide (sheeting a wing for example) and the local hobby shop only stocks 6 inch wide sheets. Even if the hobby shop is open, it seems you are out of luck. Another factor with wider balsa sheets is cost. It would seem that the cost per width of balsa sheet should be pro-rated but that isn’t so. One online resource lists 3×1/16-inch balsa sheet for $.90 per sheet, so a 12-inch-wide sheet of balsa should cost $3.60. Try $10.23! What’s a modeler to do? That’s right, we edge-glue sheet balsa to make the size sheet that we need!

The easiest technique I have found was learned from Randy Randolph’s column right here in Model Airplane News. I have used it many times and the result is a strong, nearly seamless joint. With this technique, you can theoretically make balsa sheets as wide as you like, only limited by the degree to which you’d like to become a benefactor of Ecuador.
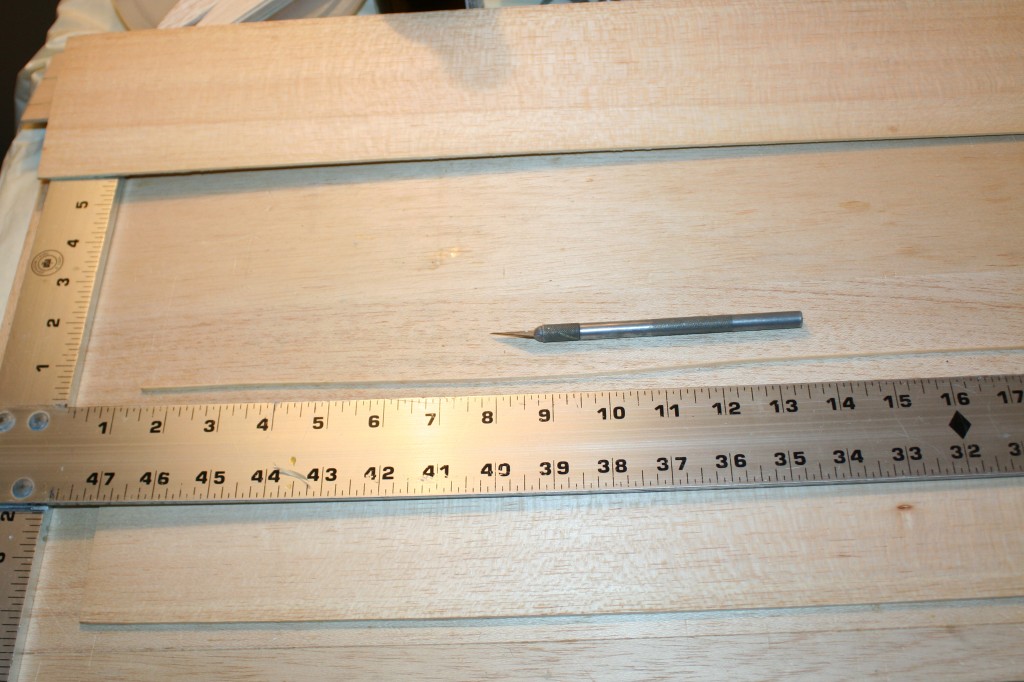
Step 1: True your sheets
It would seem that sheet wood from the factory should have a very “true” edge, meaning it should be perfectly straight along its border. There are a number of reasons that this doesn’t happen. If you lay the sheets flat and they are perfectly congruent along their edge, you can skip this step but I’d wager the farm that your sheets aren’t true. The 3/32-inch sheet I laminated had nearly a 3/32-inch gap mid-sheet due to untrue edges. Take a long straightedge (I used an aluminum framing square) and cut the mating edges true. Make sure your blade is vertical when cutting.

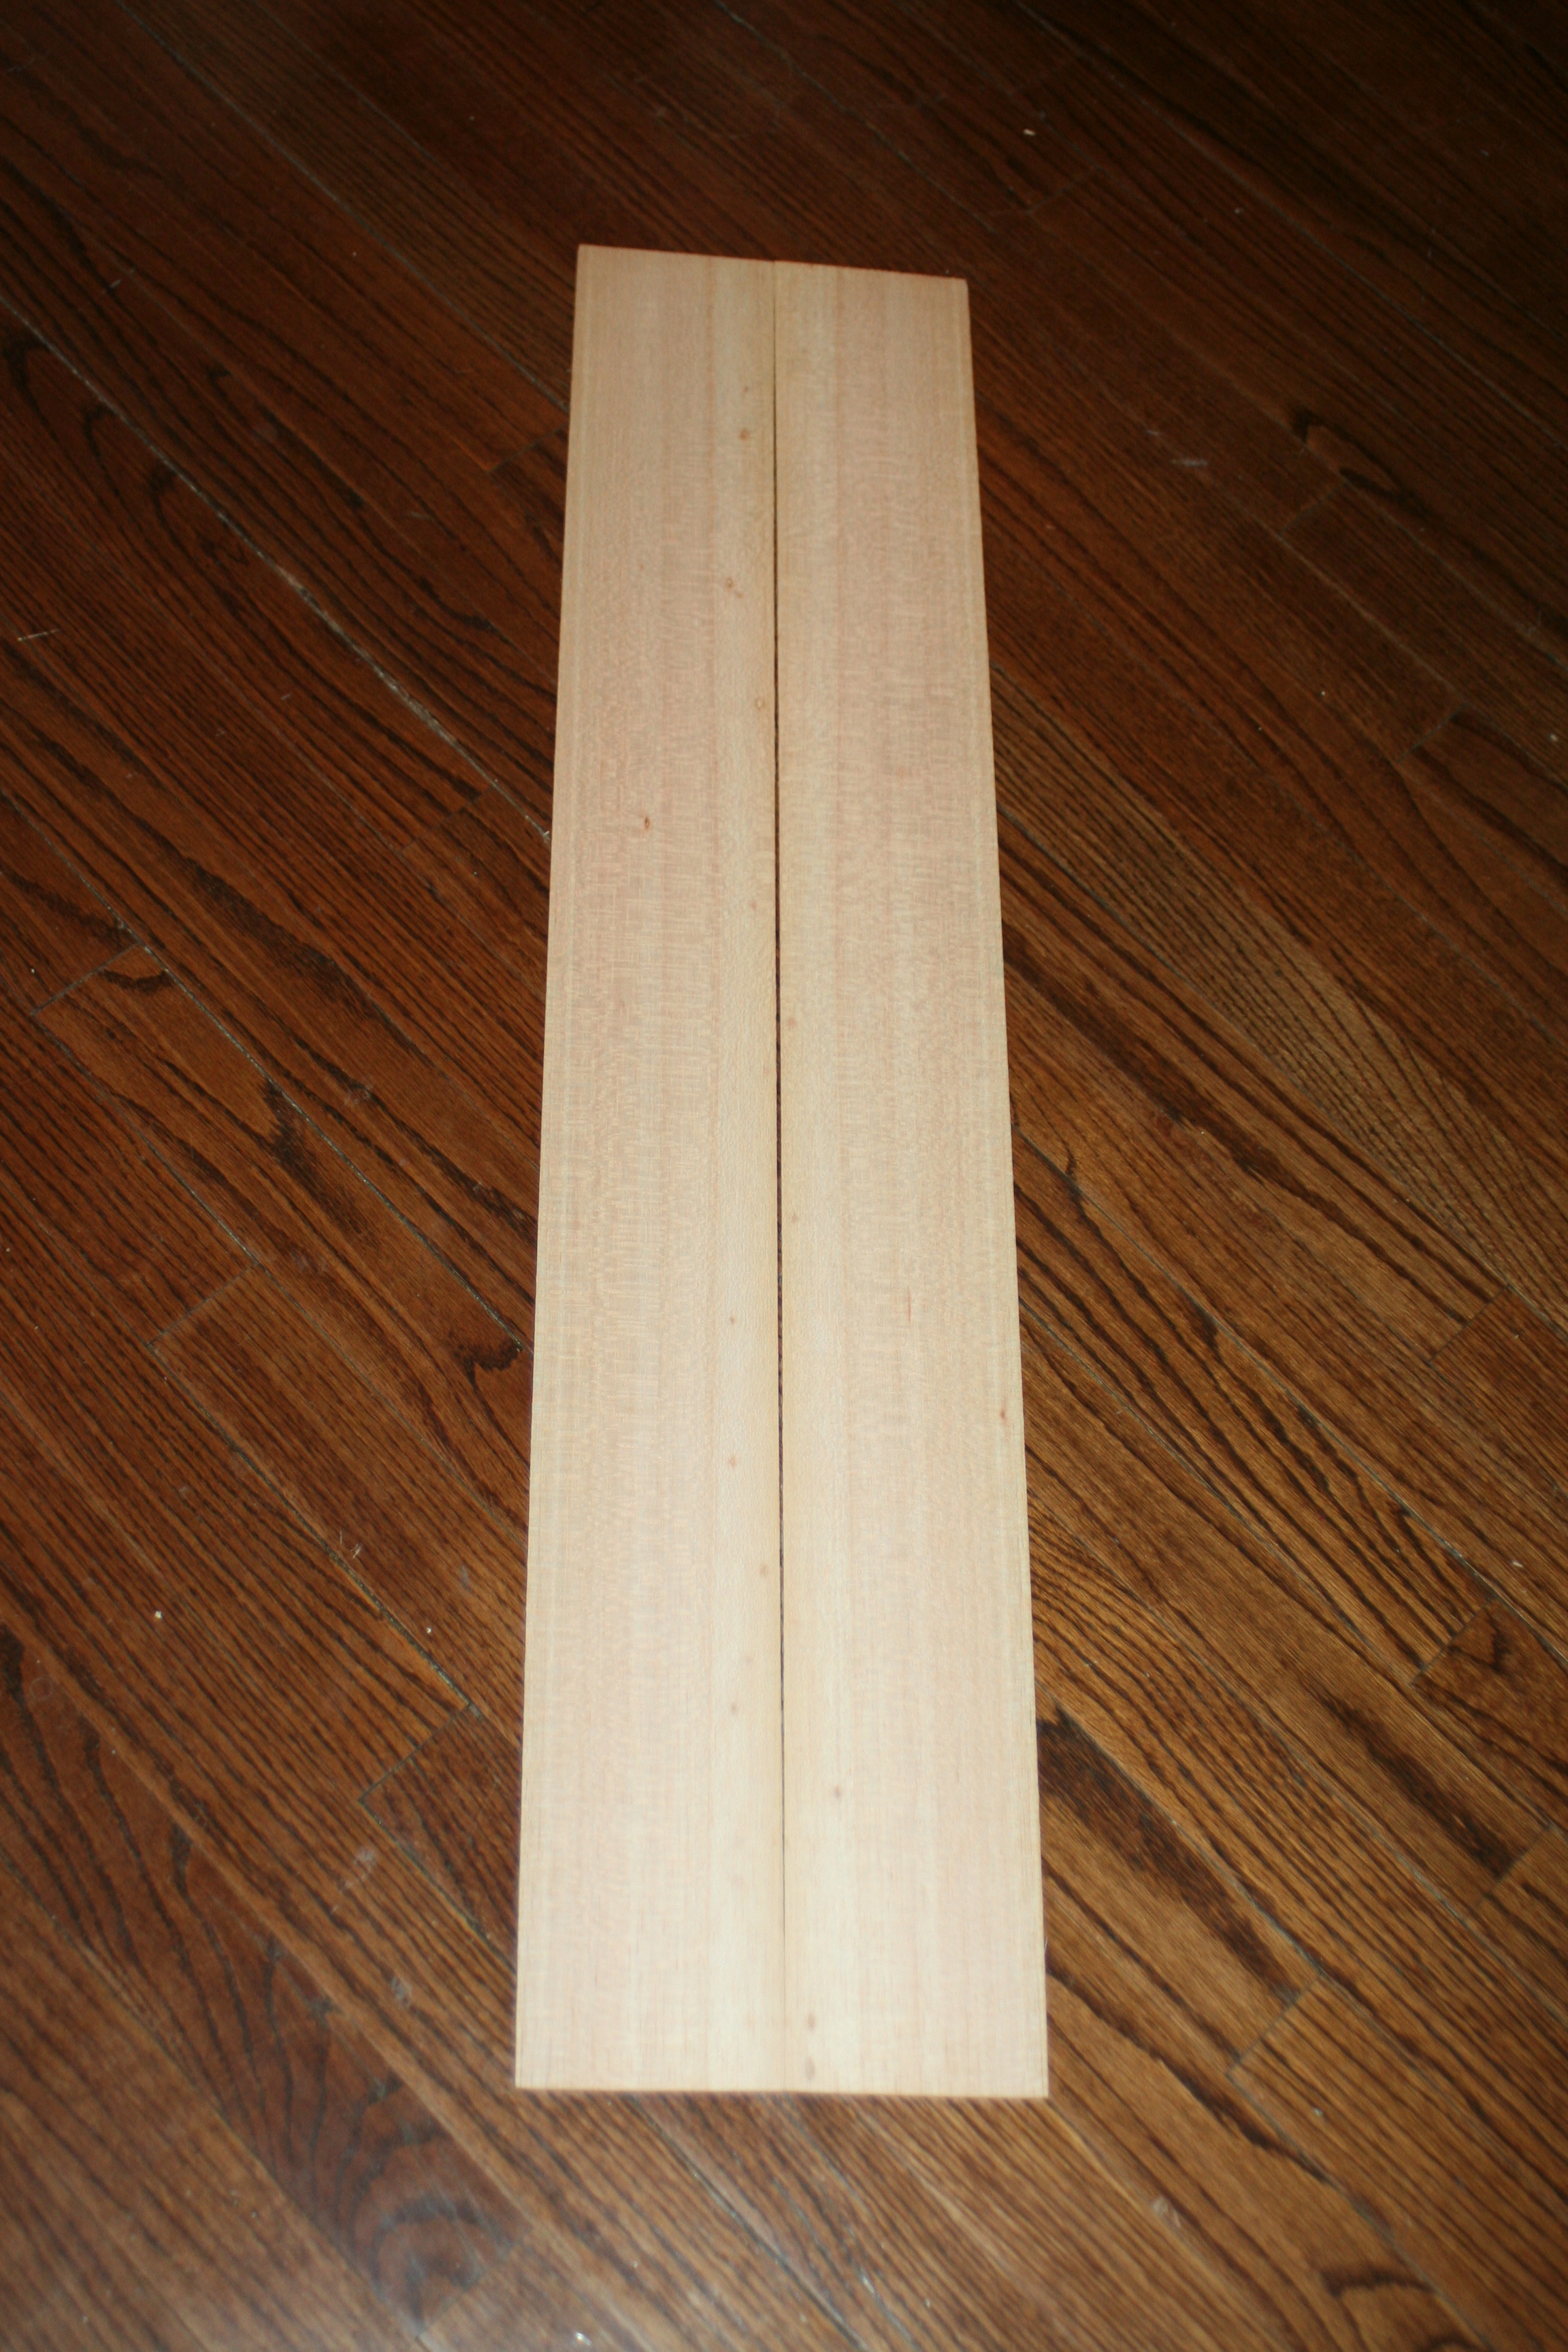
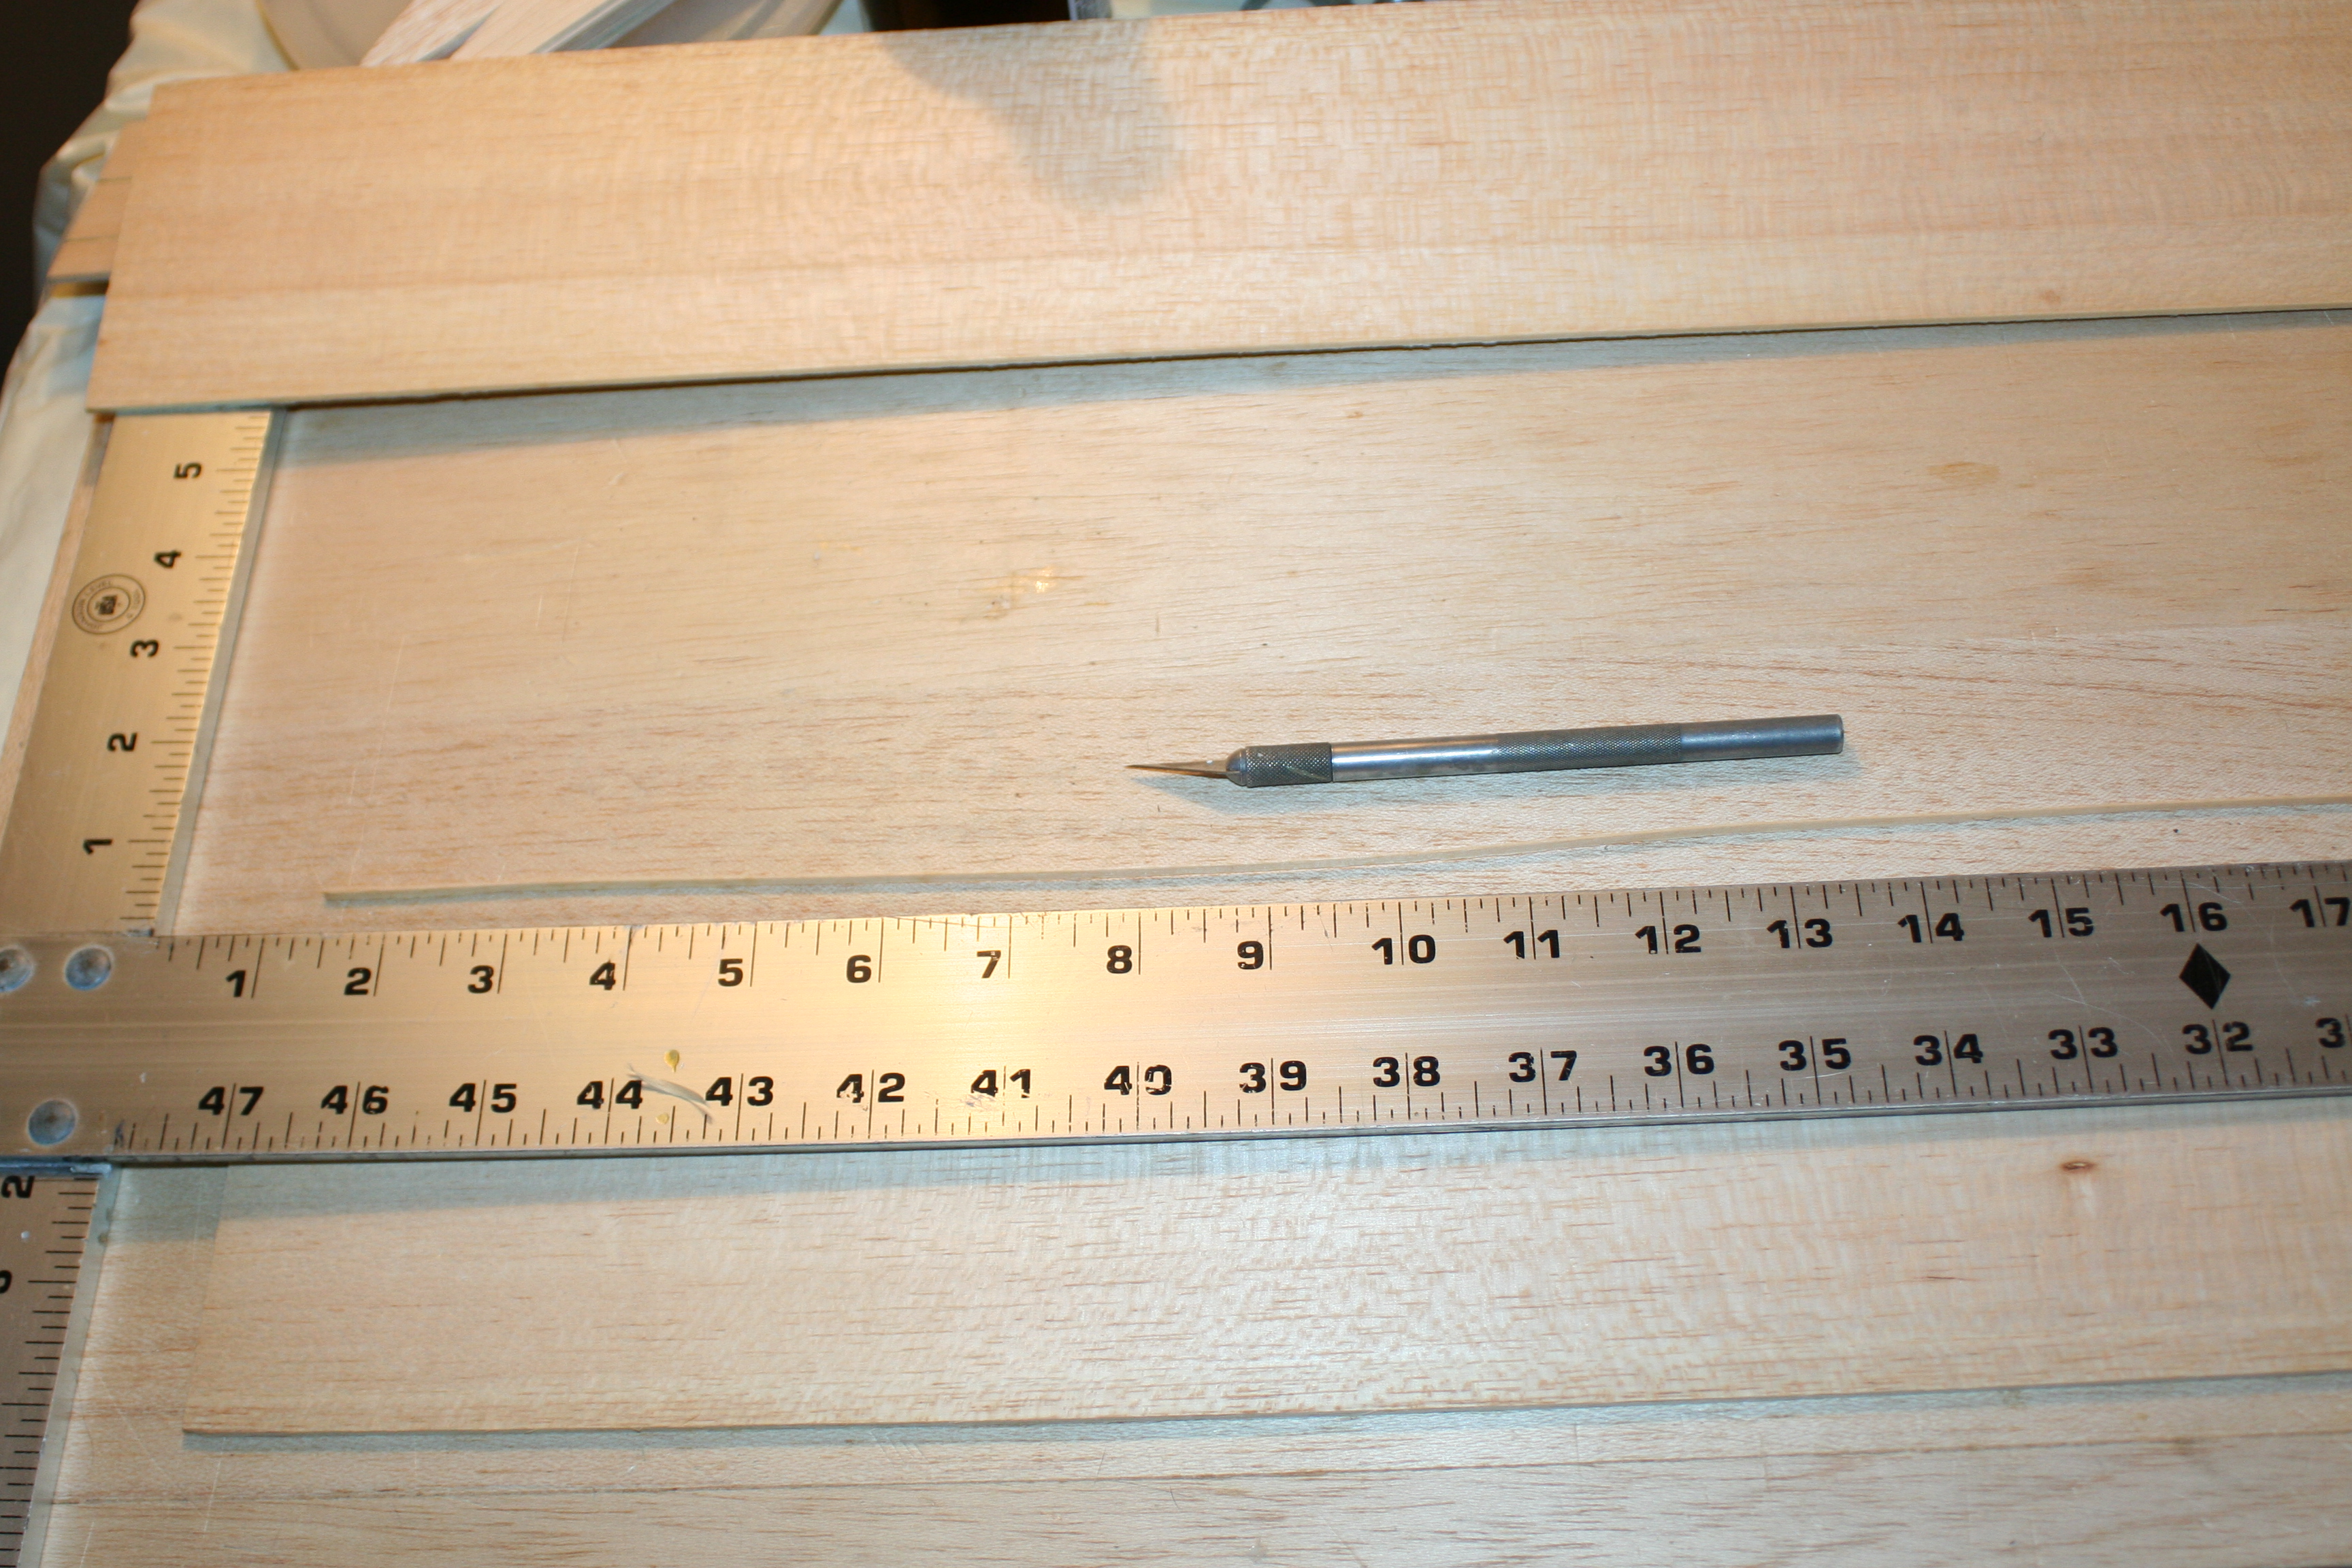
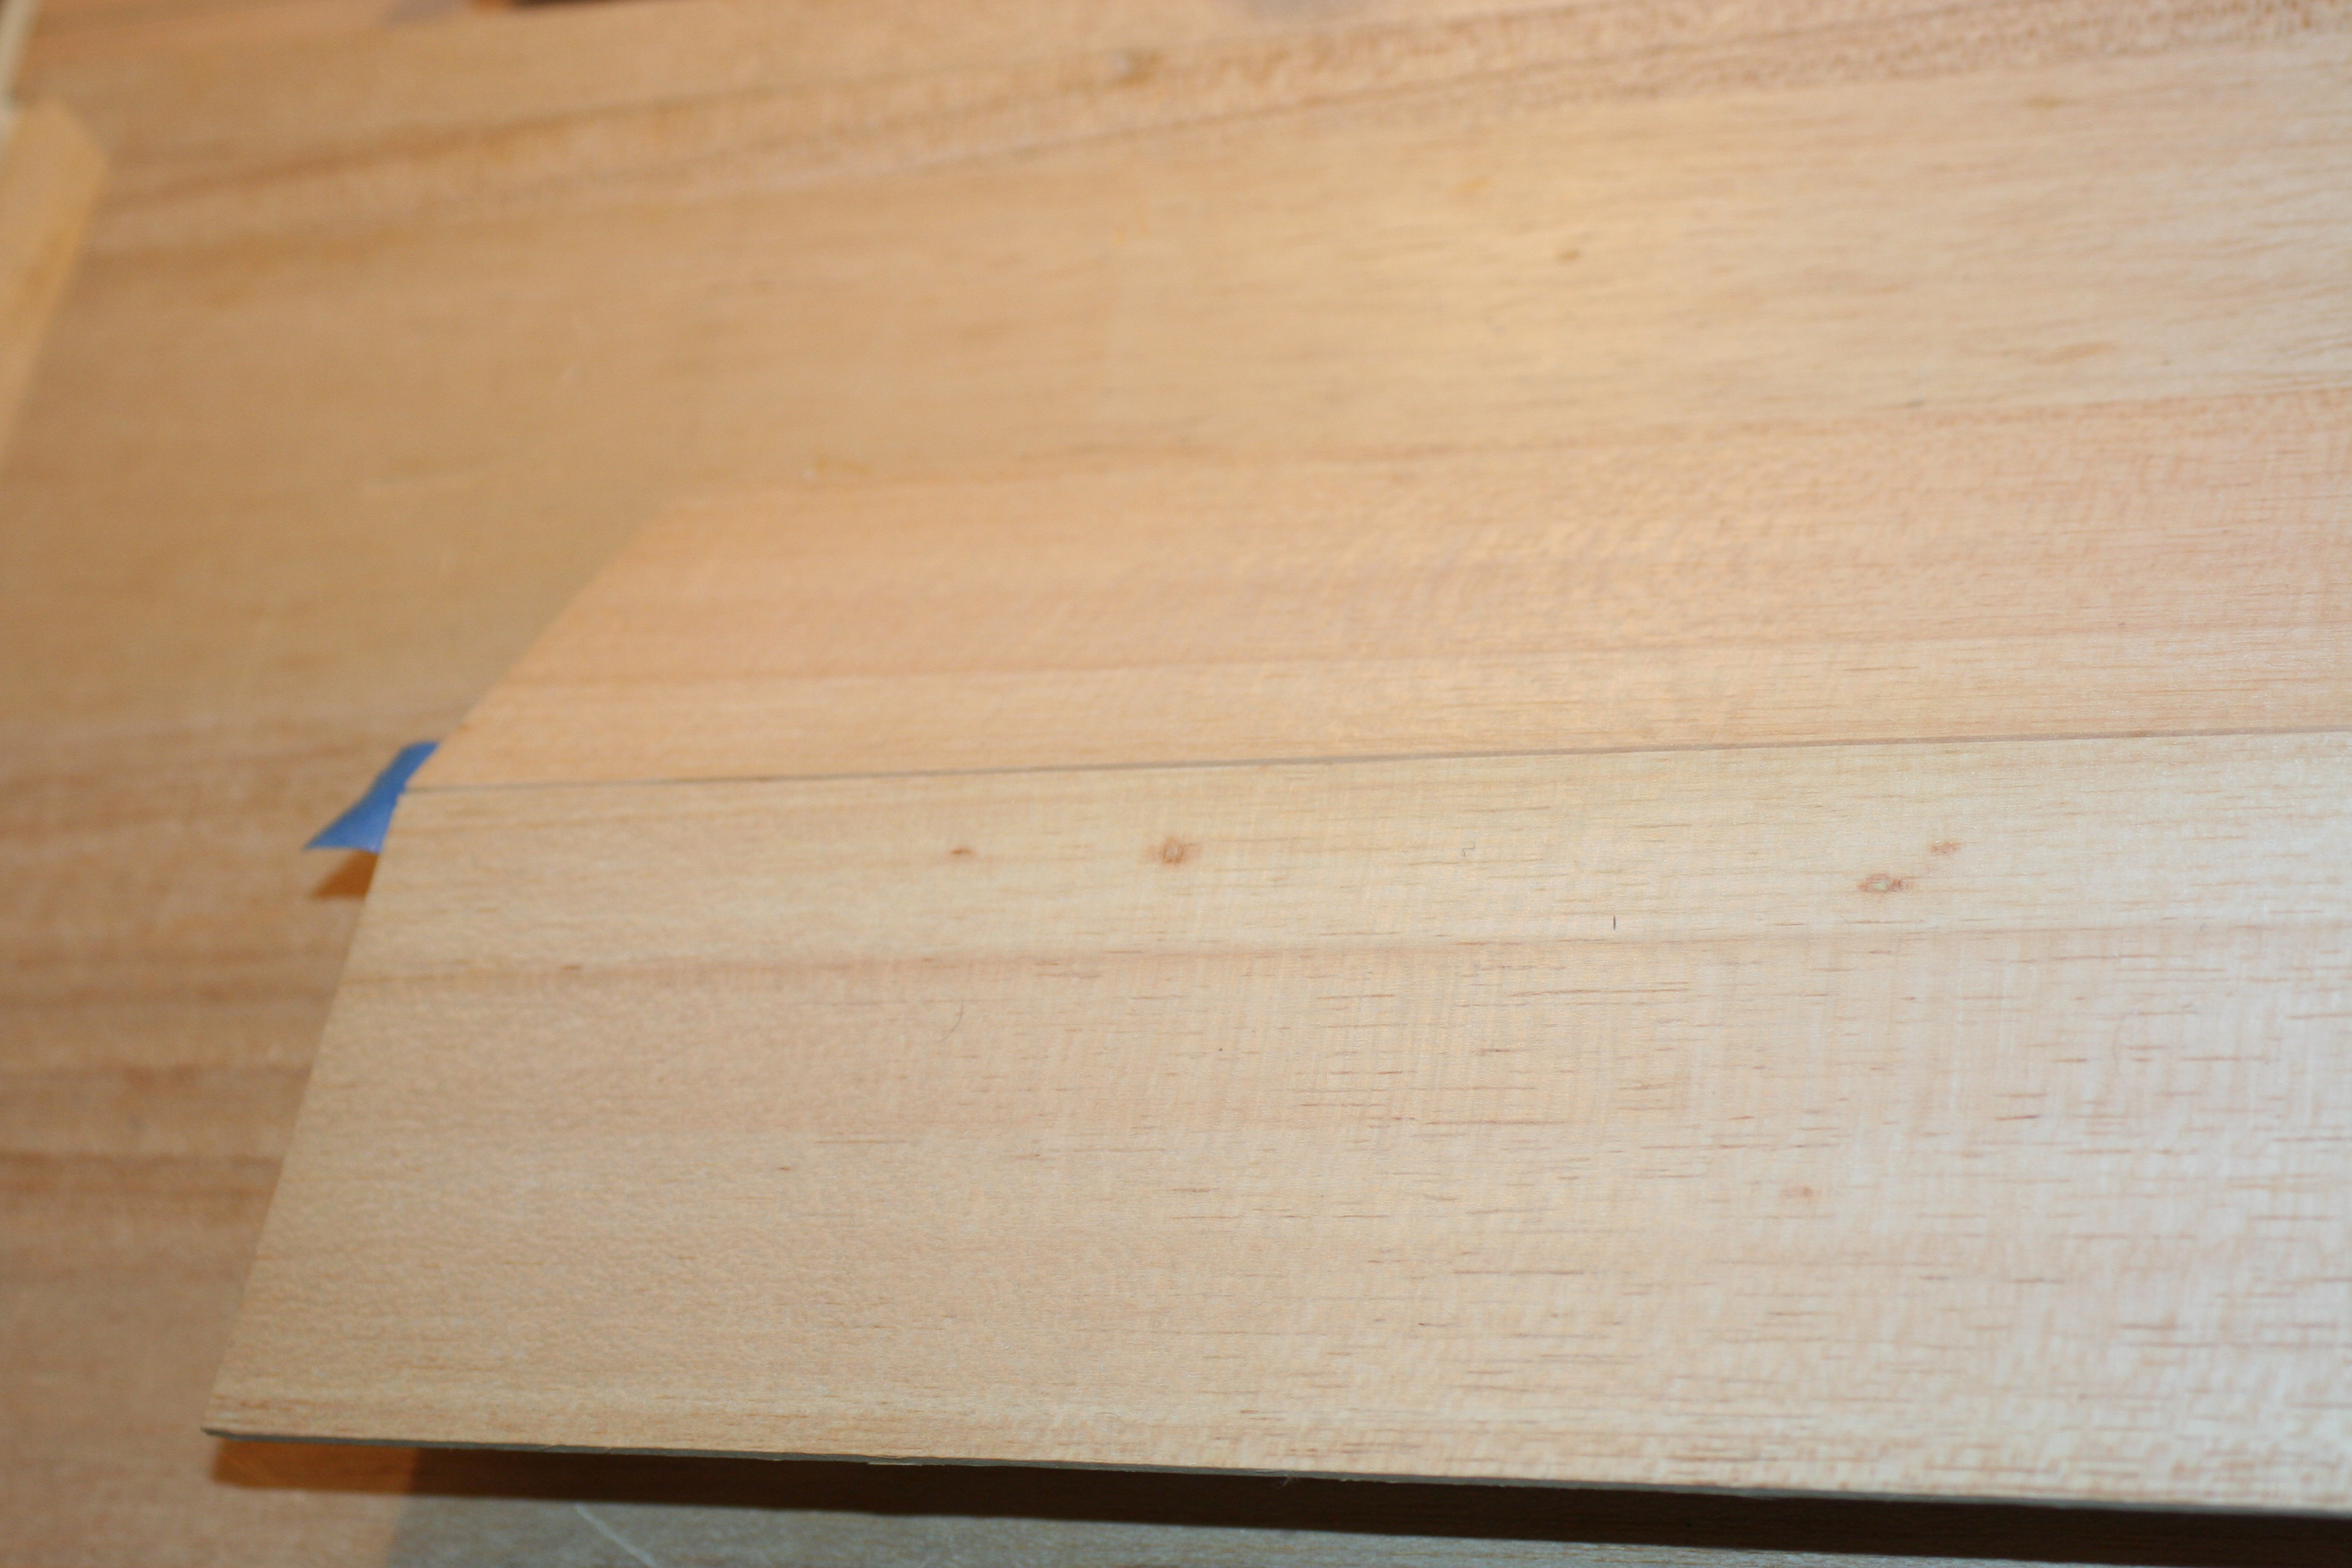
Step 2: Tape sheets together
Lay the sheets flat on your building board. Approximate the edges you have just “trued” and hold the sheets together. I find it helpful to pin and/or weigh down the sheets to keep them pressed together. Check that the edges are pressed tightly together along the length of the seam. Tape the seam together along its entire length with masking tape and turn the sheets over. The seam should be held tight by the tape.


Step 3: Glue
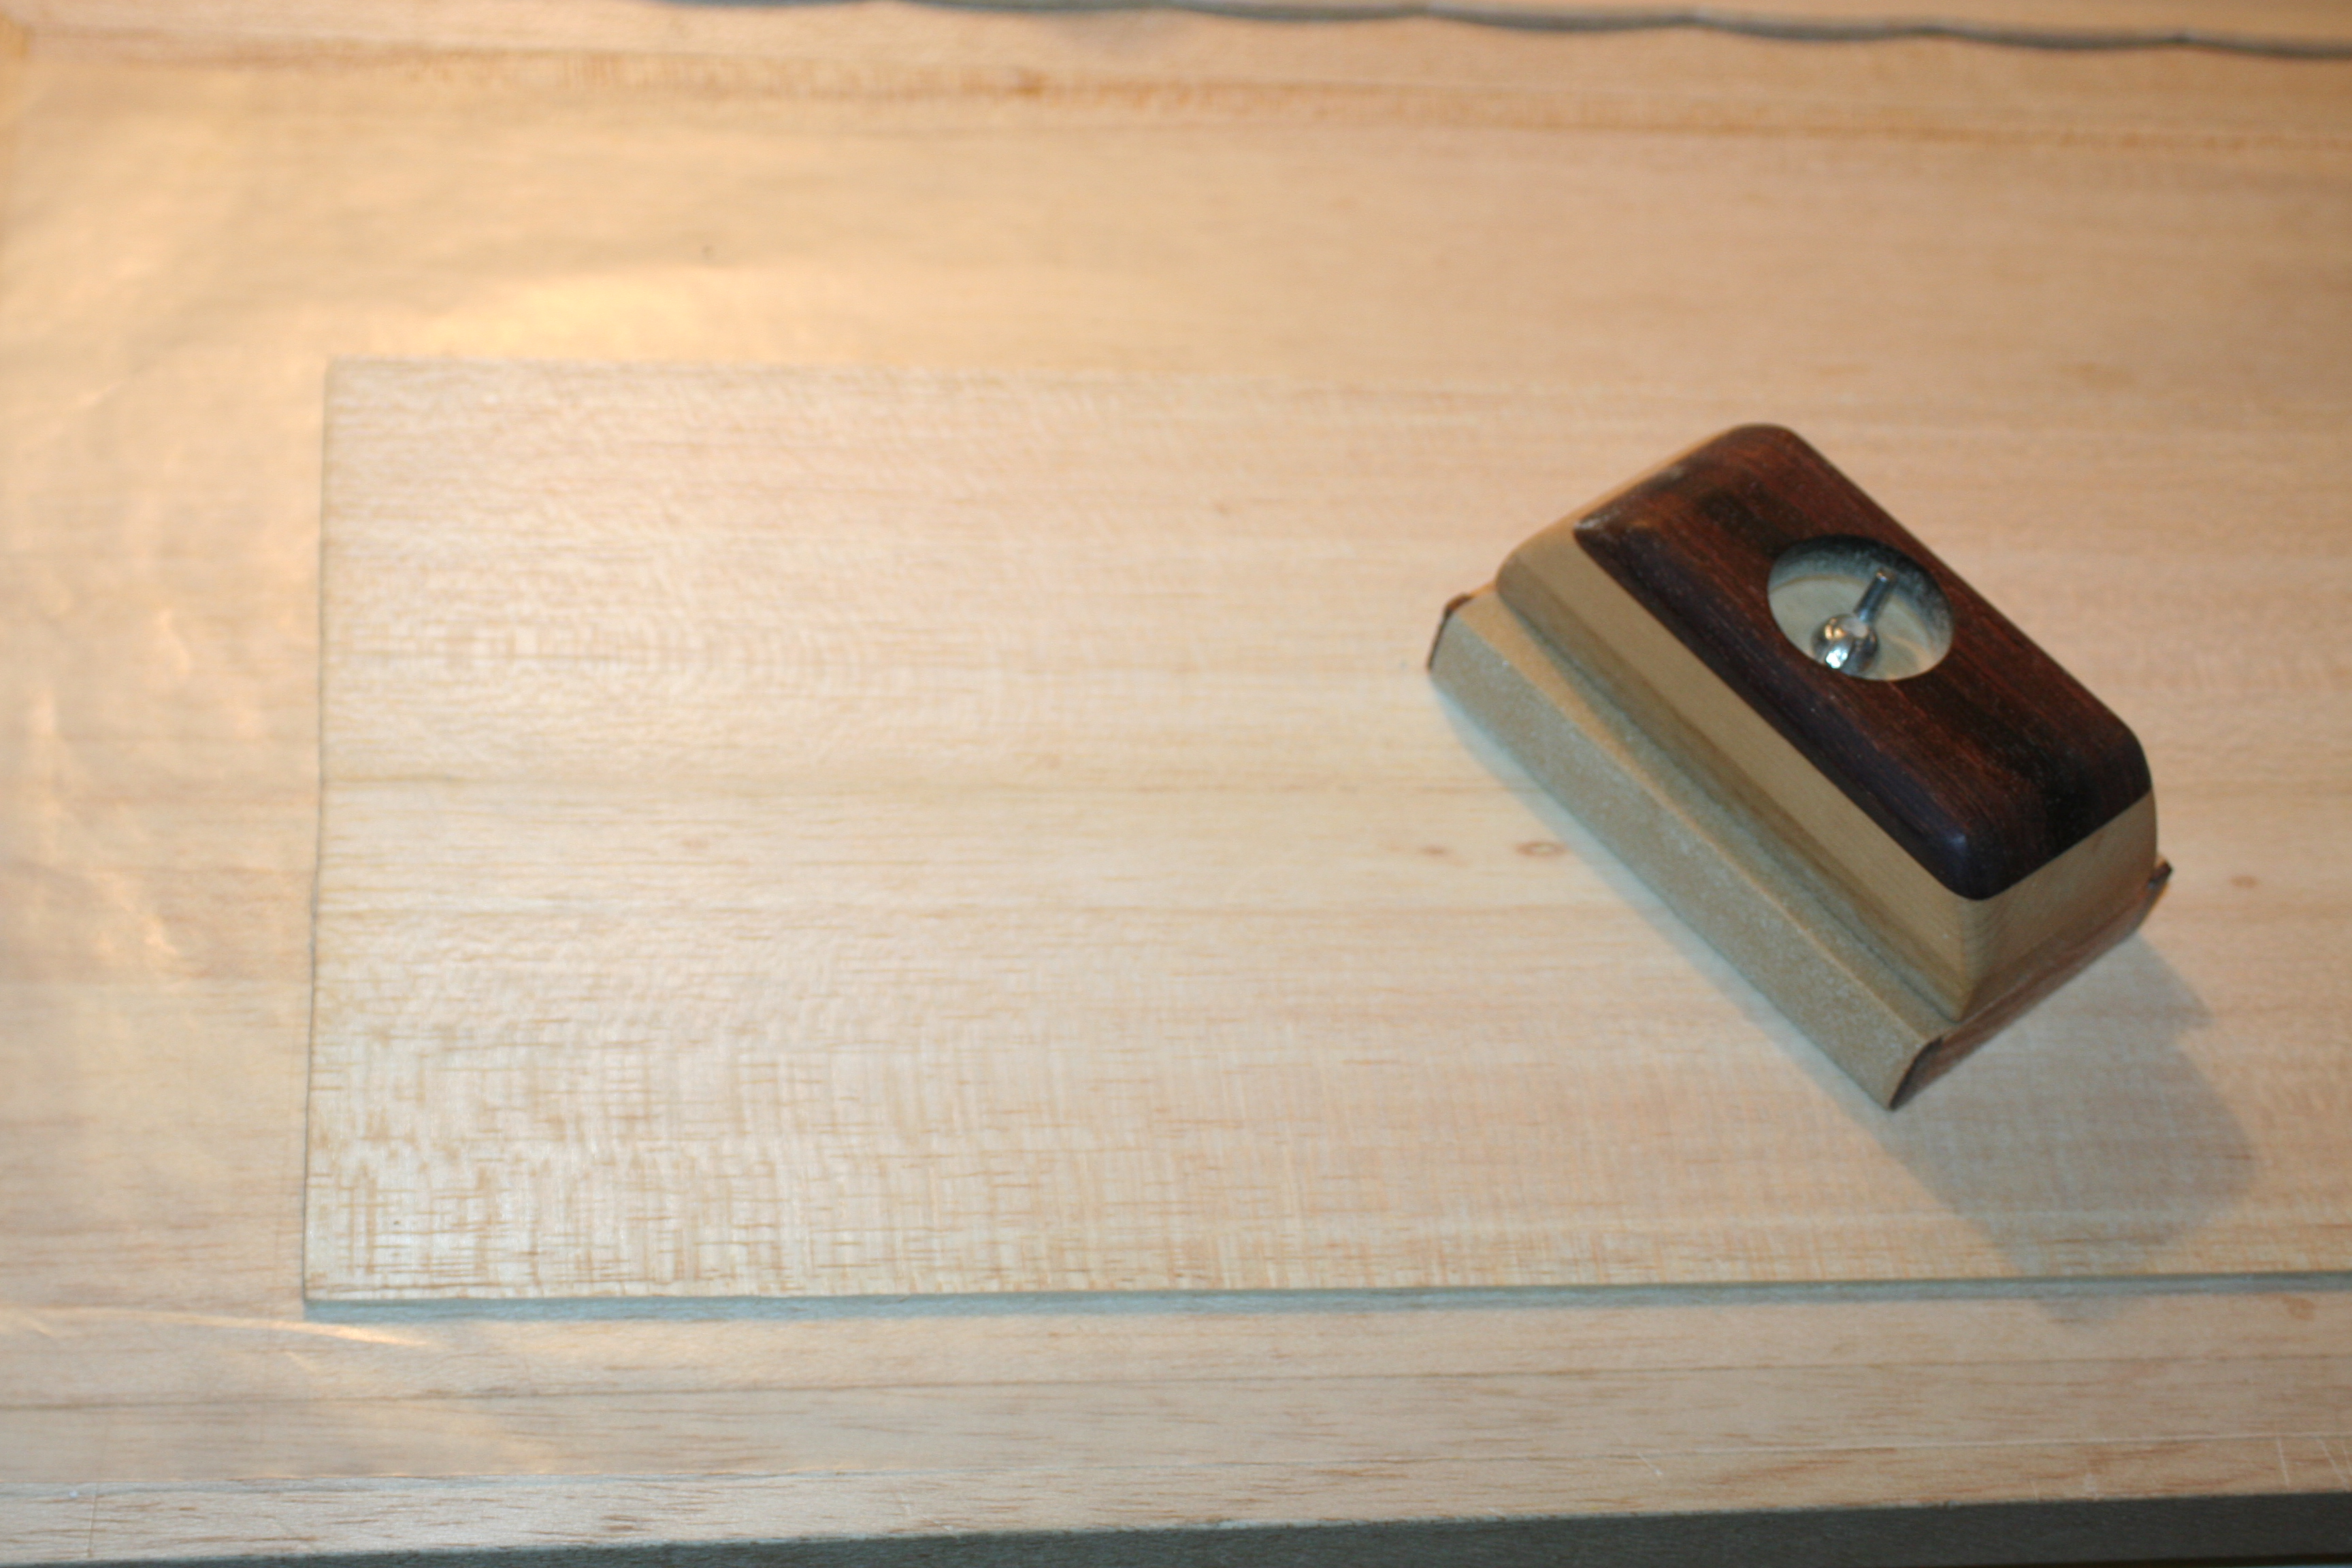
The glue used is a matter of preference. I used thin Zap but others may prefer Titebond as the seam will be a bit easier to sand afterward. Gently fold the seam back to open it slightly on the side opposite the tape. Lay a thin bead of glue along the seam, and place the glued sheet tape side up on your building board. Use a sheet of wax paper under the balsa otherwise you’ll have a bugger of a time getting the sheet unstuck from the building board. Weigh or pin down the sheet while the glue dries. Remove the tape, sand the seam, and resume your build!


This technique is a little more work than buying sheets that are already the dimension needed, but the savings in the hobby budget will allow you spend those dollars on other things. Be frugal and edge-glue! BY SCOTT COPELAND
 http://www.modelairplanenews.com/wp-content/uploads/2016/02/MAN_Button_newsletter_WEB.jpg
Model Airplane News - The #1 resource for RC plane and helicopter enthusiasts featuring news, videos, product releases and tech tips.
Continue reading...
The easiest technique I have found was learned from Randy Randolph’s column right here in Model Airplane News. I have used it many times and the result is a strong, nearly seamless joint. With this technique, you can theoretically make balsa sheets as wide as you like, only limited by the degree to which you’d like to become a benefactor of Ecuador.
Step 1: True your sheets
It would seem that sheet wood from the factory should have a very “true” edge, meaning it should be perfectly straight along its border. There are a number of reasons that this doesn’t happen. If you lay the sheets flat and they are perfectly congruent along their edge, you can skip this step but I’d wager the farm that your sheets aren’t true. The 3/32-inch sheet I laminated had nearly a 3/32-inch gap mid-sheet due to untrue edges. Take a long straightedge (I used an aluminum framing square) and cut the mating edges true. Make sure your blade is vertical when cutting.
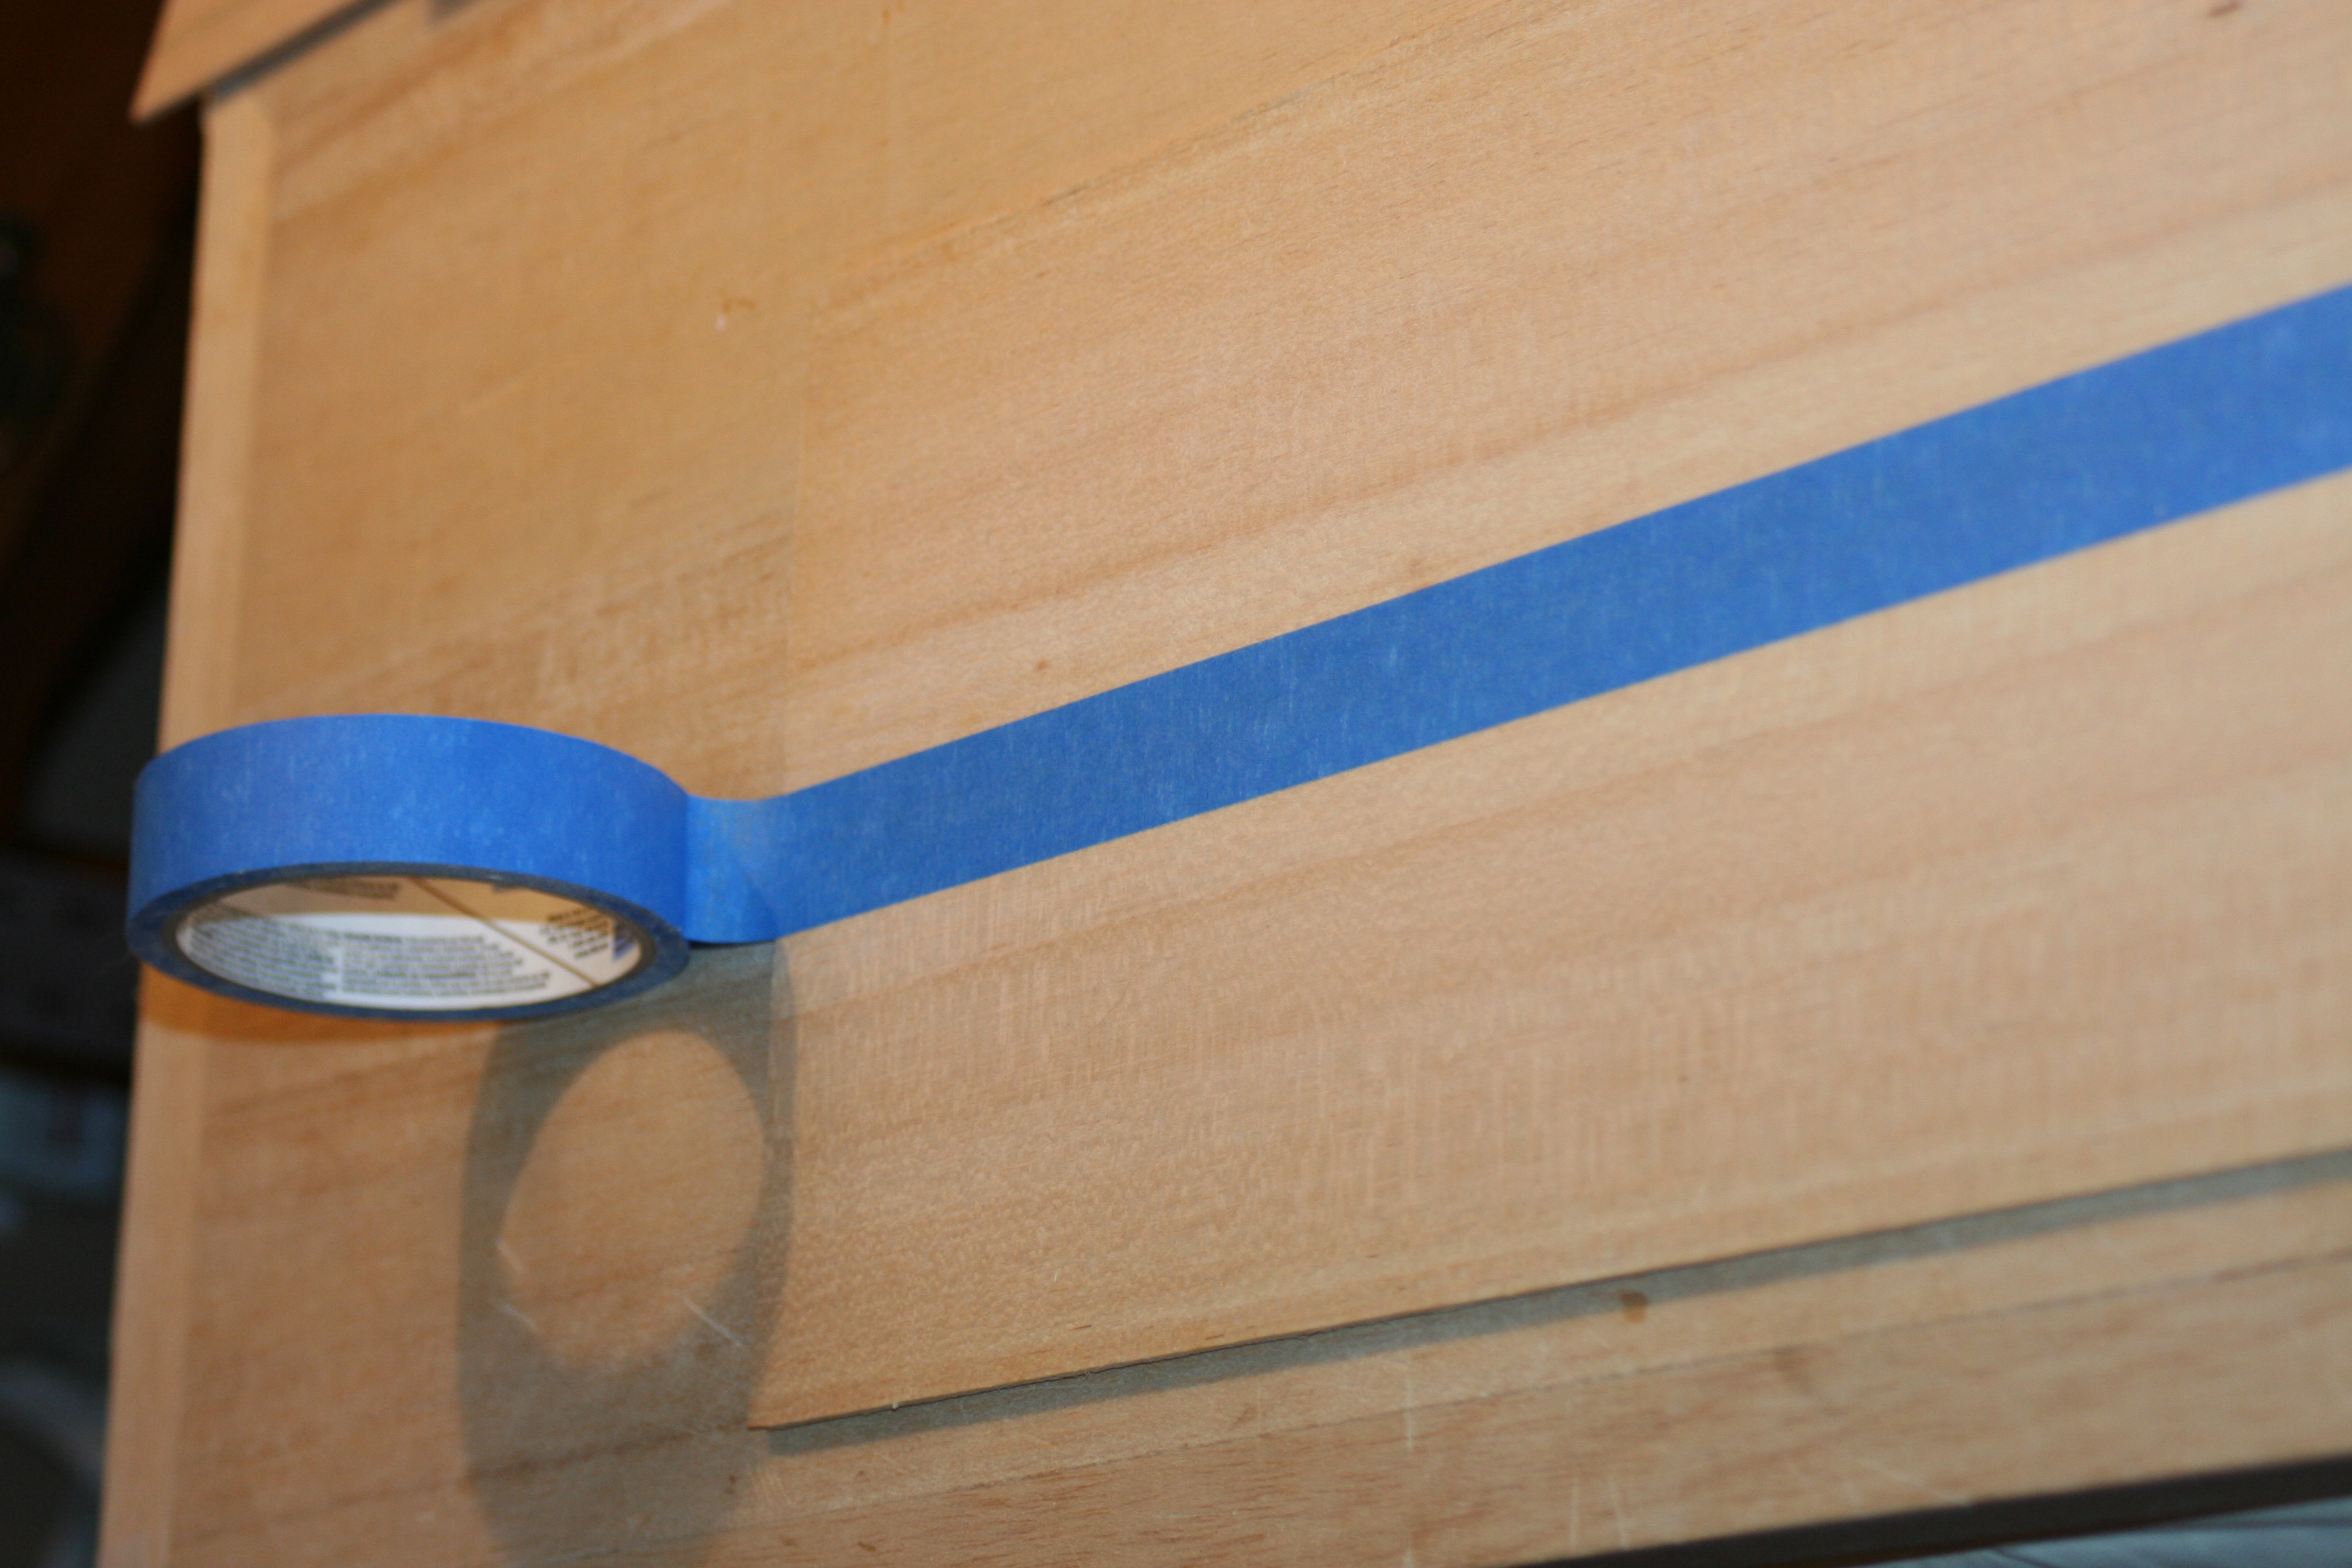
Step 2: Tape sheets together
Lay the sheets flat on your building board. Approximate the edges you have just “trued” and hold the sheets together. I find it helpful to pin and/or weigh down the sheets to keep them pressed together. Check that the edges are pressed tightly together along the length of the seam. Tape the seam together along its entire length with masking tape and turn the sheets over. The seam should be held tight by the tape.
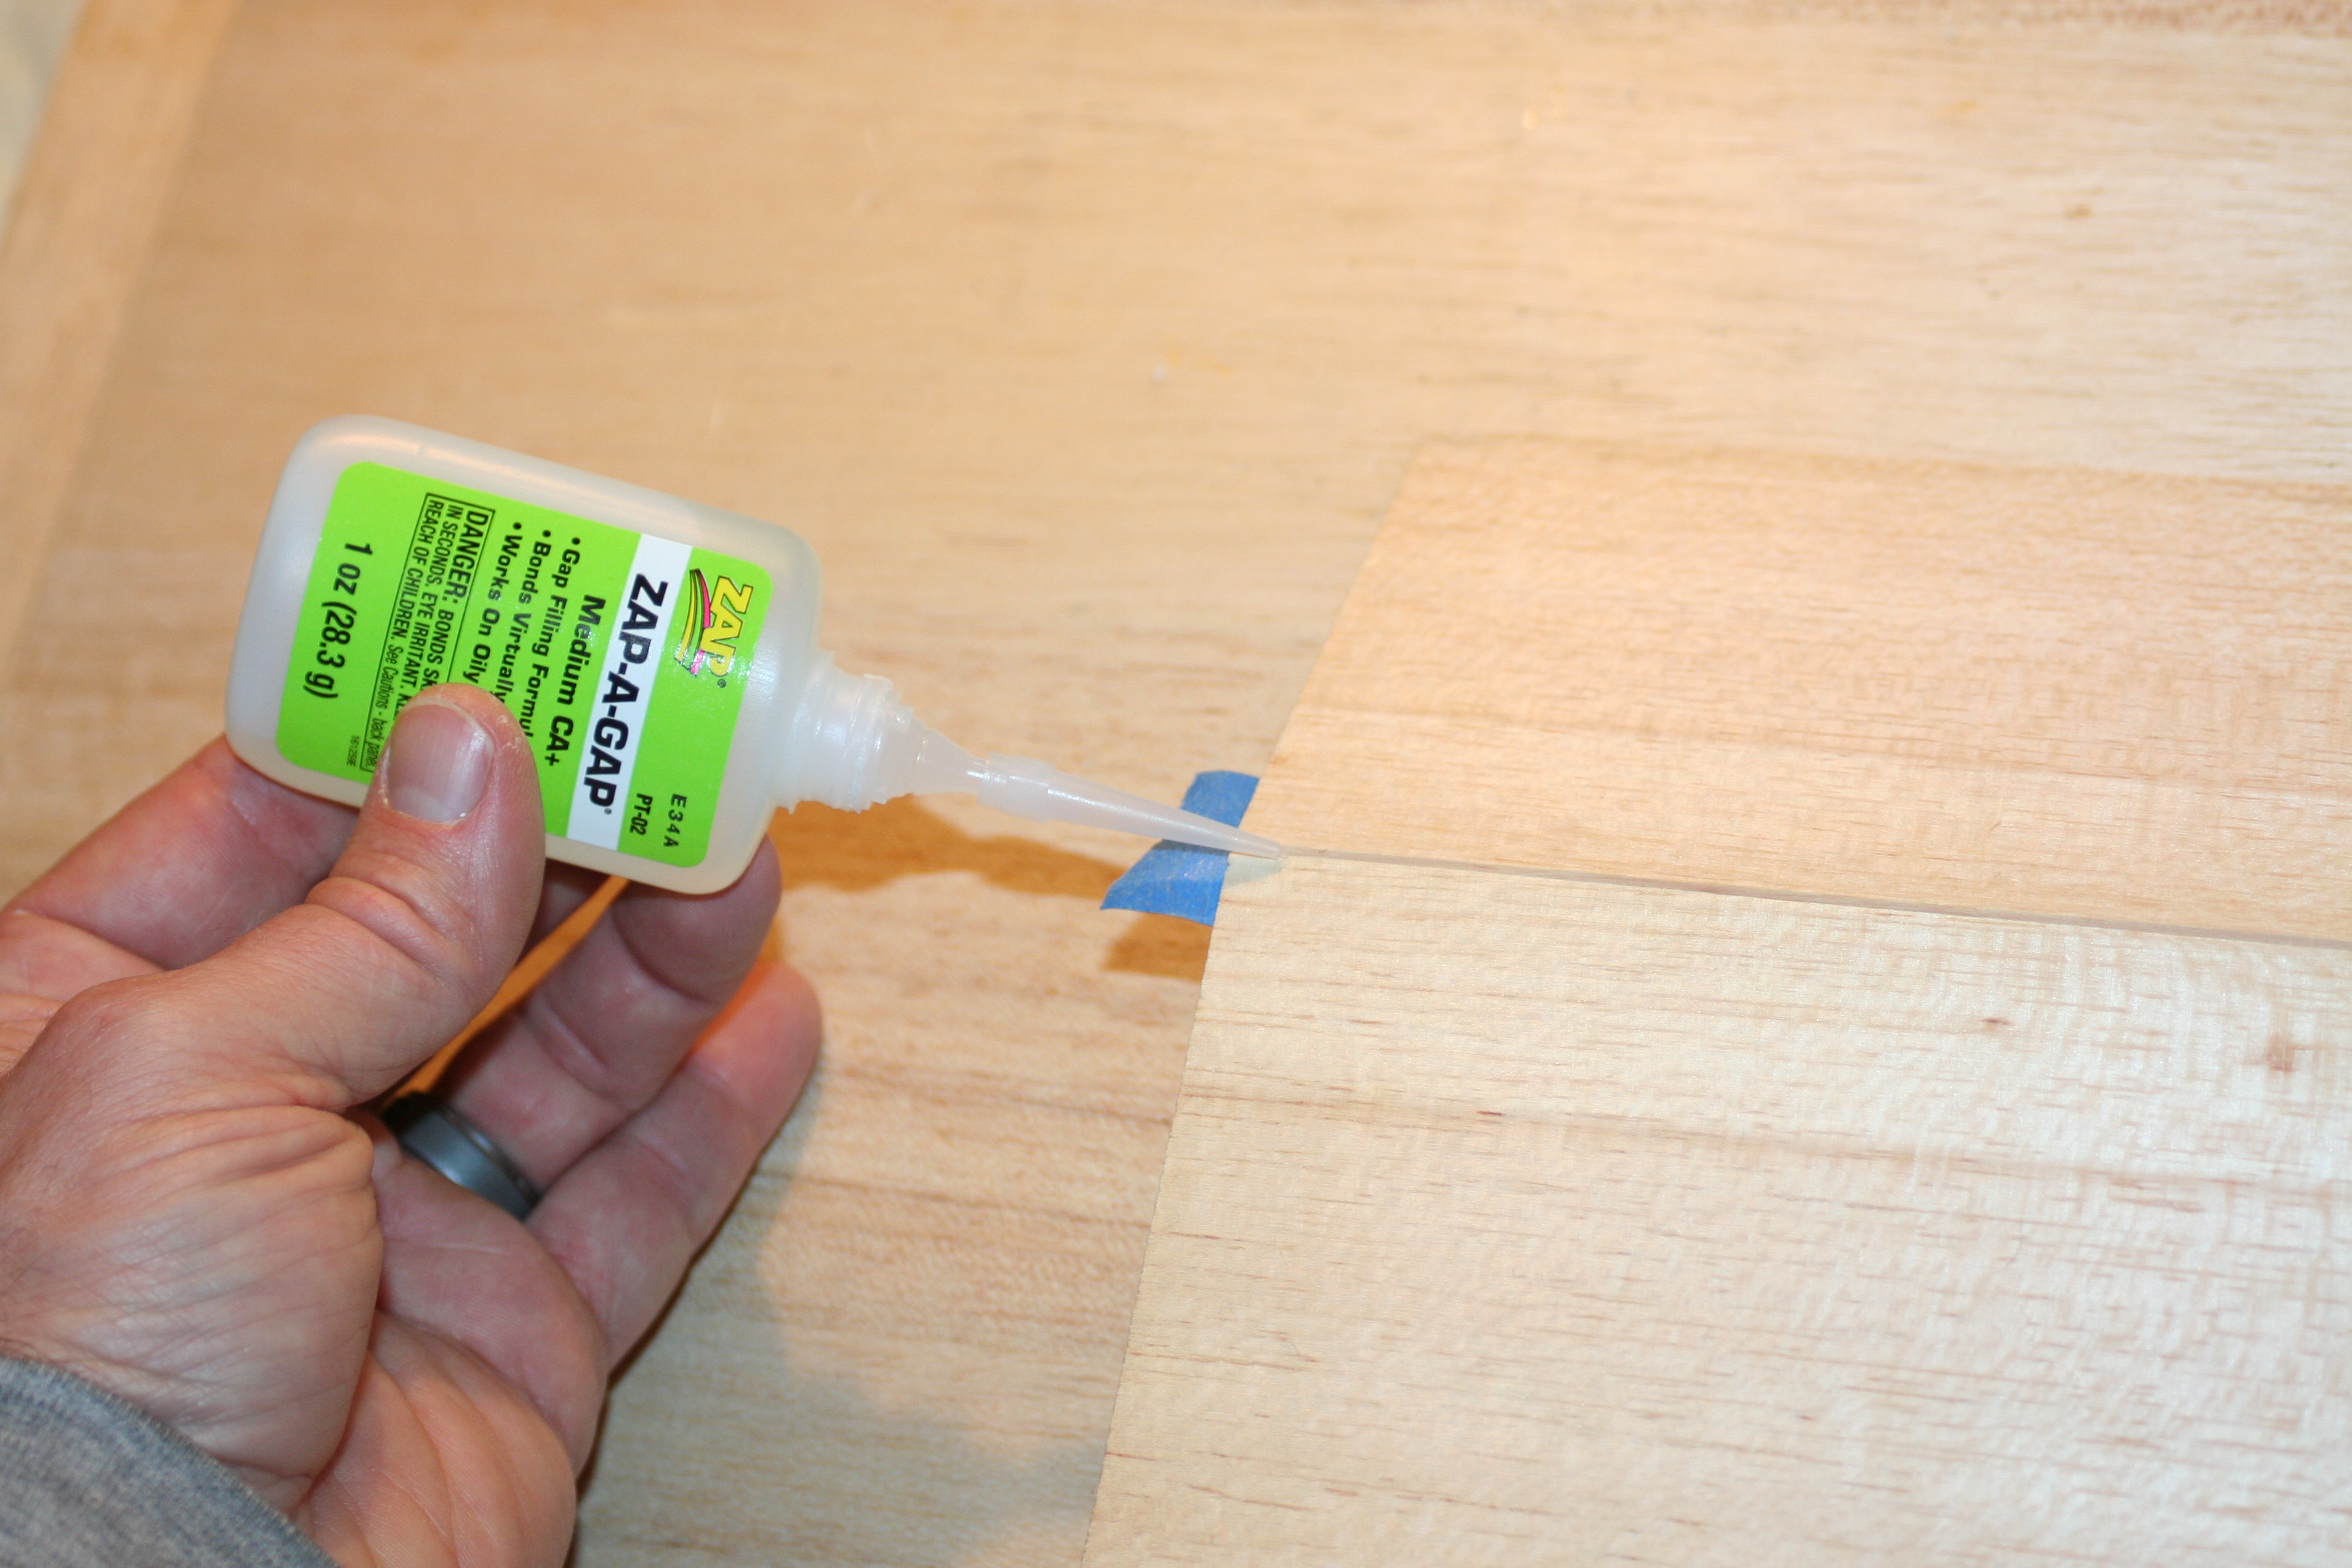
Step 3: Glue
The glue used is a matter of preference. I used thin Zap but others may prefer Titebond as the seam will be a bit easier to sand afterward. Gently fold the seam back to open it slightly on the side opposite the tape. Lay a thin bead of glue along the seam, and place the glued sheet tape side up on your building board. Use a sheet of wax paper under the balsa otherwise you’ll have a bugger of a time getting the sheet unstuck from the building board. Weigh or pin down the sheet while the glue dries. Remove the tape, sand the seam, and resume your build!

This technique is a little more work than buying sheets that are already the dimension needed, but the savings in the hobby budget will allow you spend those dollars on other things. Be frugal and edge-glue! BY SCOTT COPELAND
http://www.modelairplanenews.com/wp-content/uploads/2016/02/MAN_Button_newsletter_WEB.jpgModel Airplane News - The #1 resource for RC plane and helicopter enthusiasts featuring news, videos, product releases and tech tips.
Continue reading...