Aerobeez
70cc twin V2
Aerobeez 91'' Slick Manual
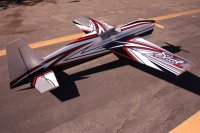
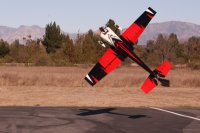
Hello 3DRC Forum, welcome to our official Step by Step build guide and manual for the 91" Slick ARF kit. This manual will walk you through the steps to building our Slick.
First we will start with installing the landing gear.
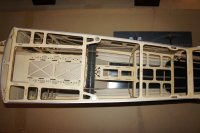
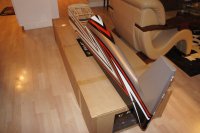
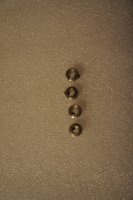
locate the screws needed for the landing gear (remember to use locktite!)
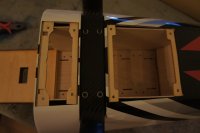
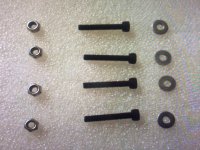
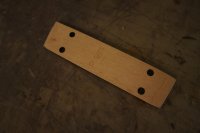
next we will install the landing gear cover, this can be done by using CA or epoxy.
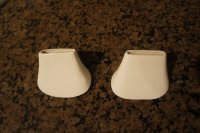
Our new Slick also comes with optional landing gear cuffs, we recommend using silicon to prevent them from cracking.
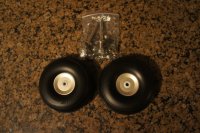
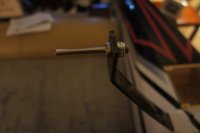
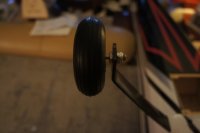
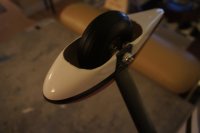
After installing the landing gear cuffs we can move onto installing the wheels. First install the axle, the next step in to locate the correct spacing with the wheel collars. use the wheel pants to find the correct location before tightening the set screws.
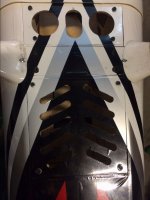
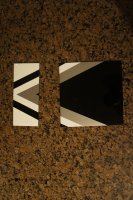
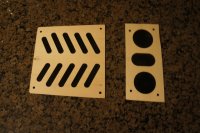
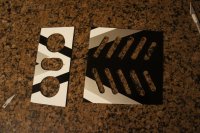
Next we will cut out the vent holes in the bottom plates with a fresh xacto before installing them.
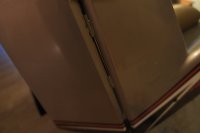
The rudder is the easiest and quickest part of the whole build all you do is line up the rudder hinges and push the pin from the top. You can ether simply use a piece of tape on top of the rudder to hold it in or use the suplied collar like you can see in the following picture.
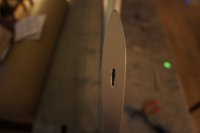
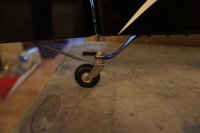
Our new Slick comes with a custom high end tail wheel out of the box, it comes pre-assembled all you have to is screw it in and you are ready go!
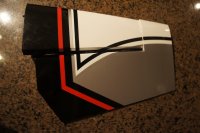
Up next we will start on the stabs, first glue in the supplied hinges.
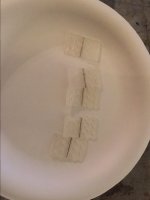
After doing the hinges we can start working on the horns.
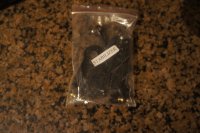
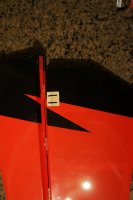
Remember to sand down the part that is going to be glued into the surface. Epoxy or CA can be used to glue these in.
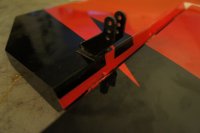
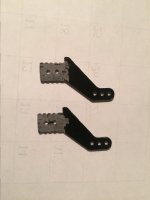
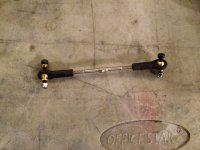
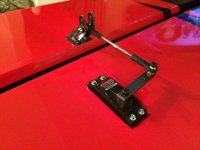
Next we can install the servos and the linkages. you can use ether a 1.5 inch arm or a 2 inch arm and still achieve full travel as shown in the pictures.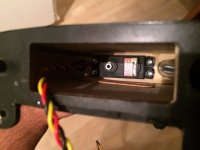
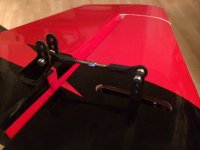
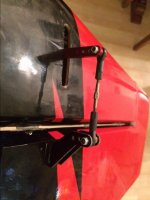
Building the wings is very similar to building the stabs, first glue in the hinges on the wing.
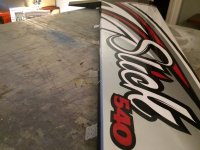 View attachment 36709
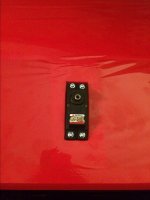
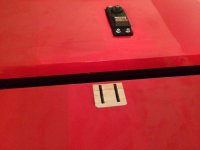
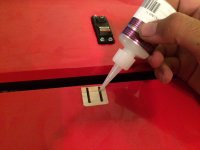
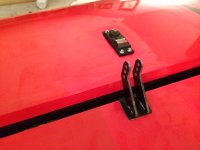
Next we install the servo and horn. As always remember to sand the part of the horn that goes into the surface, CA or epoxy can be used for gluing the horn.
 View attachment 36713
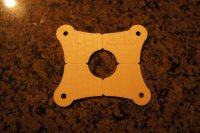
Now that the tail and wings are done we can move back to finishing the fuse. The kit comes with hole templates for different motors, for our build we decided to use the DLE 60 twin.
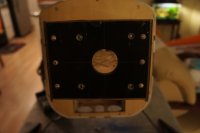
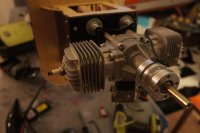
Once the motor is on we can install the throttle servo with the supplied hardware.
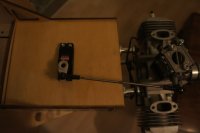
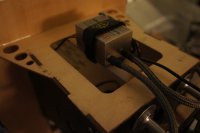
Along with Our new tail wheel, the slick also comes with a high end pre-assembled tank ready to use!
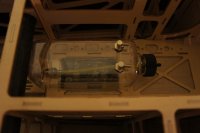
For the next step we will do the rudder set up, first and down the horns and glue them into the the slots in the rudder
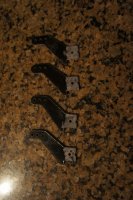
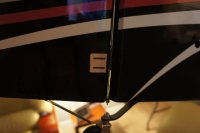
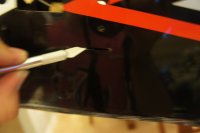
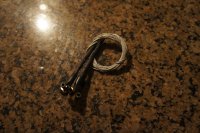
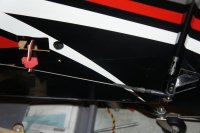
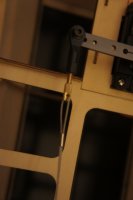
After finishing the horns we can move onto installing the rudder servo and doing the pull-pull cables, every kit comes with one of end of the pull-pull cable pre-assembled.
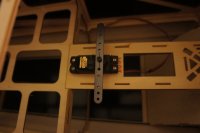
Next we will run the extensions for the elevator through the tube guide on the side of the fuse for a clean install,
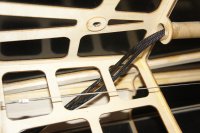
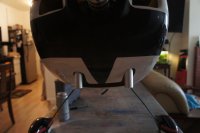
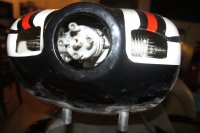
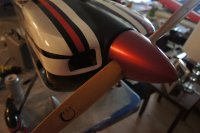
Next its time to cut the cowl for your own motor preference.
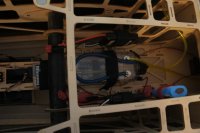
The final step is your RX and batt. installation, heres an example of how we decide to do ours.
We hope you found this build log helpful and thank you for your support!
Aerobeez
Hello 3DRC Forum, welcome to our official Step by Step build guide and manual for the 91" Slick ARF kit. This manual will walk you through the steps to building our Slick.
First we will start with installing the landing gear.


locate the screws needed for the landing gear (remember to use locktite!)


next we will install the landing gear cover, this can be done by using CA or epoxy.

Our new Slick also comes with optional landing gear cuffs, we recommend using silicon to prevent them from cracking.

After installing the landing gear cuffs we can move onto installing the wheels. First install the axle, the next step in to locate the correct spacing with the wheel collars. use the wheel pants to find the correct location before tightening the set screws.


Next we will cut out the vent holes in the bottom plates with a fresh xacto before installing them.


The rudder is the easiest and quickest part of the whole build


Our new Slick comes with a custom high end tail wheel out of the box, it comes pre-assembled all you have to is screw it in and you are ready go!

Up next we will start on the stabs, first glue in the supplied hinges.


After doing the hinges we can start working on the horns.


Remember to sand down the part that is going to be glued into the surface. Epoxy or CA can be used to glue these in.


Next we can install the servos and the linkages. you can use ether a 1.5 inch arm or a 2 inch arm and still achieve full travel as shown in the pictures.


Building the wings is very similar to building the stabs, first glue in the hinges on the wing.
 View attachment 36709
Next we install the servo and horn. As always remember to sand the part of the horn that goes into the surface, CA or epoxy can be used for gluing the horn.


 View attachment 36713
Now that the tail and wings are done we can move back to finishing the fuse. The kit comes with hole templates for different motors, for our build we decided to use the DLE 60 twin.


Once the motor is on we can install the throttle servo with the supplied hardware.


Along with Our new tail wheel, the slick also comes with a high end pre-assembled tank ready to use!

For the next step we will do the rudder set up, first and down the horns and glue them into the the slots in the rudder


After finishing the horns we can move onto installing the rudder servo and doing the pull-pull cables, every kit comes with one of end of the pull-pull cable pre-assembled.


Next we will run the extensions for the elevator through the tube guide on the side of the fuse for a clean install,

Next its time to cut the cowl for your own motor preference.


The final step is your RX and batt. installation, heres an example of how we decide to do ours.

We hope you found this build log helpful and thank you for your support!
Aerobeez


Last edited by a moderator:
