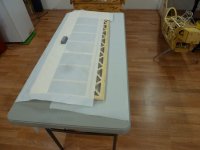
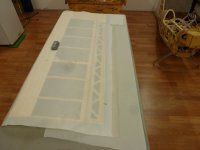
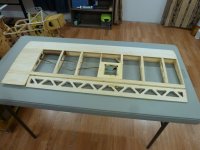
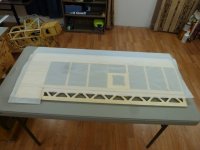
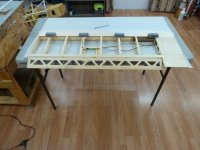
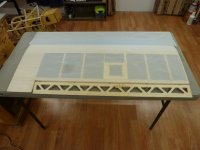
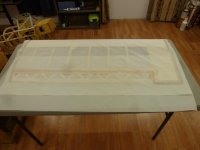
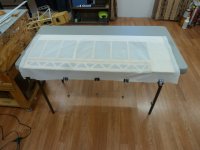
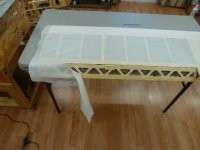
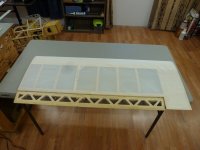
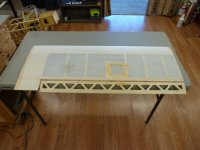
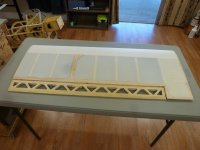
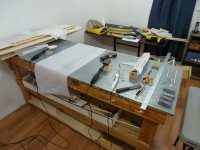
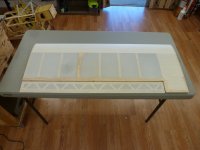
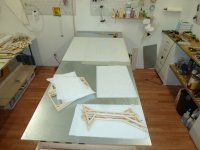
Ok fella's, here is how I do it up to ready for the spray gun. Pic #1 is the fabric trimmed for the aileron bay. #2 is the Poly brush added to prevent fraying. #3 wing perimeter treated with Stix-it, can't really see it in the pic. #4 outer perimeter surface ironed down, hinge slots marked. #5 hinge slots cut, the fabric pulled through, ironed on and trimmed. #6 bottom of wing done. #7 PB perimeter for fraying. #8 Stix-ix applied and dry. Note: the weights are only use to keep large wrinkles out not really needed as this fabric can shrink a lot, just something I like to do. #9 trimming the aileron bay top side, the stick was cut for the depth down to the top of the hinge. #10 fabric ironed on. #11 second coat of PB on perimeter and ironed utilizing parchment paper. This is a personal choice, I really like the perimeter to be exceptionally secured as all of these products are heat activated and can pull loose with enough heat. #12 ironed just snug enough to not have any wrinkles or loose spots. When ready for the spray gun part, after the first coat of PB, it will get tightened up. I do it this way so the fabric really gets glued to every piece of wood it touches, remember heat sensitive. And don't forget to adhere any needed opening such as servo bays and strut mounts. #13 These are the tools I use, two full size irons one for tacking and one for shrinking, a trim iron for tacking in corners and tight areas, the infra gun to set/check the irons, an exacto and a surgical knife, two high quality scissors in large and small, the putty knife for tucking the fabric. And the other miscellaneous stuff, straight edges, PP, weights. Adhesive used, Sig Stix-it and Stits Poly Brush, MEK is used for thinning and cleaning.
")