• If you are new to GiantScaleNews.com, please register, introduce yourself, and make yourself at home.

    We're 1st in Giant Scale RC because we've got the best membership on the internet! Take a look around and don't forget to register to get all of the benefits of GSN membership!

    Welcome!
  • Unless you are a paid advertiser NO more posting advertisement in the individual vendor forums. You may post in the Manufacturer's Announcements section only but only ONCE a month unless your a paid advertiser.

SupaTim builds a 73" AJ Laser!!

SupaTim

70cc twin V2
IMG_20150311_211959597.jpg

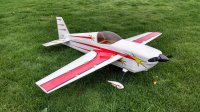
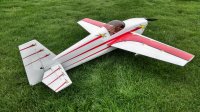
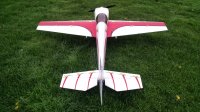
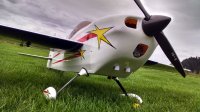
Hey everyone, SupaTim here! Got my hands on the awesome new 73" AJ Aircraft Laser 230z and figured no better place than 3DRCF to post up my build and review!! The plan is to build this from an "everyday guy" kind of perspective with components and accessories that (in my experience) offer the best bang for the buck. I just received the most updated manual as well, so as I go I'll take note of anything wacky or anything I do a little differently. Enough of that, LET'S GET STARTED!!!

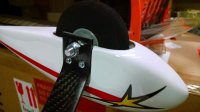
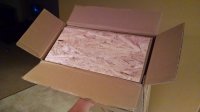
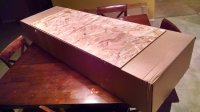
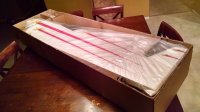
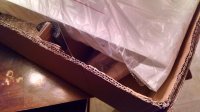
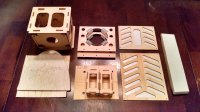
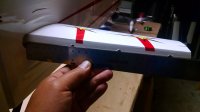
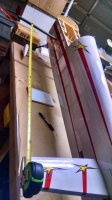
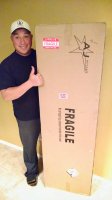
AJA has done a great job of getting the plane to me one piece. With the particle board inserts on the side and ends of the box, everything arrived perfectly intact! One thing I've never seen from any manufacturer was the additional foam pieces designed to protect the fuse from any hard edges inside the box during transport.

IMG_20150311_212637655.jpgIMG_20150311_212838869_HDR.jpgIMG_20150311_213238828_HDR.jpgIMG_20150311_213259634_HDR.jpg

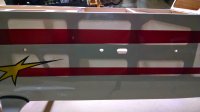
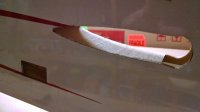
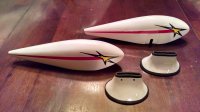
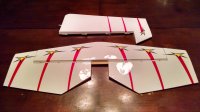
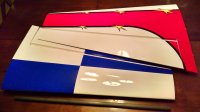
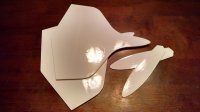
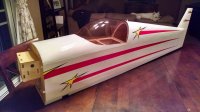
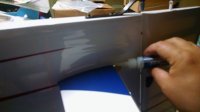
Initial inspection shows that all the painted parts are PERFECT and all the covered pieces looked great too.

IMG_20150311_214553224_HDR.jpgIMG_20150311_220027064_HDR.jpgIMG_20150311_220405340_HDR.jpgIMG_20150311_220608771_HDR.jpgIMG_20150311_220954386_HDR.jpg

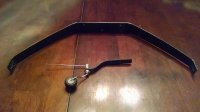
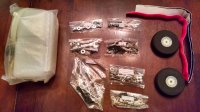
Included CF gear is another great touch as well as all the parts necessary for both gas or EP. Hardware comes separated and labeled for ease of assembly. I've put together many other ARF's where this wasn't the case so these is a God send to say the least.

IMG_20150311_214857980.jpgIMG_20150311_214012862_HDR.jpgIMG_20150311_214231277_HDR.jpg

Now that the inspection is done, it's time to build...
 

SupaTim

70cc twin V2
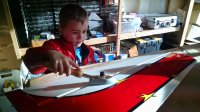
Ok, time to get to work! We started off going over the plane with a covering iron and gun. Was the perfect opportunity to get SupaTimmy's hands in the process! Our sock was wasted but don't worry, we did put a piece of old t-shirt on as a cover.
IMG_20150316_175731277.jpg

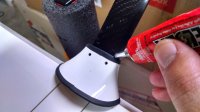
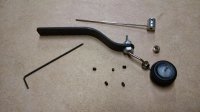
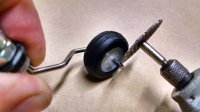
I'm sticking with the format of the manual as much as possible so time to put her on her gear. Starting with the tailwheel, the first thing I do is take out every single grub screw and hit it with a drop of blue loctite. There's nothing worse than losing a wheel or even an entire assembly due to skipping this step. One more thing to prevent things from moving around is giving the grub screws a flat spot to bite into. Gives them a wider contact point and almost guaranties everything stays in place. Manual says 3 holes to mount the tailwheel but mine only had 2 drilled and blindnutted. For a model this size it's plenty (don't forget to loctite the bolts.)
IMG_20150316_194558490.jpgIMG_20150316_195008948_HDR.jpgIMG_20150316_205921353.jpg

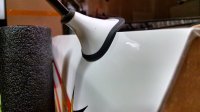
Next step was the main gear. The 3 bolts that hold the gear in place were in the fuse but the washers were loose in the parts bag. Loctite and bolt in place. At this point I dry fit the cover plate. Since I used the washers, the bolt holes in the plate needed to be enlarged slightly. Quick work with a dremel and a sanding drum. I like gluing these plates in place with welders as it remains flexible and won't eject the block if the gear gets flexed out. Next step is installing the gear fairings. MAKE SURE TO DO THIS BEFORE ASSEMBLING THE AXLES/PANTS/ETC. OR YOU'LL BE SUPER PISSED ABOUT BREAKING EVERYTHING DOWN... Although the fairings are predrilled, I wasn't thrilled about the alignment on the fuse. I tried swapping back in forth but the gap against the sides of the fuse and bottom of the plane were equally ginormous. One trick I've picked up along the way is applying a bead of welders on either side of the gear legs once you've got the fairings situated. By the time you finish the axels/pants, they'll be dry and never move again. Again, the welders allows the joint to stay firm but flexible if you do stomp in a landing or so.
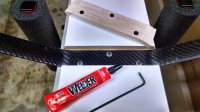
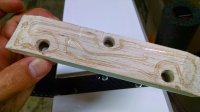
IMG_20150316_201112548_HDR.jpgIMG_20150316_201351108.jpgIMG_20150316_202047775_HDR.jpgIMG_20150316_202211493_HDR.jpg

Axles and wheel pants come next. My wheels were a snug fit but I know that in time they'll loosen up so instead of drilling them out I just apply a little oil to the axle to let the spin smoother. They've done a great job of getting everything to line up so there's no additional washers or spacers necessary. Just like the tailwheel I dremeled a flat spot next to the wheel for the grub screw to sit flush against. Loctite and snug and then I put a piece of tygon on the outside as a backup to secure everything (should that grub screw magically let go.) The pants are held in place with the axles so once you've got the pants where you want them just use the handy tool to secure the axle and a 10mm socket or driver to snug it all into place. Since I fly off grass I opt to raise my wheel pants slightly so I'm not replacing pants every other flight. Holes are already in the gear legs so just drill into the pant to further secure them. I opted for those handy socket head screws to secure mine (don't forget a dab of medium CA to make sure those don't back out.) Now flip that sucker over and put her on here feet!
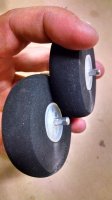
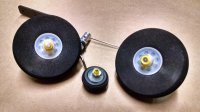
IMG_20150316_202856041_HDR.jpgIMG_20150316_203233626_HDR.jpgIMG_20150316_203439584_HDR.jpgIMG_20150316_205241876.jpg

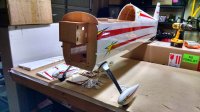
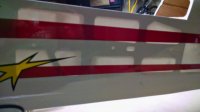
Time to make some holes. I used to be that guy with a sharp exacto trying to expertly remove covering from circles but usually failed epically. One thing that has changed this process forever for me is using an old soldering iron with a fine tip to speed up the process. It's crusty and old but will dramatically speed up the process of cutting and also seal as you go. Take one last look at that intact fuse and dive right in. I like to either have a real bright overhead light or a small flashlight inside to illuminate the holes that I'm about to cut. This is way easier than feeling around on the fuse guessing for the right location. The iron makes quick work of the cutting, but make sure to clean off the tip between holes or you stand a pretty good chance of gumming up the next hole (gross and giggity...)
IMG_20150316_210601949_HDR.jpgIMG_20150316_210714622.jpgIMG_20150316_212126833.jpgIMG_20150316_212648915.jpg

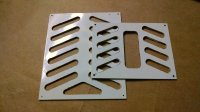
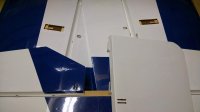
I deviate from the process a little by going ahead and cutting EVERYTHING that'll need it during the build. The iron is already hot so why not save time and just get it all done at once? Servo holes and horn slots are the easy part, cutting vent holes will test your commitment and patience but is worth it in the long run...
IMG_20150316_223040.jpgIMG_20150316_223051.jpg

That's enough for last night, check back tomorrow!
 
Last edited by a moderator:

SupaTim

70cc twin V2
Time for another update! After cutting all the holes open with the soldering iron it was time to start epoxying things in place. I dry fitted the horns before using 30 minute epoxy. I used to be a 5 minute buy until actually saw how less brittle slower curing epoxy was. Didn't get pictures but glue in the rudder hinges like in the manual, not much to it. Just make sure to lube the hinges so no epoxy gets in and binds them up.
IMG_20150328_223524.jpg

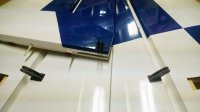
While the rudder hinges are drying, I move on to getting the stab in place. There's a few ways to orient the stab, here's what I do. I slide the wing tube in place so I can use it as a reference point against the stab. Slide the stab all the way forward in the slot and get as close to centered as possible. I measure the beveled edge from tip to fuse on each side and adjust as necessary to get it centered. Once that's set I measure the distance from the corner of each side to the wing tube to ensure it's square. Before gluing in place, I double check the stab is level with the wing tube as well. ONLY WHEN YOU ARE SURE, wick thin CA into the joint slowly. Too quick and it's running down the side of your plane...

IMG_20150328_223446231.jpgIMG_20150328_224811522_HDR.jpgIMG_20150328_225852658.jpgIMG_20150328_225233174.jpg

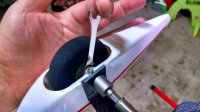
With the stab in place time to glue in the elevator hinges and joiner. Once again 30 minute is your friend as it gives you time to get everything in place and the bond is stronger. Make sure and oil or vaseline the center of the hinges so they don't get stuck in place. Also make sure to flex the elevators to full throw (both up and down) to make sure your gap is tight and nothing binds. When you're sure of your gaps and joiner placement, tape the counterbalances in place so they do not drift while drying.

IMG_20150328_231839094_HDR.jpg

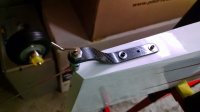
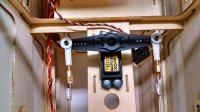
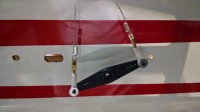
While the epoxy is drying I move on to the rudder servo and cables. I start with the front but assemble outside the plane as it's easier to put together rather than trying to get both hands in the plane at the same time. With the ball links and turnbuckles in place, center your servo electronically, put the arm in place, and blue loctite the center screw so it never backs out. Move on to the connections on the back of the plane, make sure everything is nice and tight and crimp into place.

IMG_20150328_235908563.jpgIMG_20150329_242519568_HDR.jpg

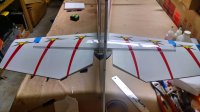
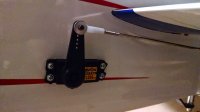
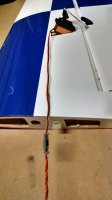
By now the epoxy has set so you can finish up the elevator linkage. Center the servo electronically then adjust the linkage so the counterbalances are neutral. Use blue loctite on the servo screw and make sure to use the washer in case the ball link pops off or apart. Now's the time I do the aileron servos, same method as rudder and elevator but an accelerated sense of accompishment. Although the servo leads just reach outside the wing, I use a 6" extension on each so they don't get swallowed by the wing in transit.

IMG_20150329_242148853.jpgIMG_20150329_242424396_HDR.jpgIMG_20150329_243242542_HDR.jpg
 
Last edited by a moderator:

SupaTim

70cc twin V2
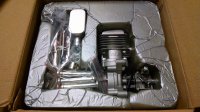
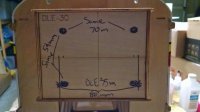
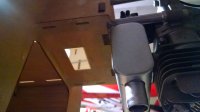
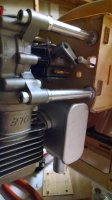
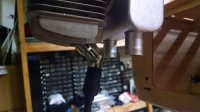
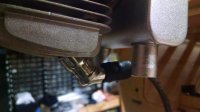
Servos are done so now on to the business end! The Laser comes with a template for the DLE30. While that would fly it just fine, I opted for a DLE35RA instead from www.valleyviewrc.com to yank this baby around. Lots of guys going with a larger twin or a shinier 35 but I've had great luck with this engine in the past in planes this size. While the drill guide is convenient the DLE35ra has a slightly different mounting pattern. I just took the measurements, marked the template, then drilled as necessary. One thing you'll have to do for the 35 is trim back the "lip" on the bottom of the motorbox to clear the stock muffler. I also trimmed next to the standoff but after the fact didn't need the additional clearance.

IMG_20150329_010322494.jpgIMG_20150329_010154139.jpg

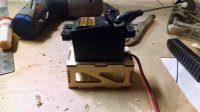
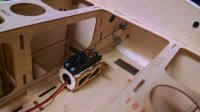
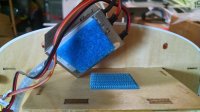
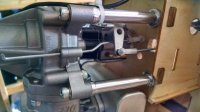
Now comes the fun part... The precut throttle servo location was definitely not going to work with the 35ra no matter how I rotated the carb so it was time to get creative. Fortunately the Laser kit comes with a small servo box for this situation. While I had to enlarge the hole for my Savox 0220MG (secret weapon) it fit like it was made for it. The DLE35 comes with an adjustable throttle arm to make the geometry easier to get right from the beginning. Make sure to overly CA the box before and after putting in in place.

IMG_20150329_110203393.jpgIMG_20150329_110310507.jpgIMG_20150329_111230954.jpgIMG_20150329_021432889.jpg

I use velcro to keep the ignition in place as well as a zip tie for good measure. Some people struggle to get the cap on entirely on the DLE 35 so the best way is to put it on 90 degrees to where it should be so you can get the proper pressure for it to seat correctly. Once it's seated, just rotate to the cap in place. I use 2-56 linkage to set up the choke and then tighten up everything in the cowl.

IMG_20150329_113828282.jpgIMG_20150329_112722834.jpgIMG_20150329_112734178.jpgIMG_20150329_121517212_HDR.jpg

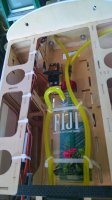
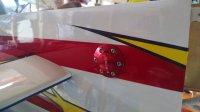
I'm using an RCExl BEC to power and kill the ignition as well as the RCExl tachometer. Now's the time to hook everything up and secure the wires in place. Fuel lines get hooked up and this point and the Fiji water bottle tank secured in place. Mount the fuel dot on the side but make sure it does not interfere with the wing. I've only done it once but learned that lesson the hard way...

IMG_20150329_115436328.jpgIMG_20150329_122654174.jpgIMG_20150329_123629691.jpg

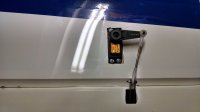
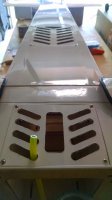
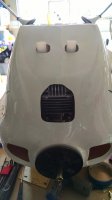
Getting close to the end so so time to put the vents in place on the bottom of the fuse. Because we already opened all the holes with the iron earlier, it's just a matter of 4 screws in each plate and we're good to go. Just like the servos, I drill the holes for the screws then harden with CA so the screws will never fall out. As for the cowl, mount it per the instructions but before you screw it in place make sure and soak the 4 cowl mounting tabs with thin CA as well as the holes so it all stays where it should. The hole on the cowl in front of the cylinder head was a little small for my taste so with a little dremel work, I got opened it up to expose all the fins on the cylinder.

IMG_20150329_125930458.jpgIMG_20150329_135528308.jpg

A little more tidying up and all that's left is to mount the prop and spinner and then she's ready to go!!
 
Last edited by a moderator:

SupaTim

70cc twin V2
Time to see it all in action!! Before you power or fire it up you need to check, double check, and triple check your controls. Program your rates/expo and then most importantly your timer. I like 12 minutes because you've plenty of time to do everything you know and also try a few new things with tons of time for landings (and go-arounds if necessary.)

IMG_20150329_153318670_HDR.jpg IMG_20150329_153306780_HDR.jpg IMG_20150329_153256690.jpg IMG_20150329_153329646_HDR.jpg

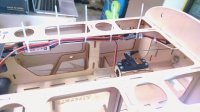
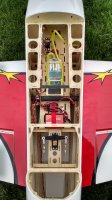
Inside everything is secure. Wires are bundled together for strength, the battery and receiver are velcroed and strapped in like the ignition. I like to run an extra 6" extension off the receiver for each aileron so when I'm plugging the ailerons in it's a lot easier than trying to fish them into the receiver every time. Secure the canopy latch, fuel up, range check and then time to go!!!

IMG_20150329_153344284_HDR.jpg

__________________________________________________ __________________________________________________ ________

As maiden flights go, they're typically boring trim flights and engine runs. The maiden went REALLY well so here's the 2nd flight, I'd say she's a keeper...

[video=youtube_share;nxbCmnfbg_Q]http://youtu.be/nxbCmnfbg_Q[/video]
 
Last edited by a moderator:

SnowDog

Moderator
I'll take note of anything wacky -- what about the builder?! :) ;)

Really nice boxing scheme by AJ...nice attention to detail and anticipating what a shipping company might do to the box...looking forward to the rest of the thread, SupaTim!

 
Top