Xpress
GSN Sponsor Tier 1
Since we don't have a foamies section (hint hint!!!!!!) I'll just stick this here for now ")
[SIZE= 15px][COLOR= #000099]DW[/COLOR] [COLOR= #33ccff]Foamies[/COLOR] [COLOR= #cc0000]48" Juka[/COLOR] build log[/SIZE]
[SIZE= 14px]^^^Links to website/airplane^^^[/SIZE]
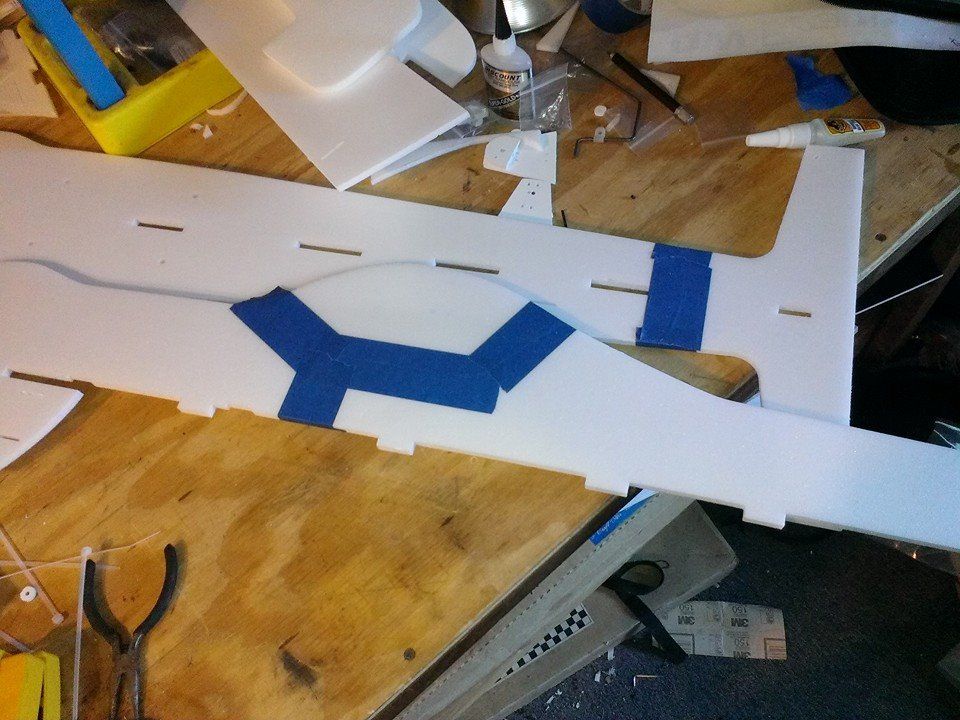
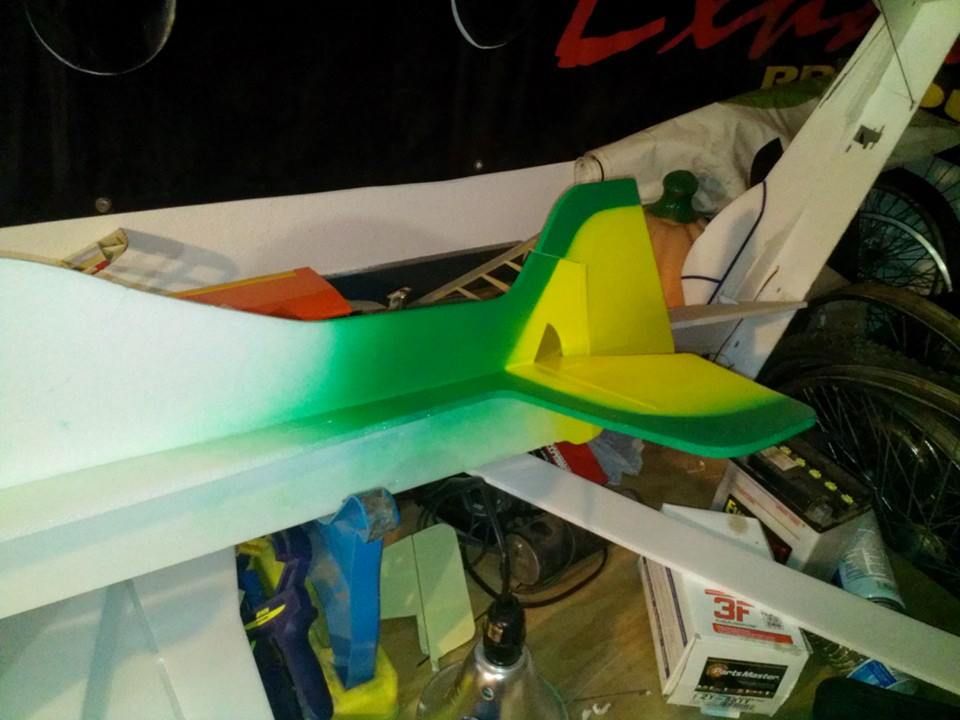
For years now my go to foamy selection has been DW Foamies. I've had dozens of Mikes airplanes, and never had one that flew bad! This time around, since I smashed my 48" Extra 330 in at the Wenatchee Huck, I decided to build another 48" Juka. I had one years ago when I was just an entry level 3D pilot and honestly don't remember how it flew since I built it way overweight (I do remember it still tracked arrow straight!), BUT this time around it will be built the right way. The Juka is a 3D ANIMAL! Ask anybody who has flown one extensively. So this airplane was the perfect selection for me. I will be building it utilizing the DW Foamies Gear Set so that I can land it on 3 wheels, rather than belly land. It's a great airplane to practice and hone your 3D skills without risking that big expensive gasser.
This will be a quick build log and I won't go too in depth but I'll show the basic assembly of the airplane (PM me or post anytime if you have questions, I've built plenty of DW Foamies airplanes and I'll be happy to assist!)
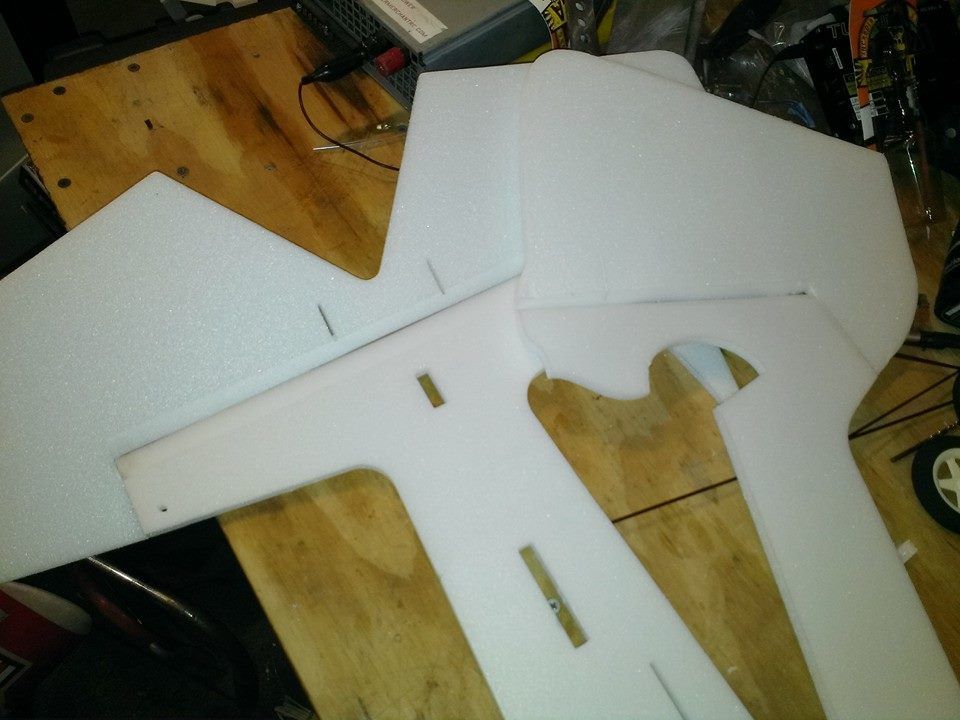
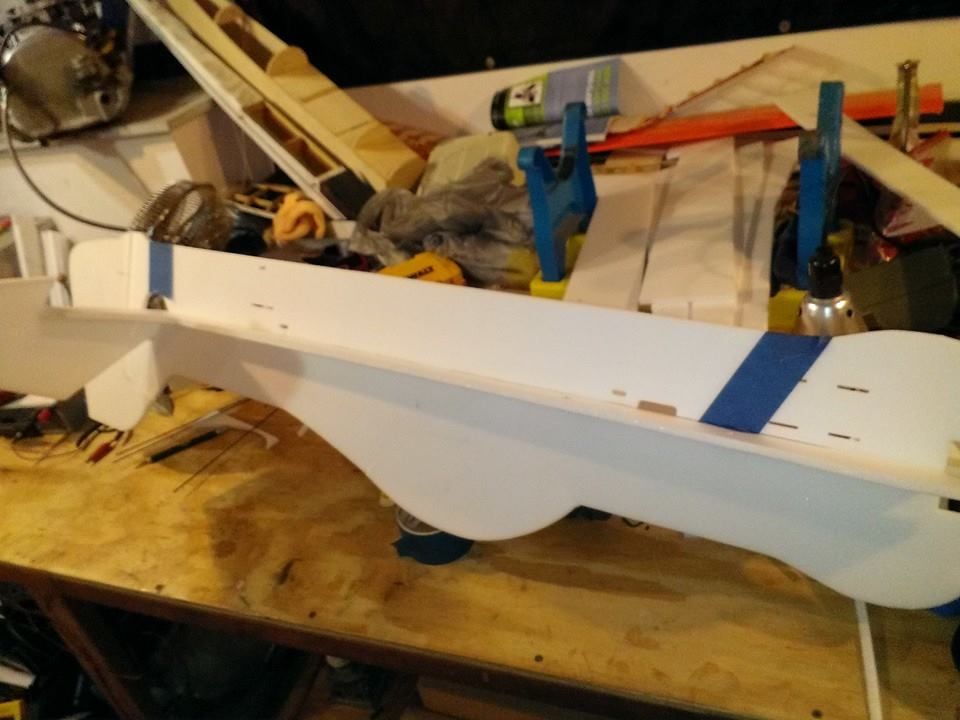
Since I got a late start tonight, I started off with something simple:
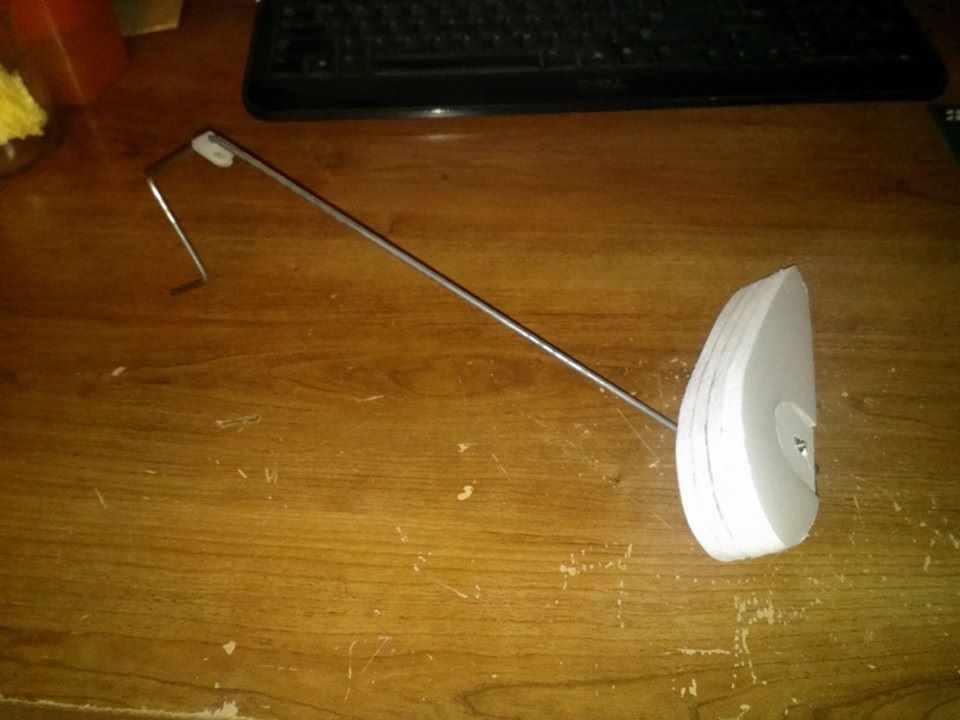
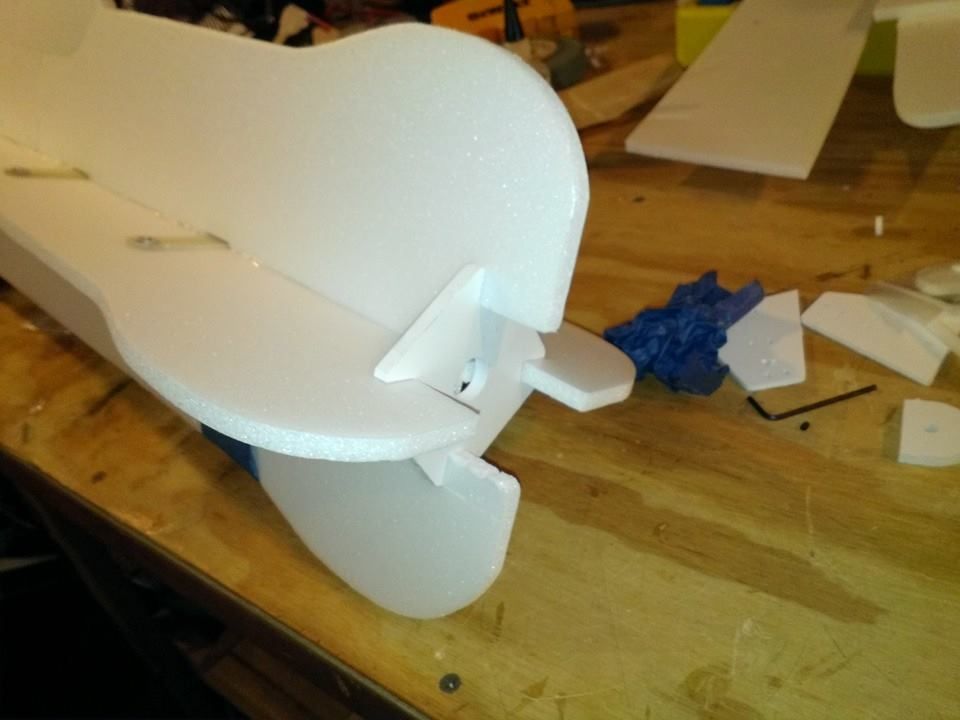
One half of my main landing gear. I assembled the wheel pants out of some scrap sheets of 6 and 9mm depron foam. The gear itself (wheels, hardware, and wire) are all included in the DW Foamies 48" Gear Set. It's a relatively straightforward install, which I will detail at a later time in this thread. The wheel pants will be painted to match the airframe after some final sanding/refinement.
Stay tuned
[SIZE= 15px][COLOR= #000099]DW[/COLOR] [COLOR= #33ccff]Foamies[/COLOR] [COLOR= #cc0000]48" Juka[/COLOR] build log[/SIZE]
[SIZE= 14px]^^^Links to website/airplane^^^[/SIZE]
For years now my go to foamy selection has been DW Foamies. I've had dozens of Mikes airplanes, and never had one that flew bad! This time around, since I smashed my 48" Extra 330 in at the Wenatchee Huck, I decided to build another 48" Juka. I had one years ago when I was just an entry level 3D pilot and honestly don't remember how it flew since I built it way overweight (I do remember it still tracked arrow straight!), BUT this time around it will be built the right way. The Juka is a 3D ANIMAL! Ask anybody who has flown one extensively. So this airplane was the perfect selection for me. I will be building it utilizing the DW Foamies Gear Set so that I can land it on 3 wheels, rather than belly land. It's a great airplane to practice and hone your 3D skills without risking that big expensive gasser.
This will be a quick build log and I won't go too in depth but I'll show the basic assembly of the airplane (PM me or post anytime if you have questions, I've built plenty of DW Foamies airplanes and I'll be happy to assist!)
Since I got a late start tonight, I started off with something simple:
One half of my main landing gear. I assembled the wheel pants out of some scrap sheets of 6 and 9mm depron foam. The gear itself (wheels, hardware, and wire) are all included in the DW Foamies 48" Gear Set. It's a relatively straightforward install, which I will detail at a later time in this thread. The wheel pants will be painted to match the airframe after some final sanding/refinement.
Stay tuned